
pgAdmin is an open-source, powerful, and feature-rich graphical user interface (GUI) administration and management tool for the PostgreSQL database. Currently, it supports PostgreSQL 9.2 or later, and runs on Unix and its variants such as Linux, Mac OS X as well as Windows operating systems.
It provides a powerful user interface that enables you to easily create, manage, maintain and use database objects, by both beginners and experienced Postgres users alike.
pgAdmin 4 is a major release (and a complete rewrite) of pgAdmin, built using Python and Javascript/jQuery, and a desktop runtime written in C++ with Qt. pgAdmin 4 immensely enhances on pgAdmin 3 with updated user interface(UI) elements, multi-user/web deployment options, dashboards, and more modern and elegant design.
In this article, we will show you how to install pgAdmin 4 on Debian 10 system to provide secure, remote access to PostgreSQL databases.
This guide assumes that you already have PostgreSQL 9.2 or higher installed and configured on your Debian 10 server, otherwise to install it, follow our guide: How to Install PostgreSQL 11 on Debian 10.
Installing pgAdmin 4 in Debian 10
Debian 10 ships with pgAdmin 3 by default. To install pgAdmin 4, you need to enable the PostgreSQL Global Development Group (PGDG) APT repository (which contains PostgreSQL packages for Debian and Ubuntu) on your system.
# apt-get install curl ca-certificates gnupg
# curl https://www.postgresql.org/media/keys/ACCC4CF8.asc | apt-key add -
Then create a repository file called /etc/apt/sources.list.d/pgdg.list.
# vim /etc/apt/sources.list.d/pgdg.list
And add the following line in the file.
deb http://apt.postgresql.org/pub/repos/apt/ buster-pgdg main
Save the changes and exit the file.
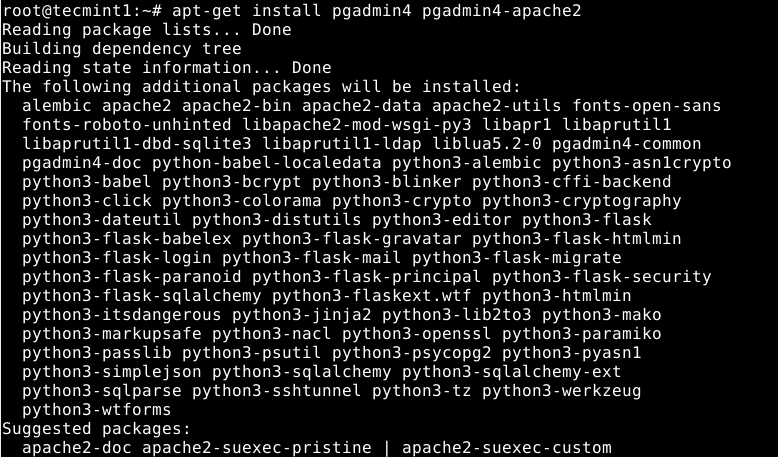
Now update the APT package cache (which is a mandatory step), and install the pgAdmin 4 package as follows. The pgadmin4-apache2 package is the WSGI application.
# apt-get update
# apt-get install pgadmin4 pgadmin4-apache2
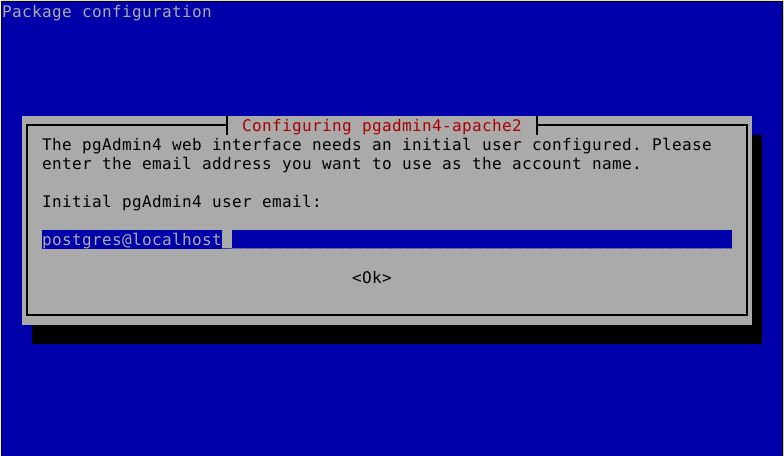
During the package installation, you will be asked to set an email address for the pgAdmin web interface initial user account. This email will work as the account name, provide it and press Enter.
You will also be asked to set a password for the pgadmin4 initial user account. Provide a secure and strong password, then click Enter to proceed.
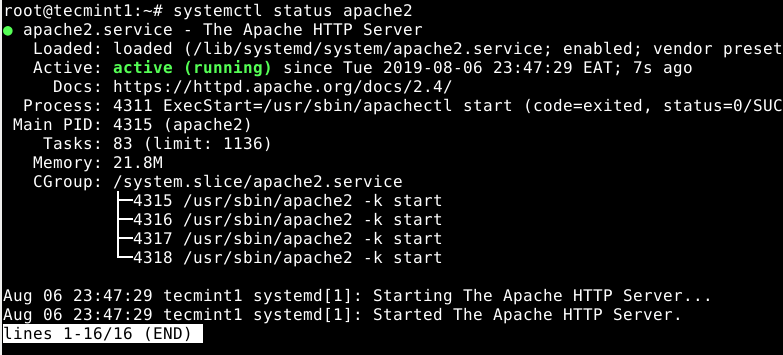
Once the packages are installed, the installer activates the systemd to start the Apache2 service and enables it to automatically start at system startup, every time the system is rebooted.
You can check the status of the service with the following command to ensure that it is up and running.
# systemctl status apache2
On Debian 10, the pgAdmin 4 WSGI application is configured to work with Apache HTTP server by default using the /etc/apache2/conf-available/pgadmin4.conf configuration file.
Before you can access the pgadmin4 web interface, if you have the UFW firewall running (it is usually disabled by default), you need to open port 80 (HTTP) to allow incoming traffic on Apache service as follows.
# ufw allow 80
# ufw allow 443
# ufw status
Accessing the pgAdmin 4 Web Interface
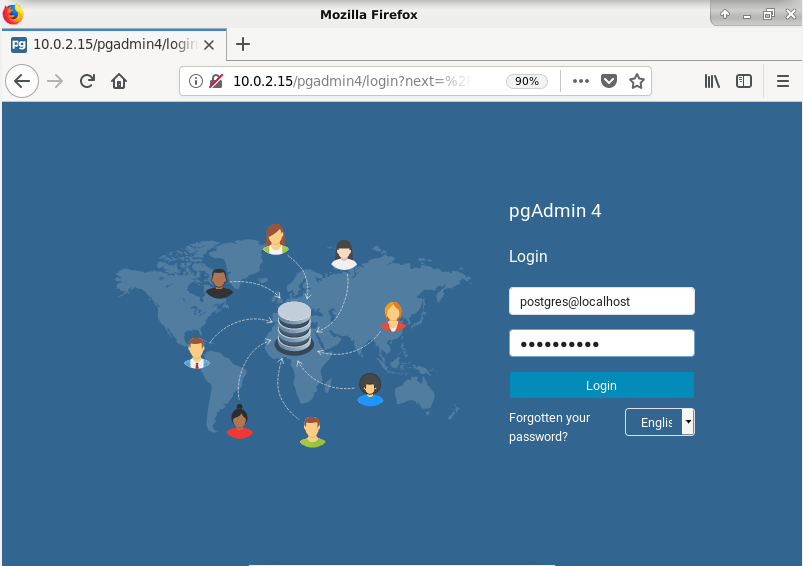
Now you can access the pgAdmin 4 web interface. Open a web browser and point it to the following address and click Enter.
http://SERVER_IP/pgadmin4
OR
http://localhost/pgadmin4
Once the pgAdmin 4 web login interface appears, enter the email address and password that you set earlier on to authenticate. Then click log in.
After a successful login, you will land at the pgAdmin4 web interface default dashboard. To connect to a database server, click on Add New Server.
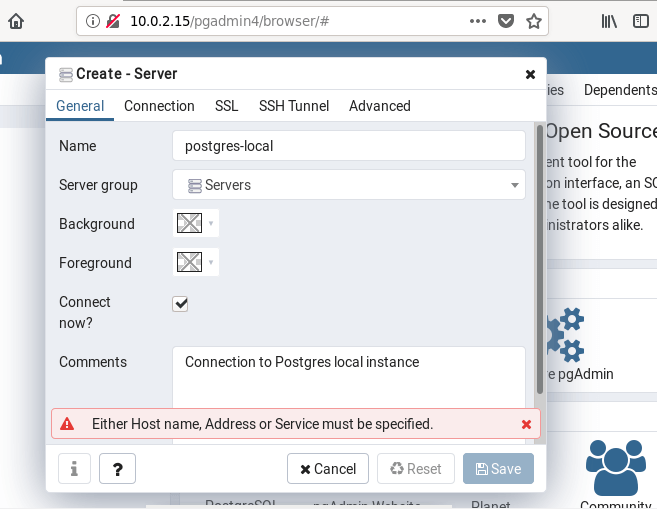
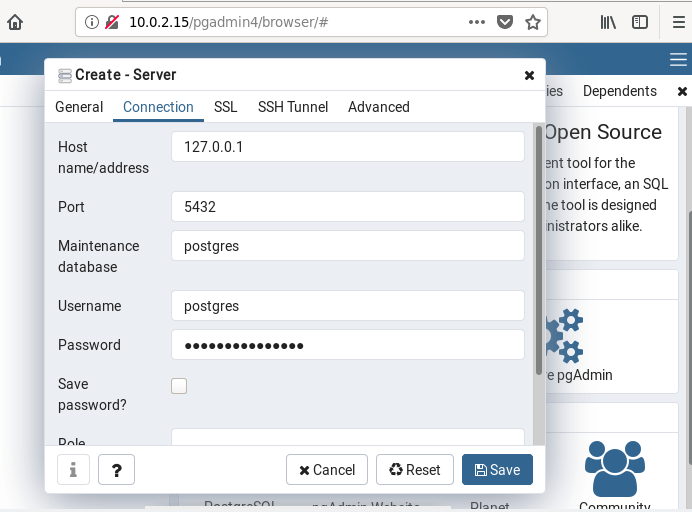
Then add the new server connection name and a comment. And click on the Connection Tab to provide the connection details I.e hostname, database name, database username, and password as shown in the following screenshot. Once you are done, click Save.
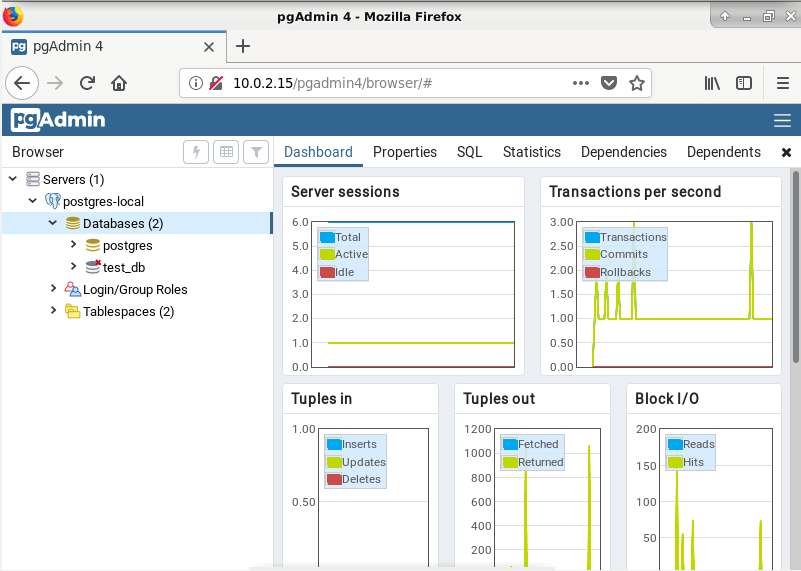
Under the Browser tree, you should now have at least one server connection showing the connection name, number of databases, roles, and table space. Double click on the Database link to view the server performance overview under the Dashboard.
pgAdmin Homepage: https://www.pgadmin.org/
That’s all! pgAdmin 4 vastly improves on pgAdmin 3 with several new features, improvements, and bug fixes. In this guide, we showed how to install and configure pgAdmin 4 on Debian 10 server. If you have any queries, reach us via the comment form below.
If this article helped you solve a problem, consider buying a coffee. It helps keep TecMint free, supports the authors, and keeps the project going.
Got Something to Say? Join the Discussion... Cancel reply