
Rocky Linux 9.1 was officially released on November 22, 2022, and supports x86-64, aarch64, ppc64le, and s390x architectures. Notable changes include:
- New module stream versions include PHP 8.1, Maven 3.8, Node.JS 18, and Ruby 3.1 to mention a few.
- New compiler toolset versions including Rust 1.62, LLVM 14.0.6, GCC 12, and Go 1.18.
- Keylime. This is a remote boot attestation and runtime integrity management solution that leverages the TPM (Trusted Platform Module) module.
- Vagrant images are now available for x86-64 and aarch64.
- Container images are now available for all x86-64, aarch64, ppc64le, and s390x.
For more information and additional major changes in Rocky Linux 9.1, check out the release notes in the official documentation.
This is a three-part guide that constitutes the following sections.
[ez-toc]
Without much ado, let’s get started!
1. Install Oracle VM VirtualBox on Windows
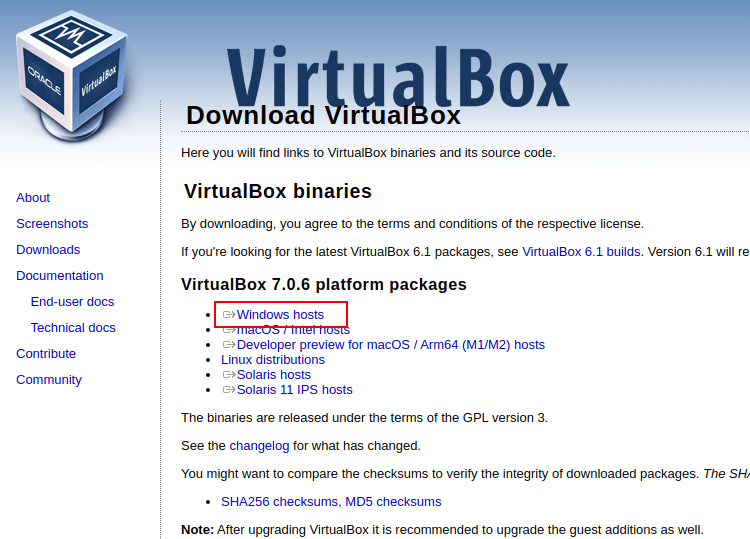
The first step is to install Oracle VM VirtualBox on which you will install your instance of Rocky Linux 9. Therefore, head over to the Oracle VM VirtualBox download page and select ‘Windows Hosts’ to download the executable file.
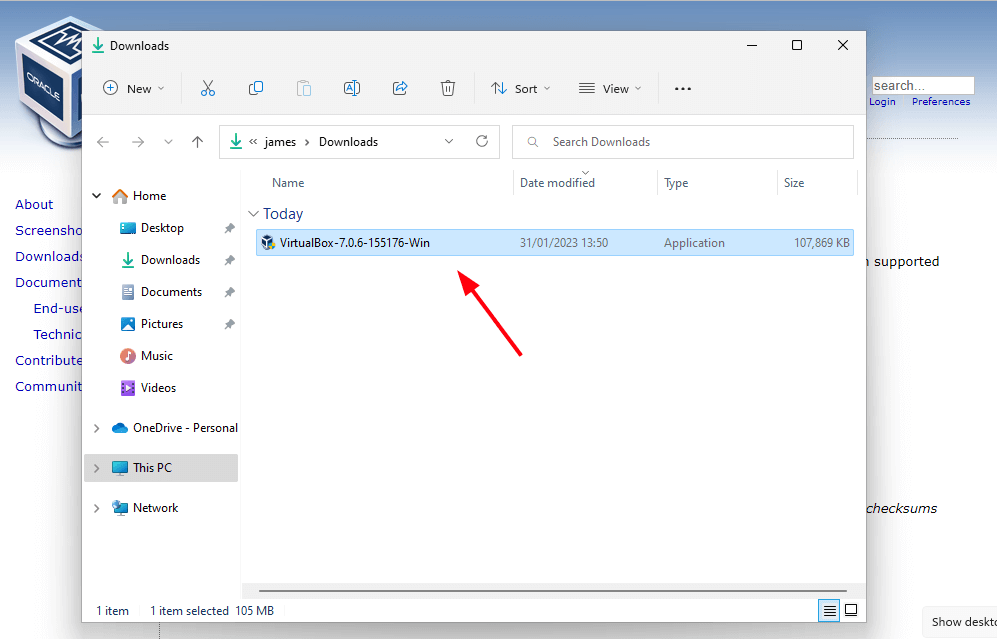
The download will commence and the installation file will be saved in the ‘Downloads‘ folder. To begin the installation, double-click the VirtualBox installation file.
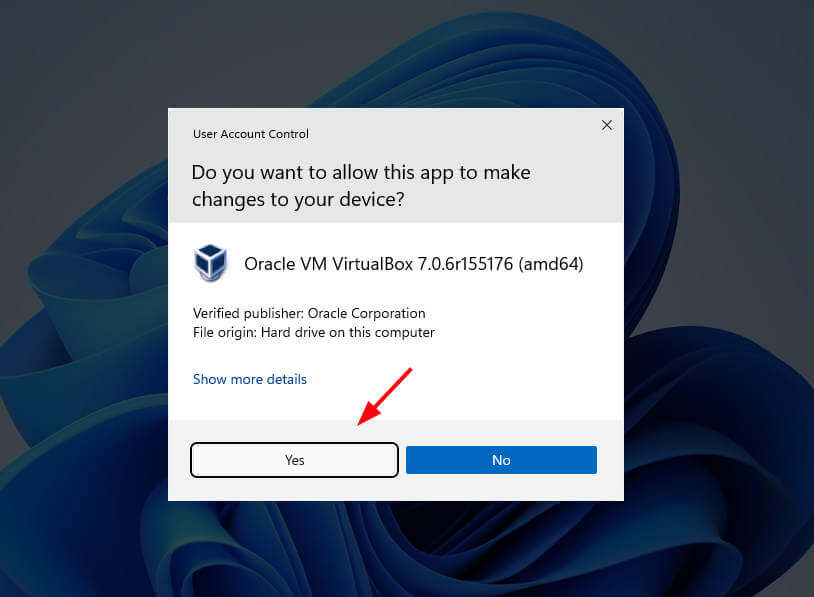
On the UAC (User Access Control) pop-up, click ‘Yes‘ to proceed with the installation.
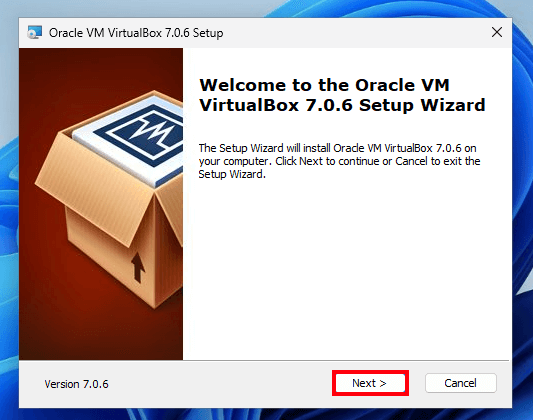
This launches the Oracle VirtualBox installation wizard as shown. The installation is quite a breeze and all you need is to click ‘Next‘ or ‘Yes‘ all the way to the final step where you will hit ‘Install‘.
The first step is the ‘Welcome‘ step. Just click ‘Next‘ to proceed.
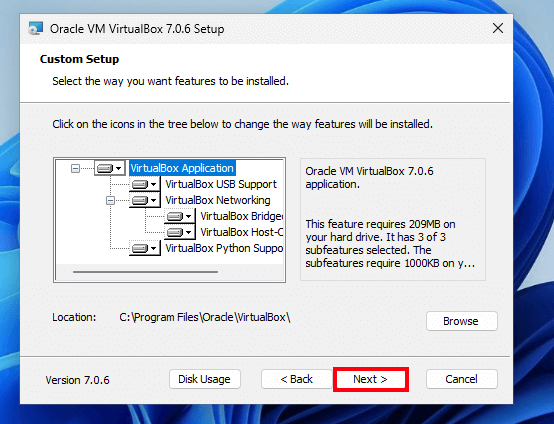
Next is the ‘Custom Setup‘ step. By default, the Oracle VirtualBox files are stored in the C:\Program Files\Oracle\VirtualBox path. Unless necessary, it is recommended to maintain the default path as it is.
So just click ‘Next‘.
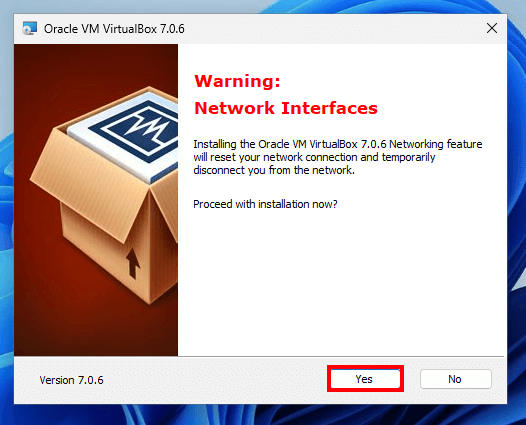
You will get a warning about the network connections being reset in addition to a new virtual network interface being created. To proceed, click ‘Yes‘.
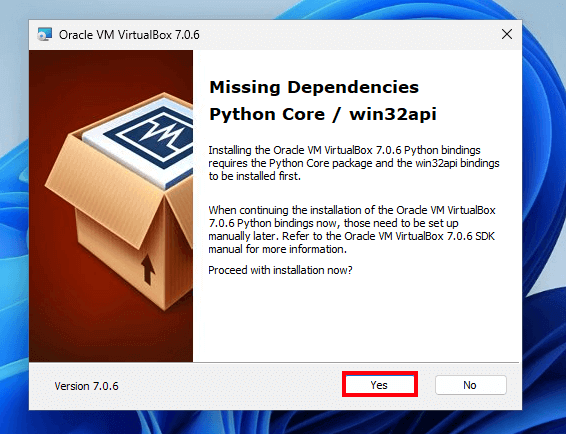
You might encounter a warning about missing dependencies (Python Core and Win32api). In our case, these were not installed. But fret not, the dependencies can manually be installed later on.
So click ‘Yes‘.
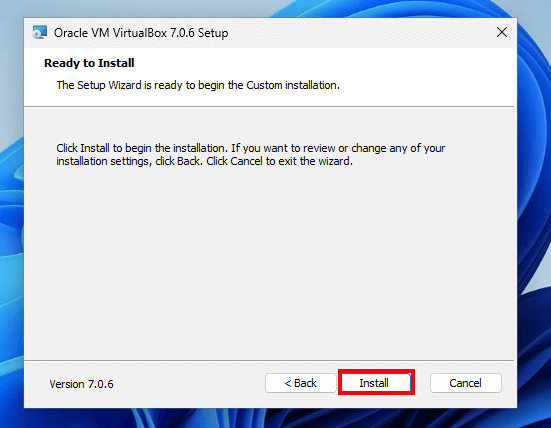
Then click ‘Install‘ to begin the custom installation of Oracle VirtualBox.
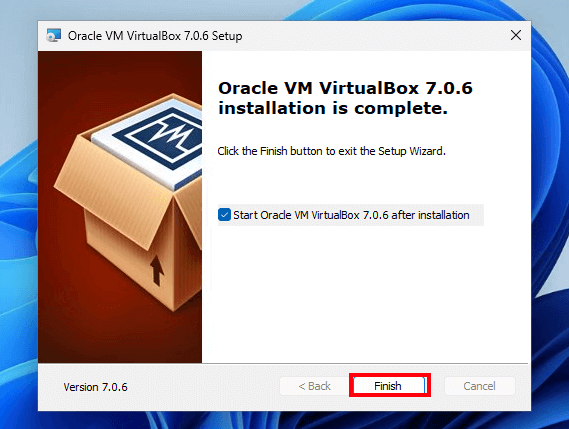
This takes a minute or two at most. Finally, click ‘Finish‘ to complete the installation and exit the Wizard.
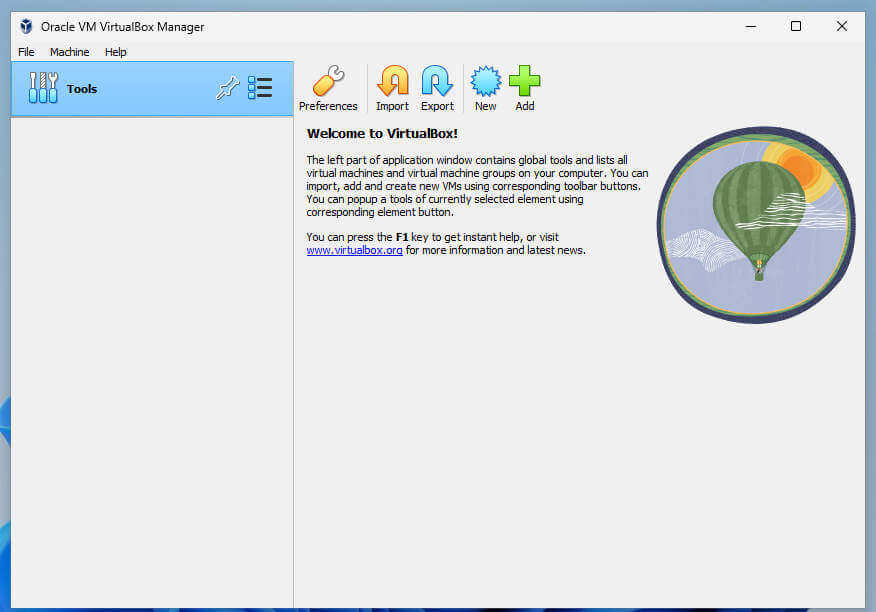
The Oracle VirtualBox GUI manager will be displayed as shown. In the next section, we will create a virtual machine for Rocky Linux 9.
2. Creating a Virtual Machine for Rocky Linux 9
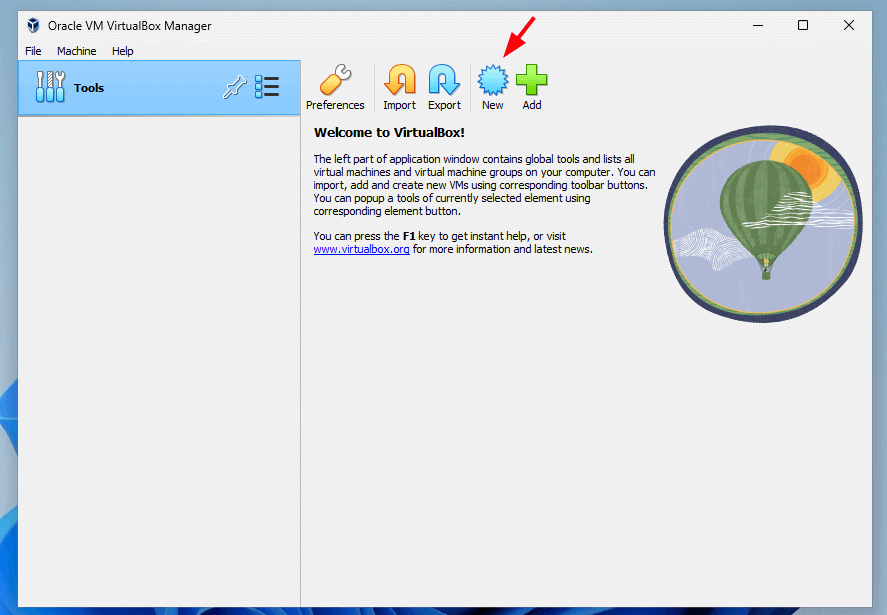
To create a virtual machine, click the ‘New‘ button shown below.
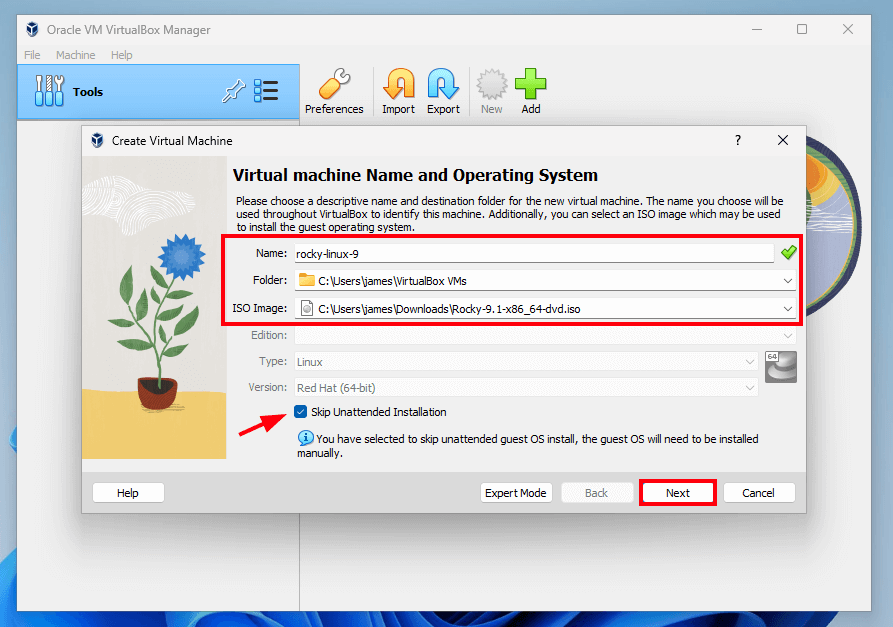
This launches the virtual machine creation wizard. In this step, specify the virtual machine details which include the Name, default folder of the virtual machine, and the path to the Rocky Linux ISO image.
Then click ‘Next‘.
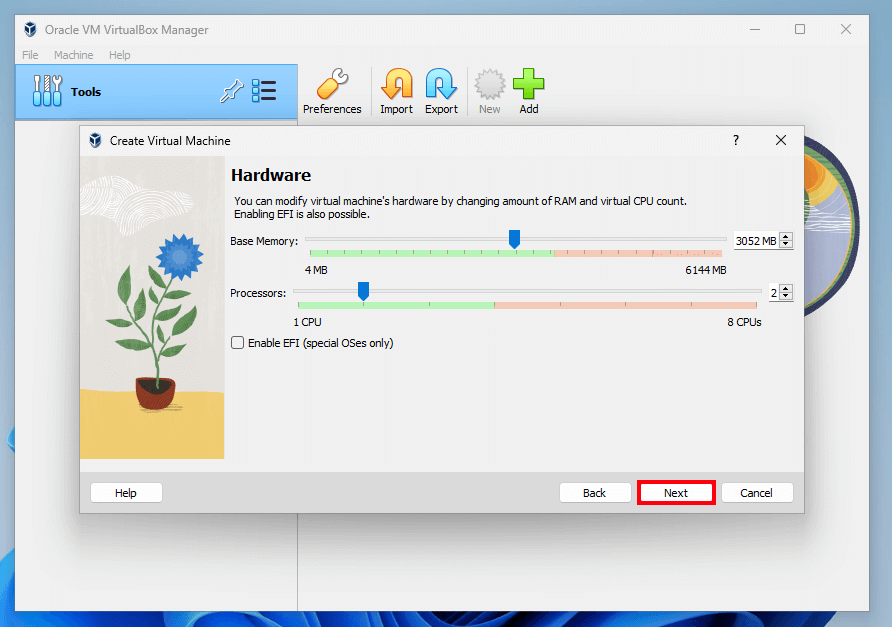
In this step, specify the amount of memory (RAM) and CPU cores to allocate to the virtual machine.
Then hit ‘Next‘.
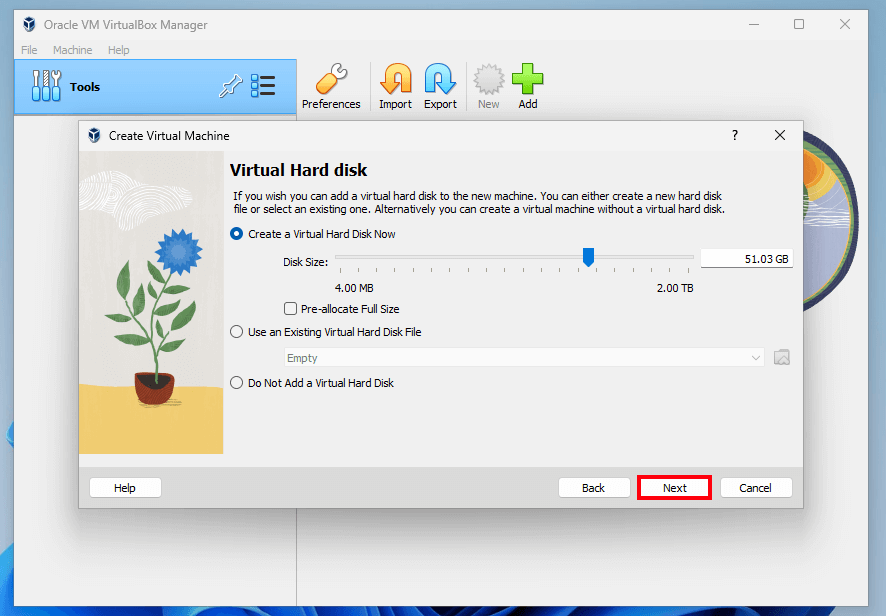
In the next step, specify the size of the virtual hard disk by dragging the slider back and forth, and once satisfied with your selection, click ‘Next’.
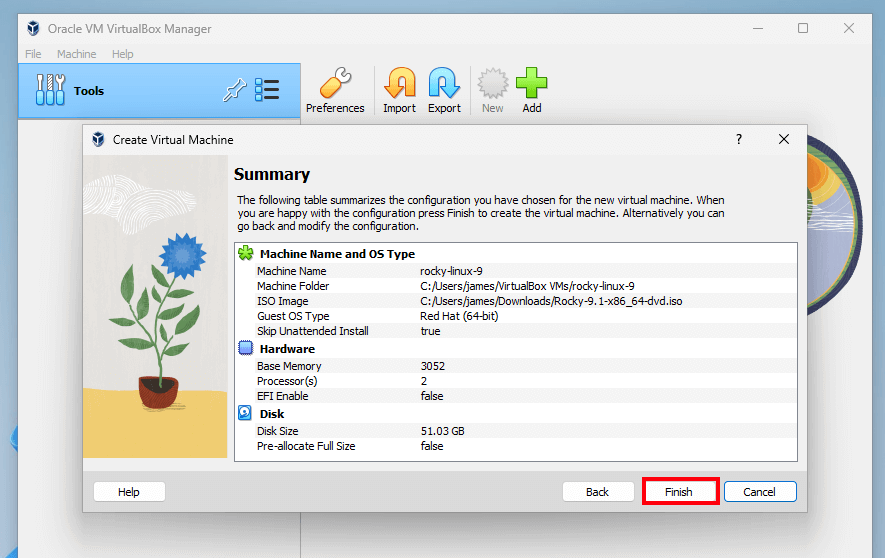
Finally, review all the selections made, and if all looks good, click ‘Finish’ to exit the installation Wizard. Otherwise, click ‘Back’ and make the required changes.
Once created, the virtual machine will be displayed on the right pane as shown below.
3. Installing Rocky Linux 9 on VirtualBox
To start the installation, click the ‘Start’ button on the menu bar or double-click the rocky-Linux virtual machine icon on the left pane as shown earlier.
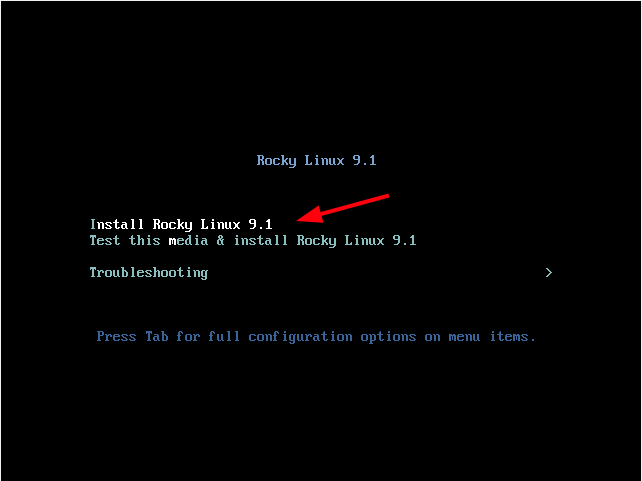
Once the virtual machine starts, you will get a black screen with a list of menu options. Select the first option ‘Install Rocky Linux 9.1’ and hit ENTER.
You will see a flurry of boot messages as the system powers on.
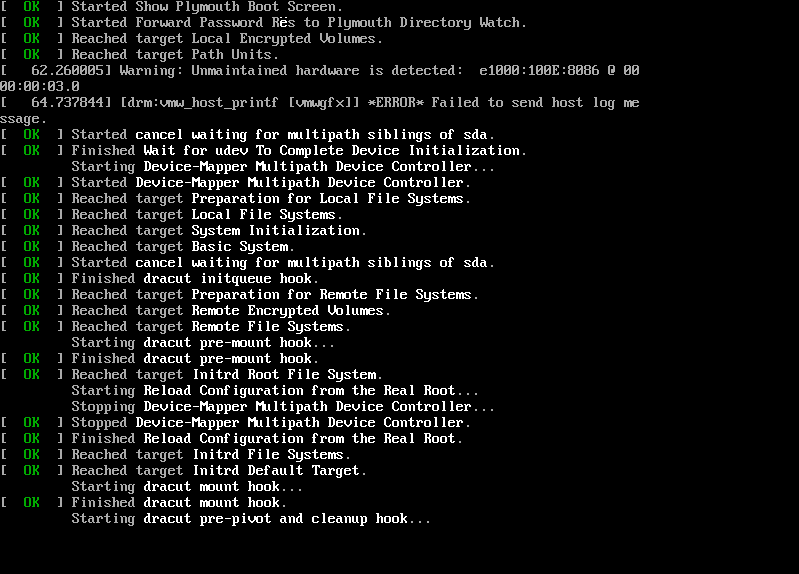
The installer will be initialized and the Rocky Linux 9 installer will finally come into view, and the welcome page will prompt you to select the installation language. Select your preferred language and click ‘Continue’.
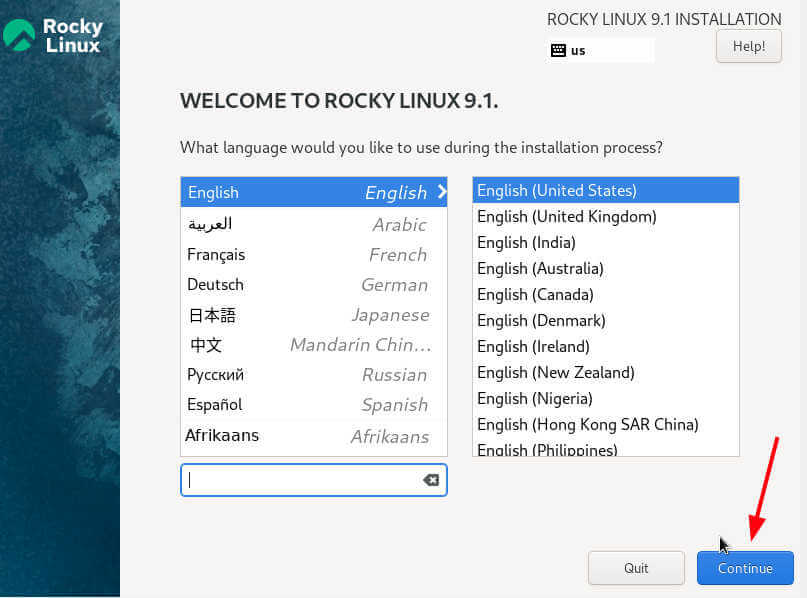
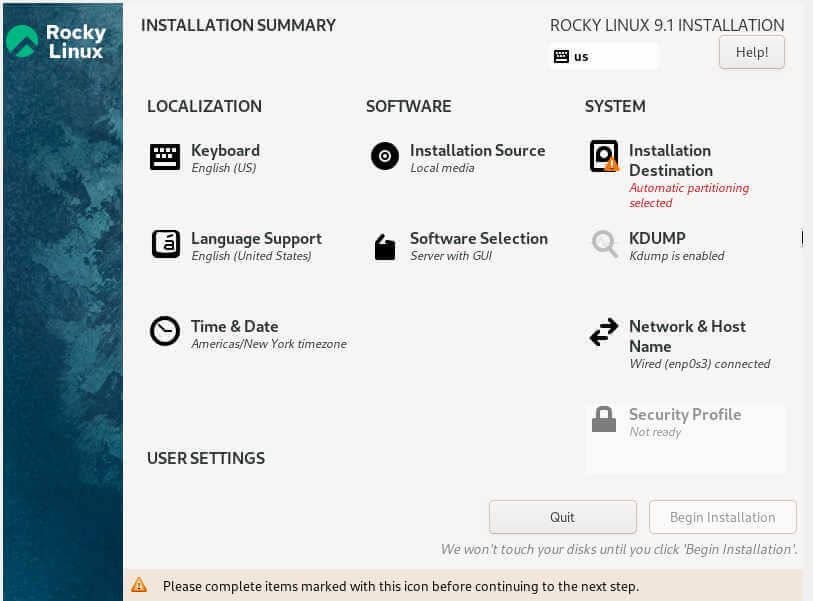
This displays an ‘Installation Summary’ window showing various components that need to be configured before the installation gets underway. These components are categorized into the following sections:
- Localization
- Software
- System
- User Settings
Let us go over each of these salient components.
We will start off with the ‘Localizaton‘ section which comprises three key sub-sections: Keyboard, Language Support, and Time & Date.
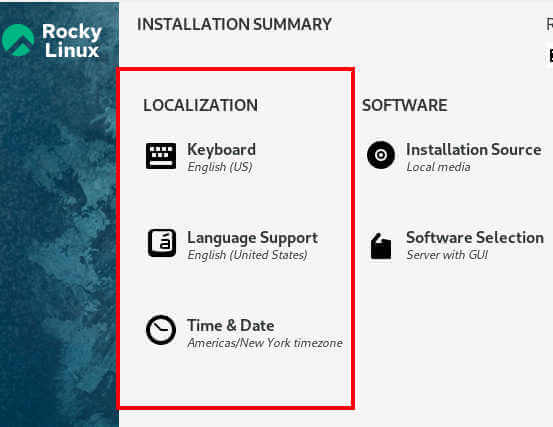
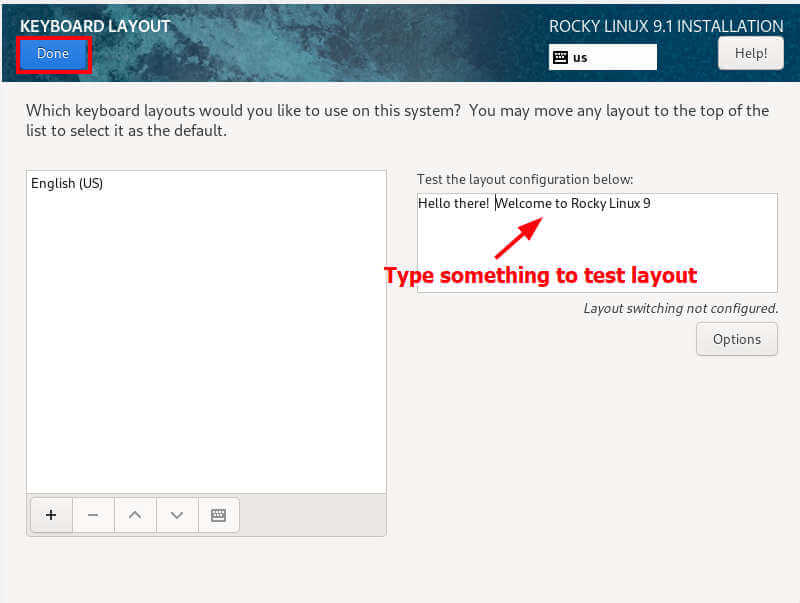
Configure Keyboard
Click ‘Keyboard‘. By default, it is set to English(US). You can verify this by typing some text in the provided text field. If all looks good click ‘Done‘. Otherwise, if you want to add a new layout, click the plus sign [ + ] at the bottom left, add your preferred keyboard layout, and click ‘Done‘.
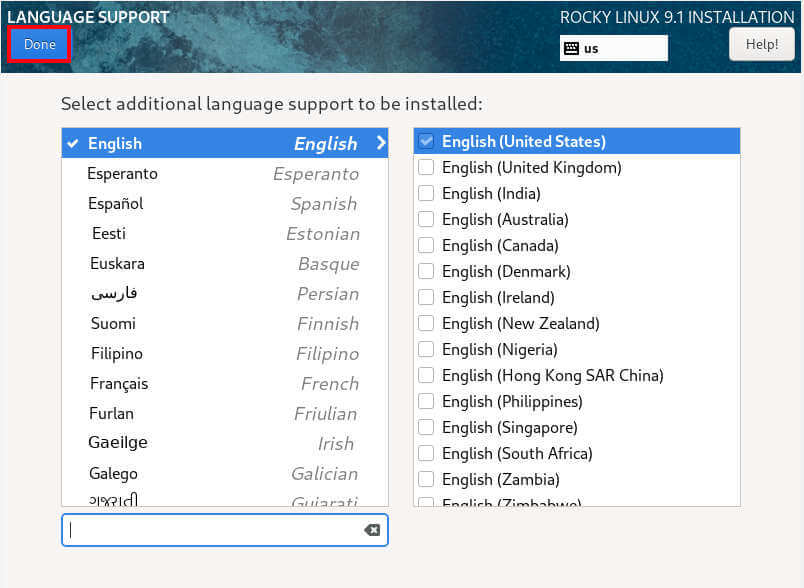
Configure Langauge
Next, click ‘Language Support‘ and select your preferred language.
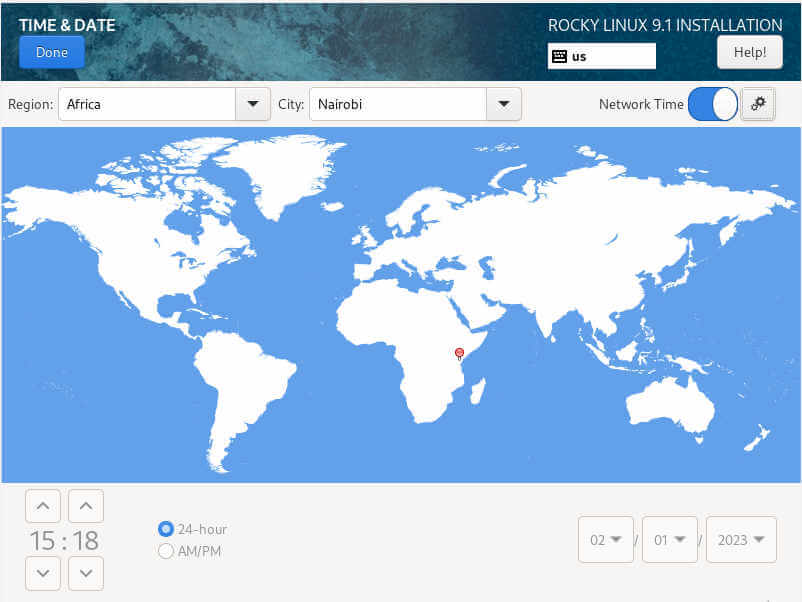
Configure Time and Date
Thereafter, click ‘Time and Date‘ and set the correct time and date settings as per your timezone. You can easily do this by selecting your geographical region on the map provided.
Then click ‘Done‘.
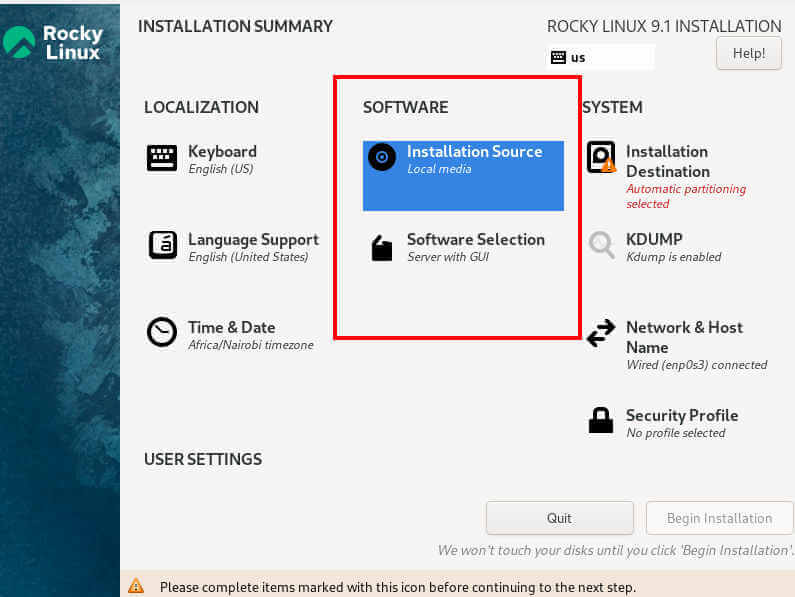
Next, up, we have the ‘SOFTWARE‘ section that contains the ‘Installation Source‘ and ‘Software Selection‘ sub-sections.
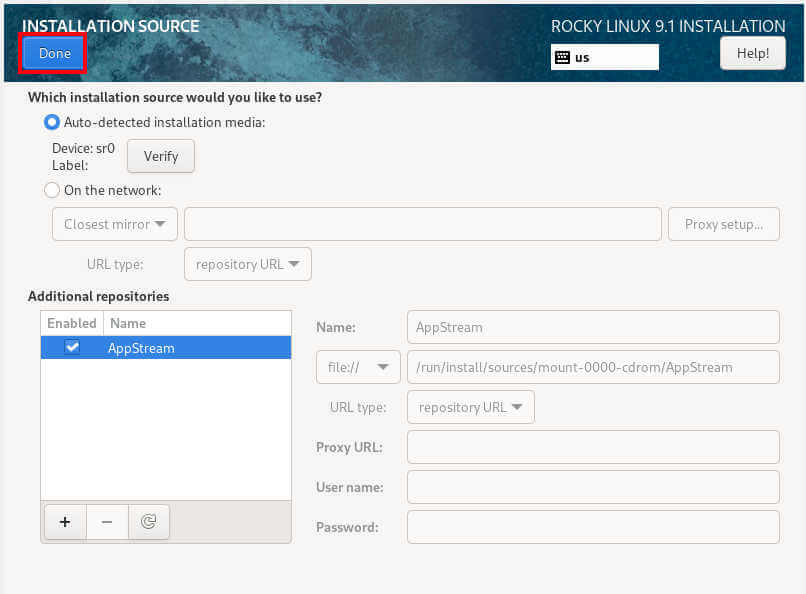
Configure Installation Source
Click the ‘Installation Source‘ option. By default, the installation media is automatically detected and the AppStream repository is set as the default repository. Therefore, go along with the defaults and simply click ‘Done‘.
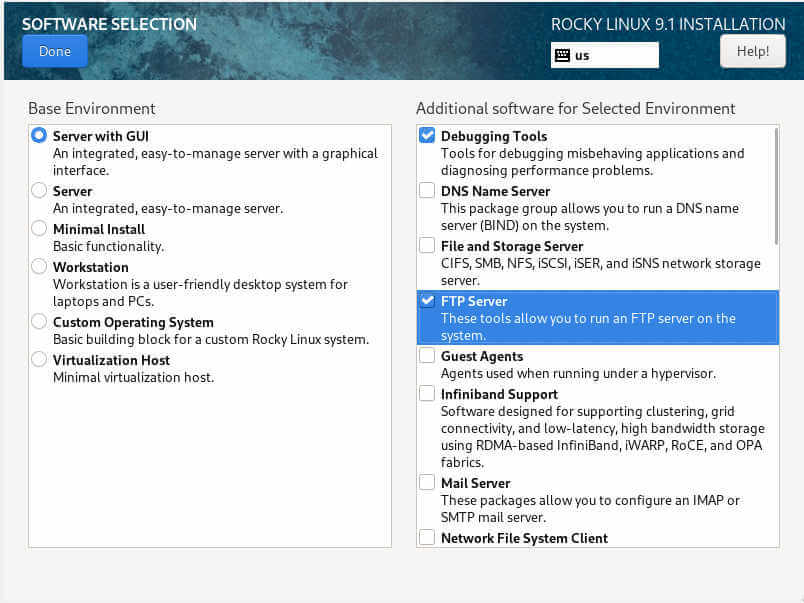
Software Selection
The ‘Software Selection‘ sub-section provides you with an array of base environments to choose from and additional software for a selected environment. In this case, we have chosen to go with a ‘Server with GUI‘ base environment and a few additional packages. Once you have completed making your selections, once again, click ‘Done‘.
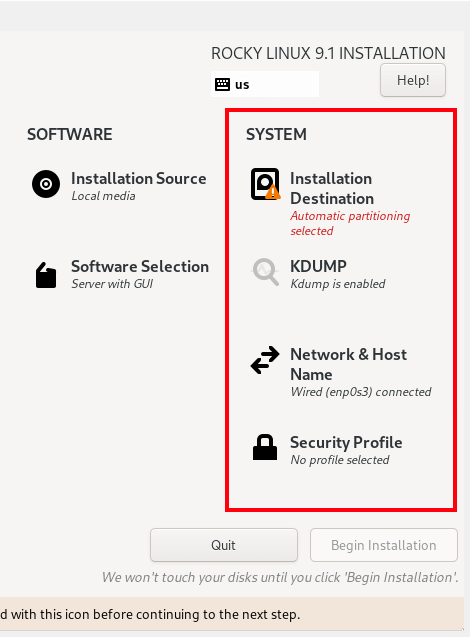
The ‘SYSTEM‘ section is another yet crucial section. Here, you will partition your hard drive and also configure networking.
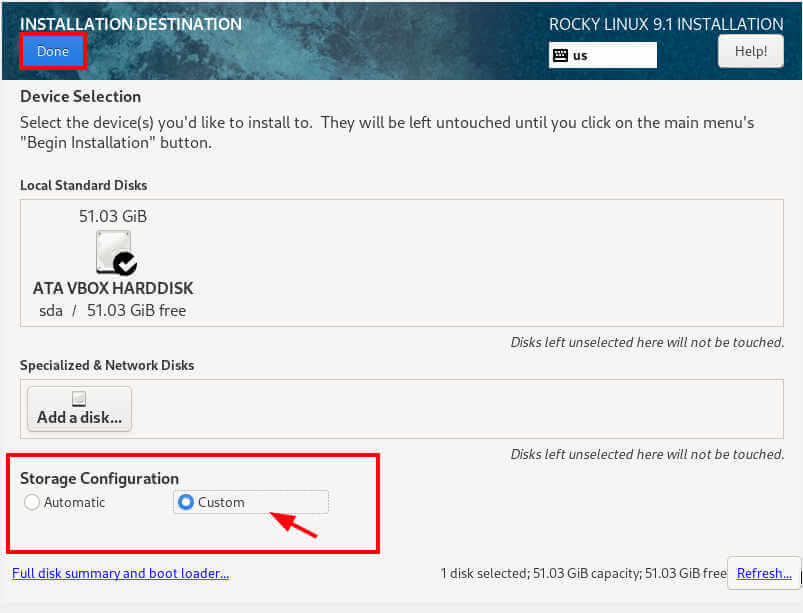
Installation Destination
Next up, click ‘Installation Destination‘. By default, automatic partitioning is the partitioning format. You can choose to go with this as it makes work easier.
The installer intelligently partitions the hard drive and assigns the filesystem and partition size. This is recommended partitioning format for novices or beginners at Linux who are not familiar with manual partitioning.
In this guide, we will take a different approach and demonstrate how you can manually configure the disk partitions. To get around this, under the Storage Configuration section, switch from ‘Automatic’ to ‘Custom’ and click ‘Done’.
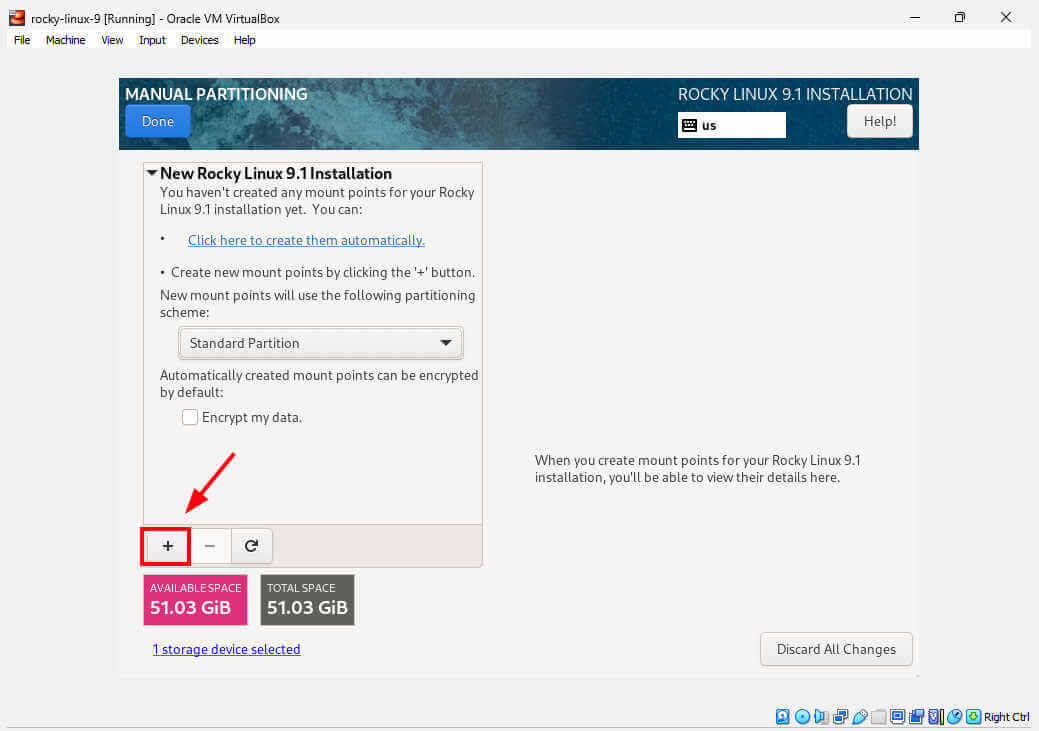
This takes you to the ‘Manual Partitioning’ section as shown. We are going to partition the hard drive as follows.
/ (root partition) - 25GB
/boot - 1GB
/home - 20GB
Swap - 4GB
To get started with creating the partitions, click the plus sign [ + ] as shown.
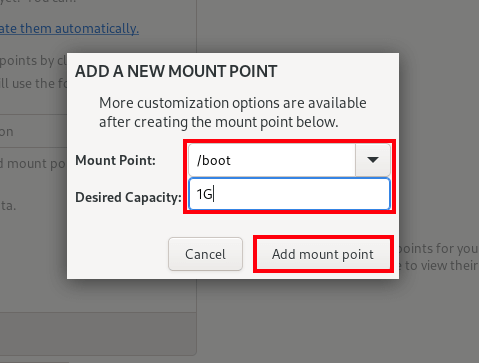
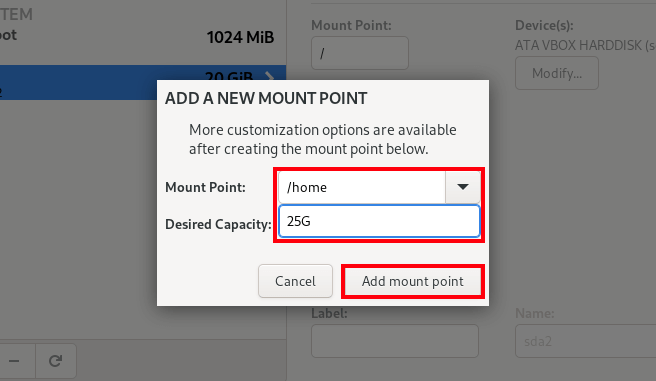
On the pop-up that appears, specify the mount point name and the memory size. Then click ‘Add mount point’.
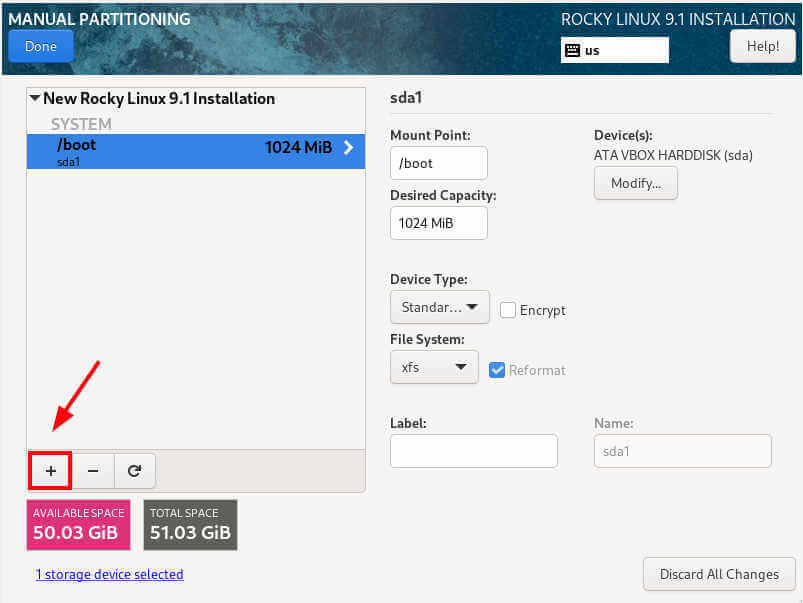
You can see the boot partition has been created and listed on the left panel.
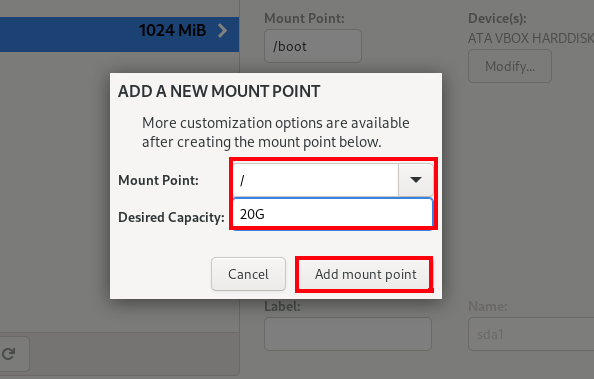
Repeat the same drill for the root ( / ) partition.
For /home partition.
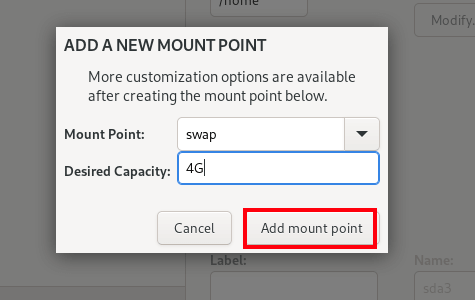
And create the swap partition.
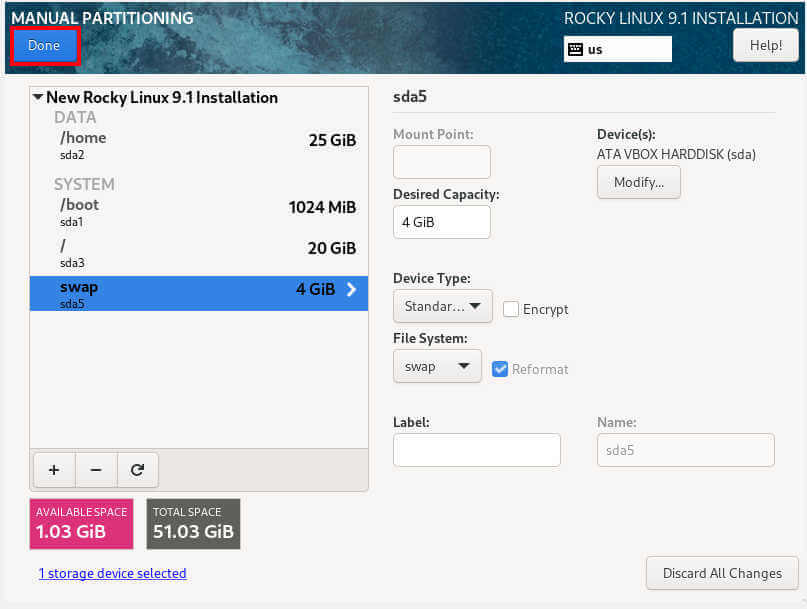
This is how our partition table looks. All the crucial partitions have been created. You should have a similar table indicating the created partitions.
To save the changes, click ‘Done’.
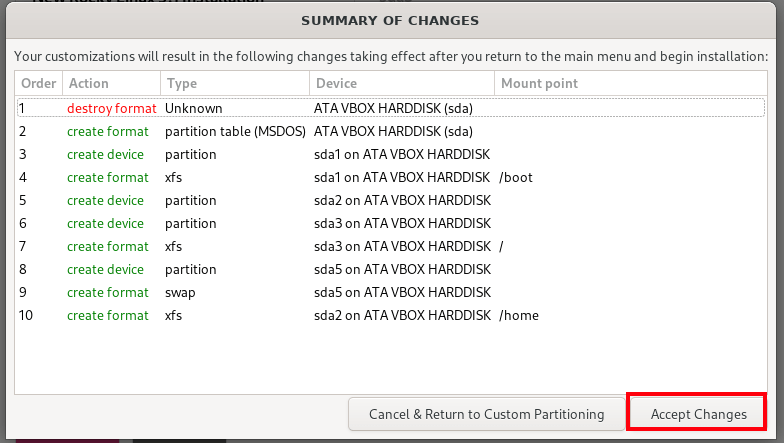
A table with all the changes that will be effected will be displayed as shown. Click ‘Accept Changes’ to save the partitions on the hard drive.
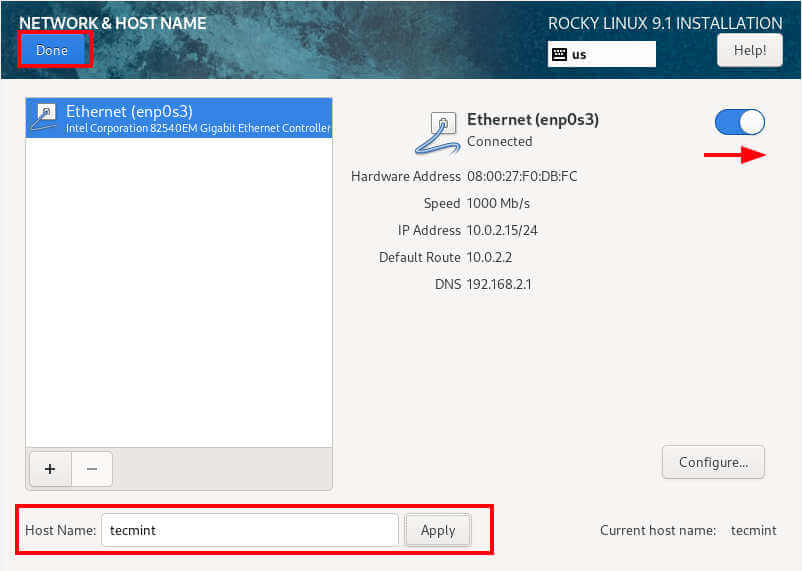
Network and Hostname
Next up, you need to configure the network and hostname. Turn on the toggle to enable network connection and in order to automatically acquire an IP address from the router or DHCP server.
In addition, you can specify your preferred hostname and click ‘Apply’.
Then click ‘Apply’.
If you wish to set a static IP, click ‘Configure’ and navigate to ‘IPv4’ settings, and then click ‘Add’.
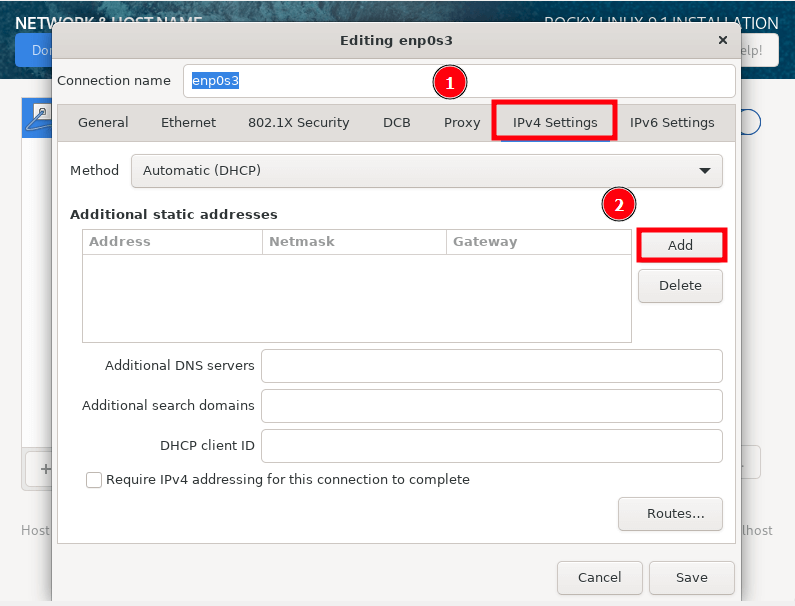
Fill out the IP address, netmask, and gateway addresses. Be sure to also specify the DNS servers and click ‘Save’.
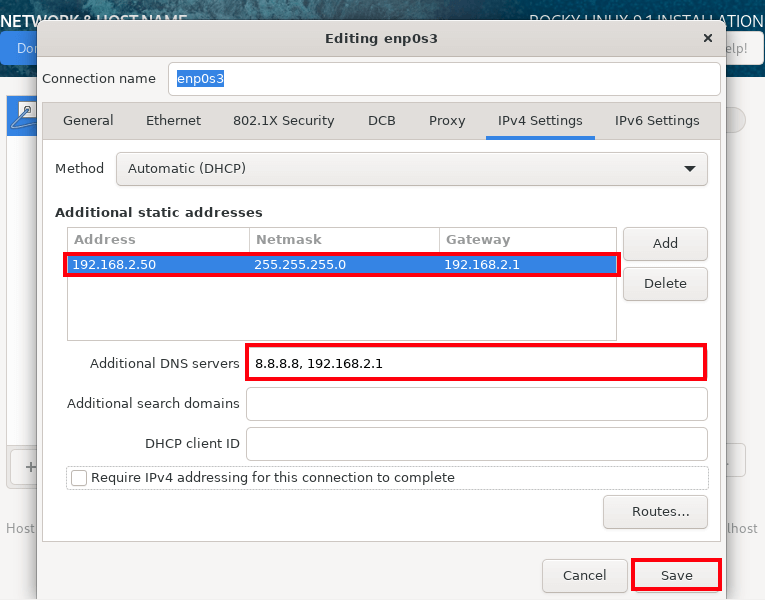
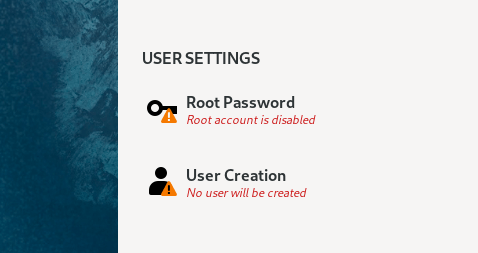
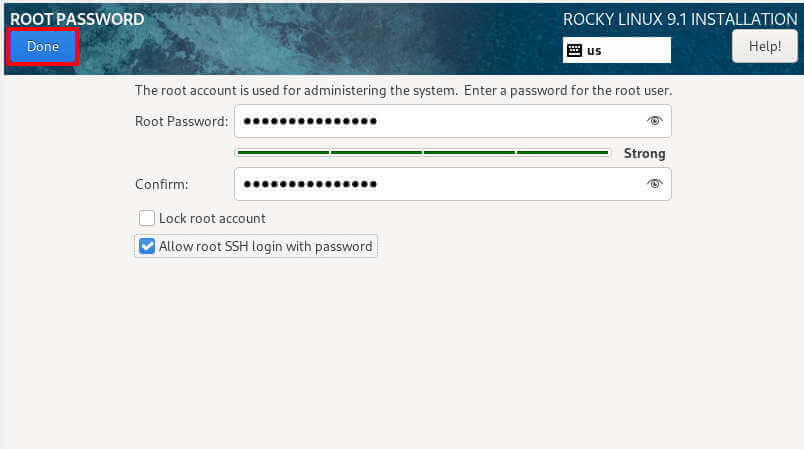
User Settings
Finally, we have the ‘USER SETTINGS’ section that requires you to specify the root account password and create a regular login user account.
Specify the root password and confirm it. You can also decide to enable SSH root login with a password. This is totally up to you.
Then click ‘Done’.
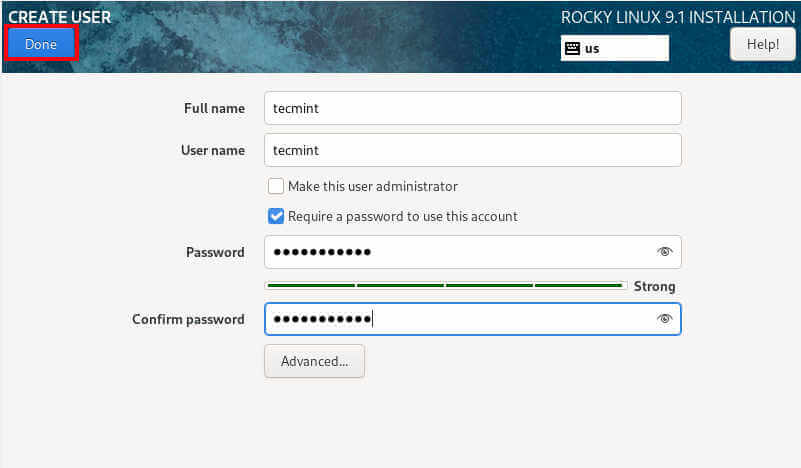
In this ‘User Creation‘ section specify the regular user details such as full name and username and specify the password.
Then click ‘Done’.
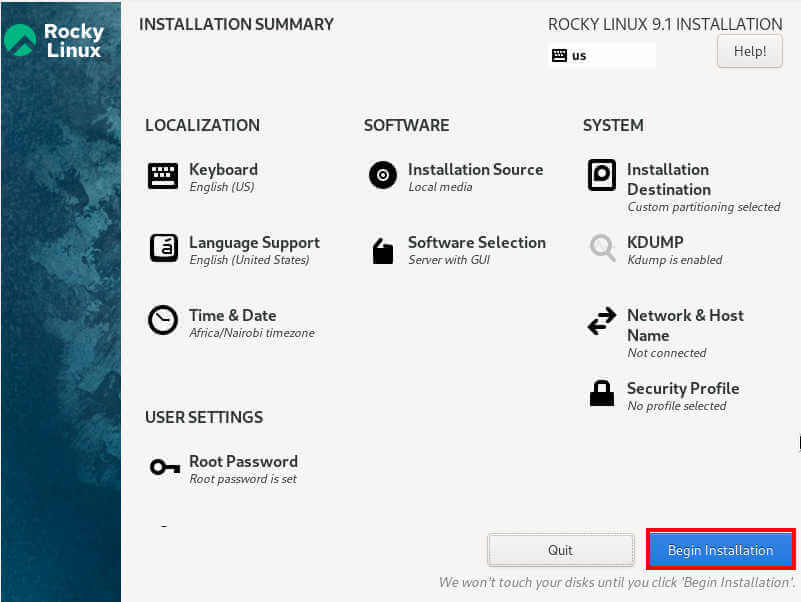
All the crucial components have been successfully configured. The ‘KDUMP’ and ‘Security Profile’ can be left in their default state as they won’t affect the installation process.
Begin Rocky Linux Installation
To begin the installation process, click ‘Begin Installation’.
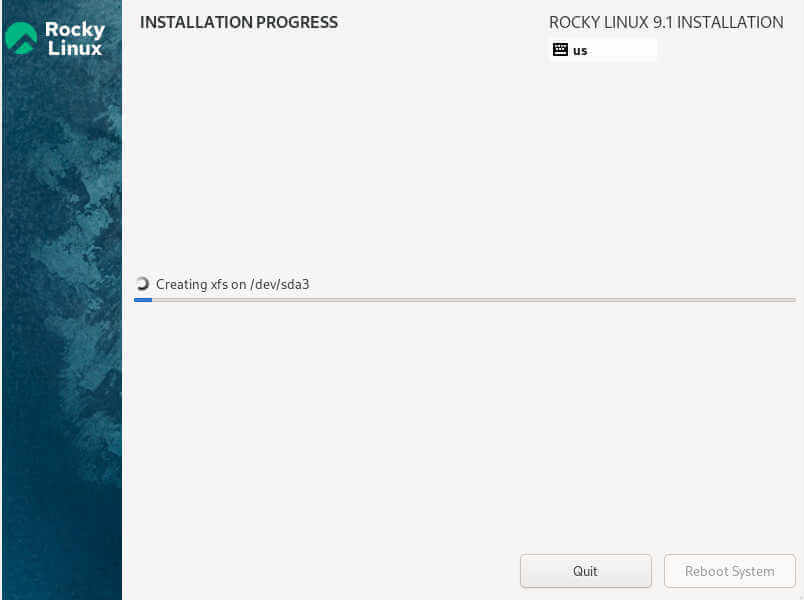
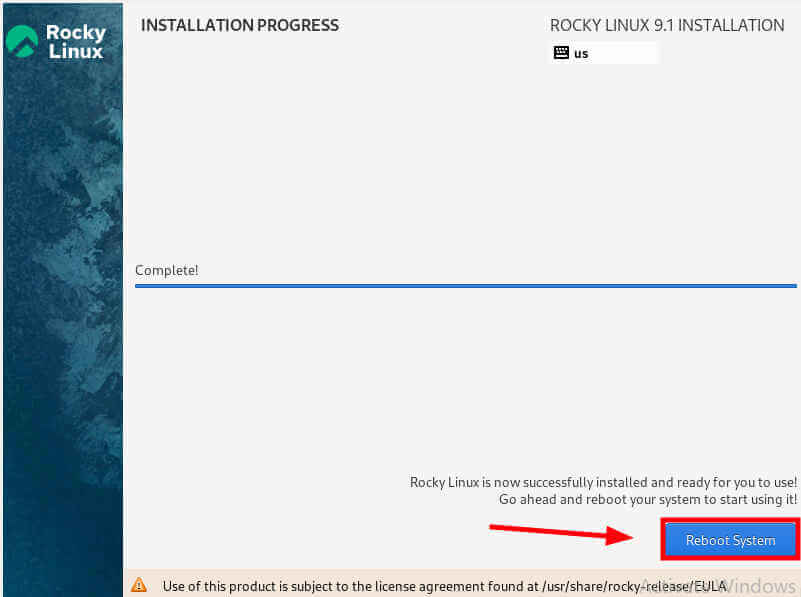
The installer will start copying the files from the ISO image to the hard disk. The process can take quite a while, depending on your system specifications. This is an ideal time to take a break and let the installer do its job.
Once the installation is complete, click ‘Reboot’ system in order to boot into your fresh installation of Rocky Linux 9.1.
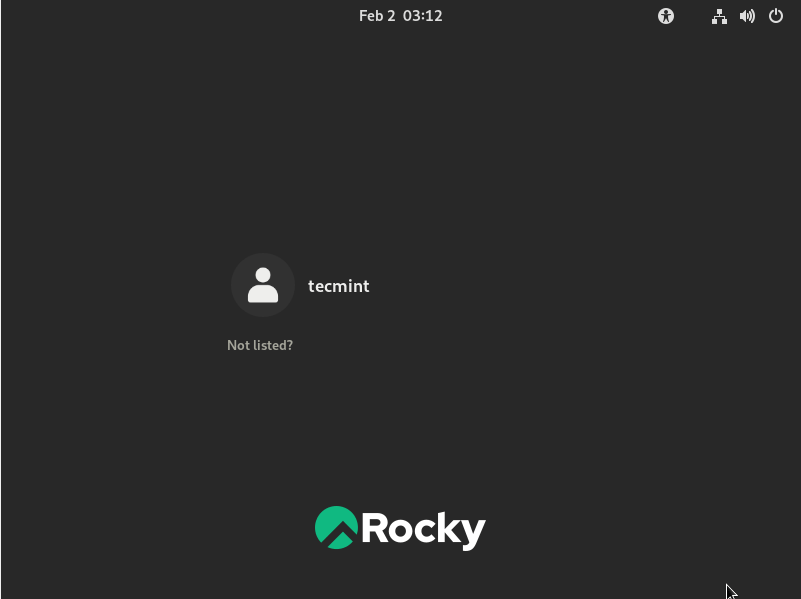
Booting into Rocky Linux 9.1
Once the system boots, you will get a login screen with the username name of the newly created user displayed.
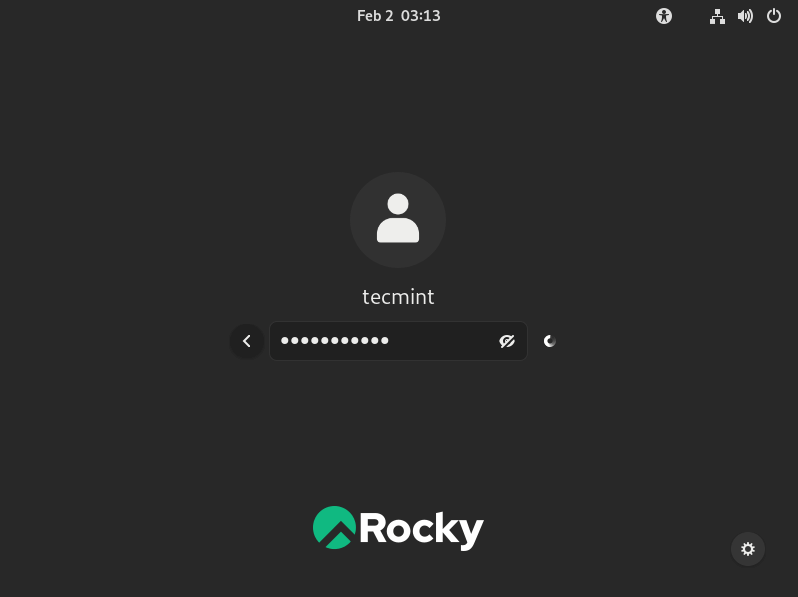
To log in, click on the user account icon, provide the user’s password, and press ENTER.
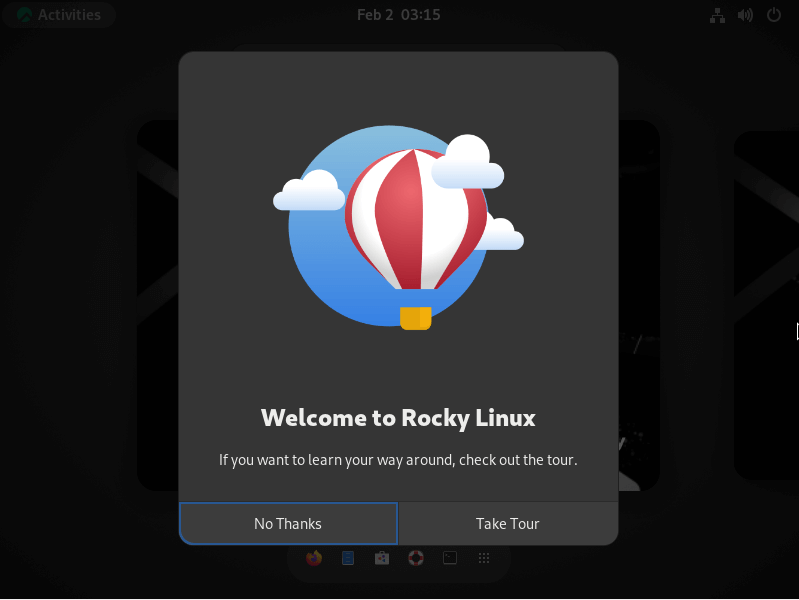
Once you have logged in, you will see a ‘Welcome to Rocky Linux’ pop-up which offers to take you through a tour of the system in order to help you get started. You can opt to take the tour or cancel by selecting ‘No Thanks’ – the decision is entirely up to you.
Finally, you will see the GNOME 40 desktop environment. From here, you can start using your fresh Rocky Linux 9.1 installation.!
You might also like:
Conclusion
In this guide, we started off by installing Oracle VM VirtualBox on Windows 11. We further went a step further and created a virtual machine and finally documented how to install Rocky Liinux 9.1 on Oracle VirtualBox.
That’s it for now. We trust you found this guide beneficial. Your feedback is welcome.
If this article helped you solve a problem, consider buying a coffee. It helps keep TecMint free, supports the authors, and keeps the project going.
Got Something to Say? Join the Discussion... Cancel reply