
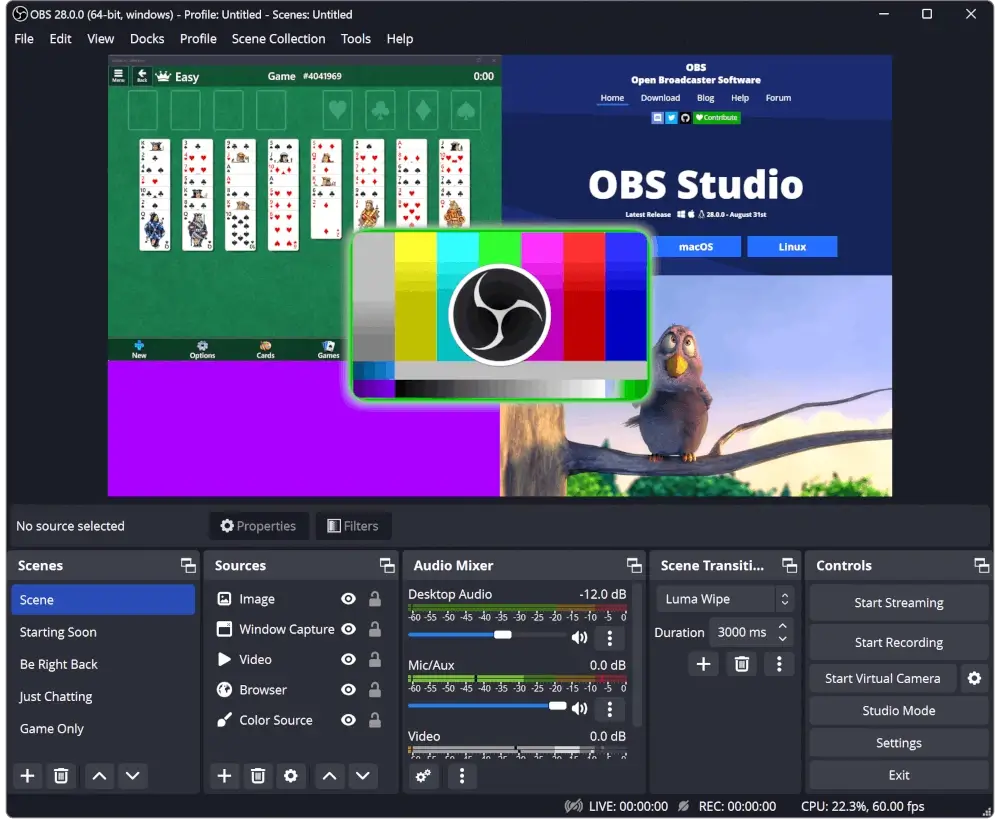
OBS Studio, short for Open Broadcaster Software Studio, is a free-to-use, open-source, cross-platform software application designed for video recording and live streaming.
Whether you’re a gamer looking to share your gameplay, a content creator aiming to produce high-quality videos, or a professional needing to conduct webinars, OBS Studio offers a robust set of features that cater to all these needs.
In this article, we will explore what OBS Studio is, its key features, and how to install it on a Linux system.
What is OBS Studio?
OBS Studio is a widely used cross-platform screencasting and streaming software application that enables you to record your screen, webcam, and microphone, as well as live stream your content to popular platforms such as Instagram, YouTube, and Facebook.
Key Features of OBS Studio
- It lets you create scenes using different sources like screen captures, text, images, browser windows, webcams, capture cards, and more.
- Create as many scenes as you want and easily switch between them with smooth transitions.
- It gives you an easy-to-use sound mixer where each sound can have filters like noise reduction, noise control, and volume adjustment.
- You can quickly add new sources, make copies of ones already there, and easily change their properties.
- It can use keyboard shortcuts for almost everything, like changing scenes, starting or stopping streams or recordings, muting sound sources, and more.
- It has a strong API that allows plugins and scripts to customize and add more features that suit your needs.
Installing OBS Studio on Linux
OBS Studio is available for installation on Linux through Flathub using Flatpak, and also through a PPA for Ubuntu.
sudo add-apt-repository ppa:obsproject/obs-studio
sudo apt update
sudo apt install ffmpeg obs-studio
After you finish installing it, you can start OBS Studio either from your apps menu or by typing a command in the terminal.
obs
For other Linux distributions, you can install OBS Studio using different package managers as shown.
sudo dnf install obs-studio [On RHEL/CentOS/Fedora and Rocky/AlmaLinux]
sudo pacman -S obs-studio [On Arch Linux]
sudo zypper install obs-studio [On OpenSUSE]
Getting Started with OBS Studio
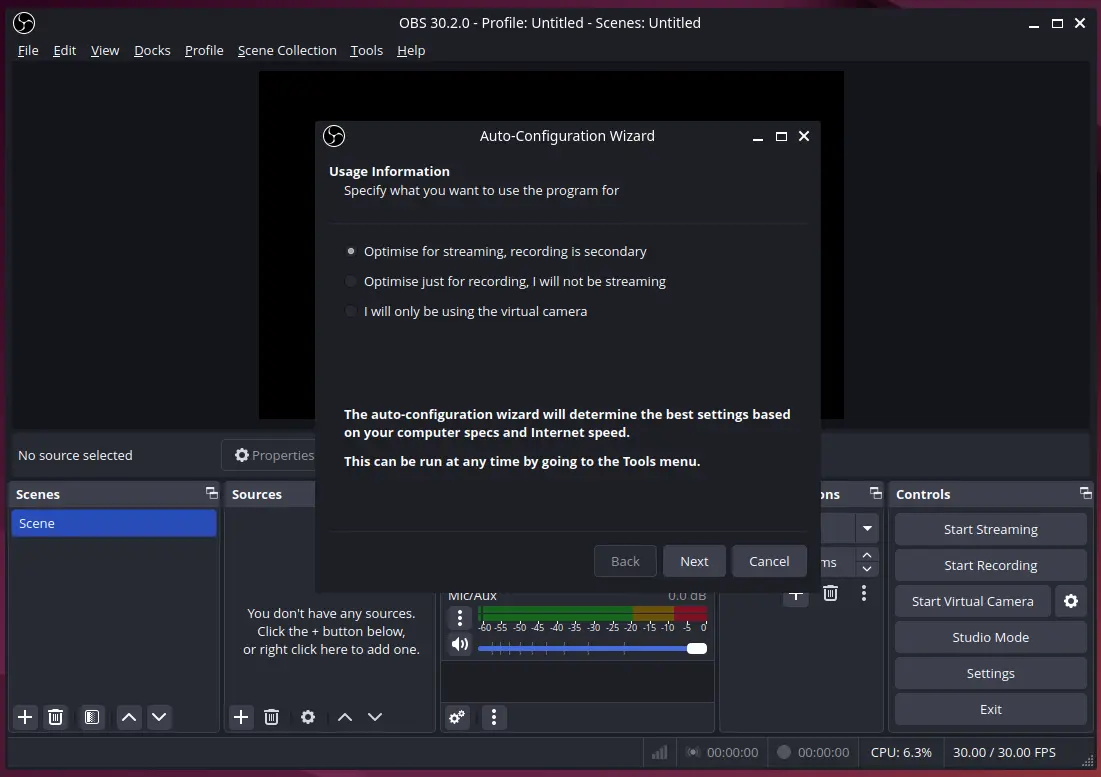
After installation, launching OBS Studio for the first time will prompt you with an Auto-Configuration Wizard. This wizard will guide you through the basic setup process, including video settings, streaming preferences, and recording settings.
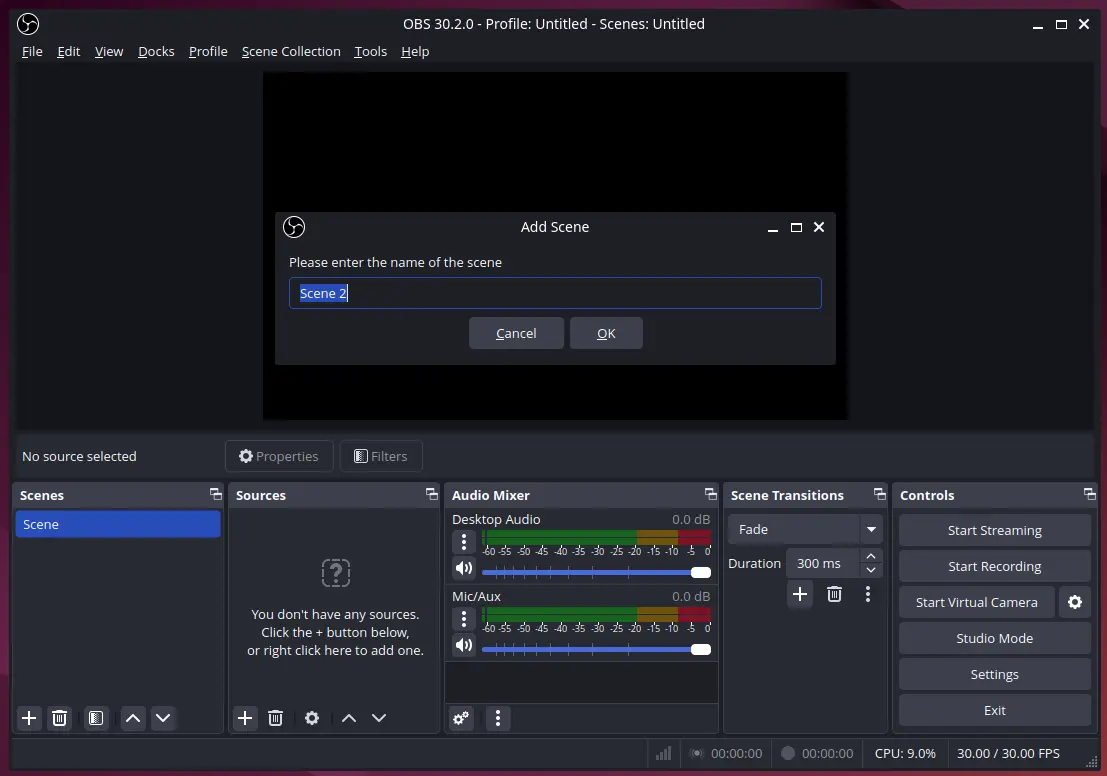
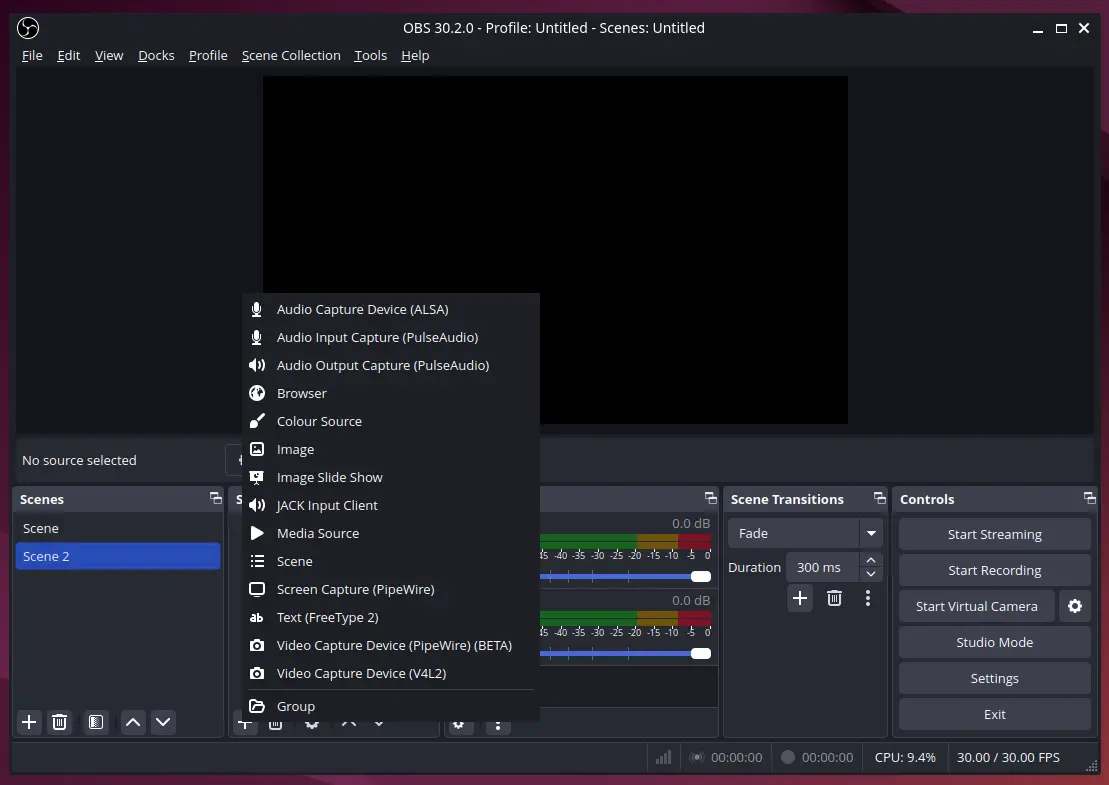
To make a new scene, click the "+" button in the “Scenes” section. To add sources to this scene, click the "+" button in the “Sources” section.
OBS Studio lets you use different things like windows you want to capture, web pages, pictures, text, and other stuff. Just pick what you want to add and set it up how you like.
OBS Studio records sound from your computer and microphone by default. You can adjust these in the Audio Mixer section. To add more sound sources, click the "+" button under “Sources” and choose “Audio Input Capture” or “Audio Output Capture“.
To begin streaming, go to “Settings” and find the “Stream” tab. Choose your streaming platform (such as Twitch, YouTube, or Facebook), then enter your Stream Key. Finally, click “Start Streaming” to start your live broadcast.
Conclusion
OBS Studio is a flexible and strong tool for recording or live-streaming videos. It’s free because it’s open-source, meaning a community works together to make it better all the time.
Whether you’re a beginner or a professional, OBS Studio offers the features and flexibility needed to create high-quality video content. By following the installation guide provided, Linux users can easily set up OBS Studio and start creating their own live streams and recordings in no time.
If this article helped you solve a problem, consider buying a coffee. It helps keep TecMint free, supports the authors, and keeps the project going.
Got Something to Say? Join the Discussion... Cancel reply