
In the previous tutorial, we demonstrated step-by-step how to install Proxmox on a Debian 12 system. In this second part, we will go a step further and create a Virtual Machine (VM) on Proxmox.
Creating a VM is an easy procedure and takes just a few steps to have one on your Proxmox environment.
Prerequisites
To get going, ensure you have the following:
- Proxmox is already installed.
- An ISO image of your choice, in this guide, we have already downloaded a Fedora ISO Live image.
Step 1: Add ISO image to Proxmox
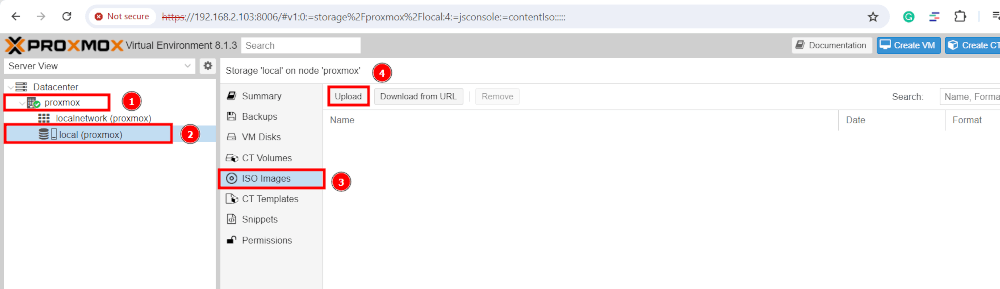
Before creating a virtual machine, the first step is to ensure we have an ISO image uploaded to the Proxmox data store. To get moving, head over to
Proxmox –> Local (Proxmox) –> ISO images –> Upload.
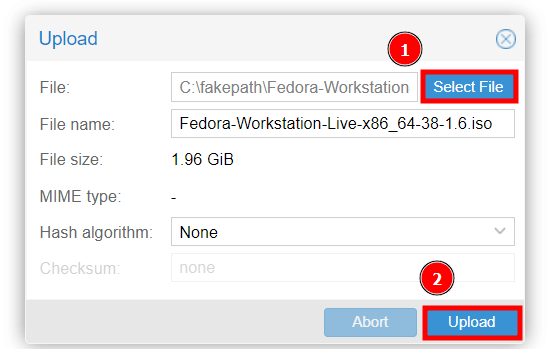
Click ‘Select File‘, select the ISO file, and then click ‘Upload‘.
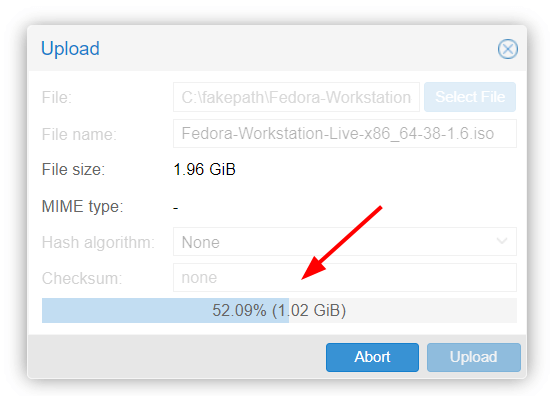
The time taken to upload the ISO image will depend on the size of the ISO image file and your bandwidth speed. You will see the progress bar as the upload is in progress.
Once the upload is complete, you will see some log messages on the task viewer pop-up confirming that everything went as expected.
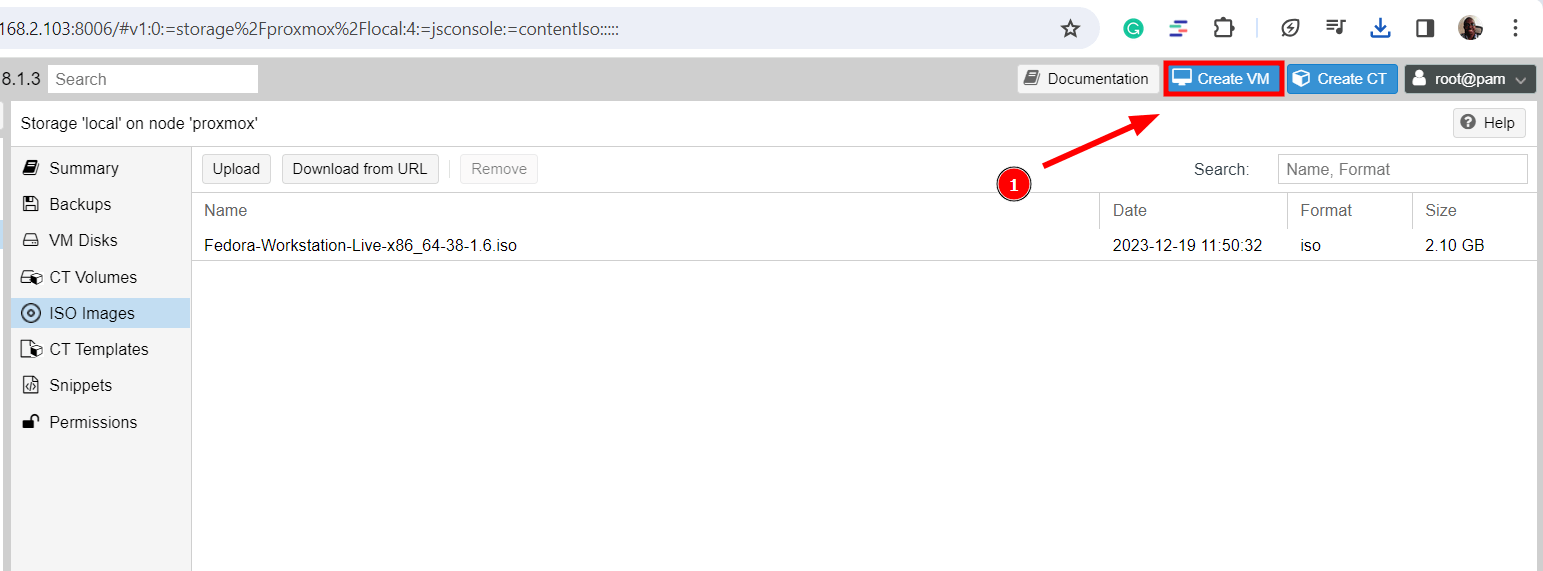
Step 2: Create a VM on the Proxmox
Now that we have the ISO image uploaded, the next step is to create a virtual machine. To do so, click the ‘Create VM‘ button as indicated below.
A wizard will pop open and will guide you on how to install the VM. First, provide the VM name as shown and click ‘Next‘.
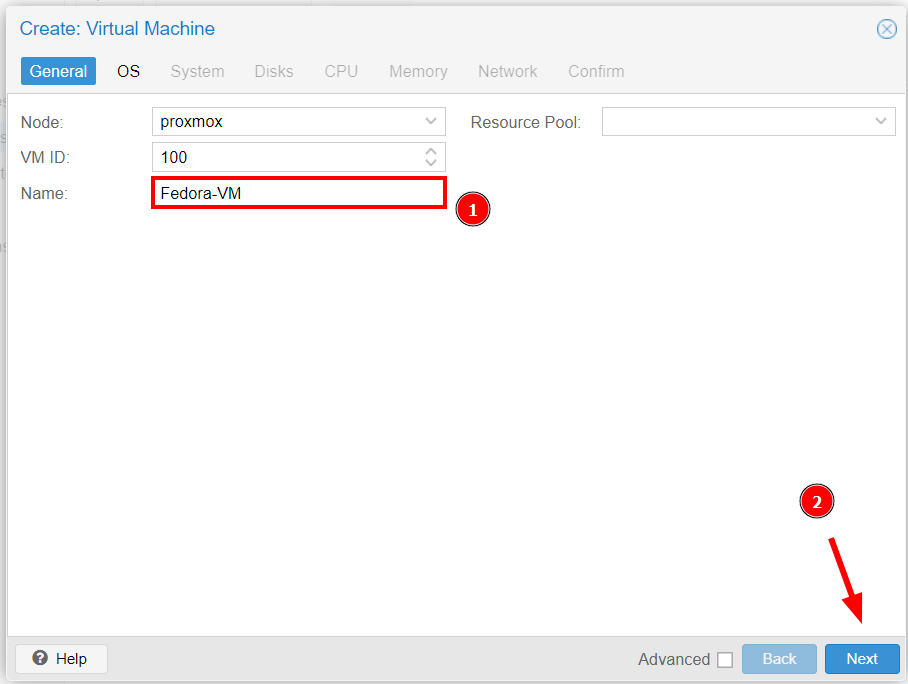
Next, click the ‘ISO Image‘ text box and select the ISO image file and click ‘Next‘.
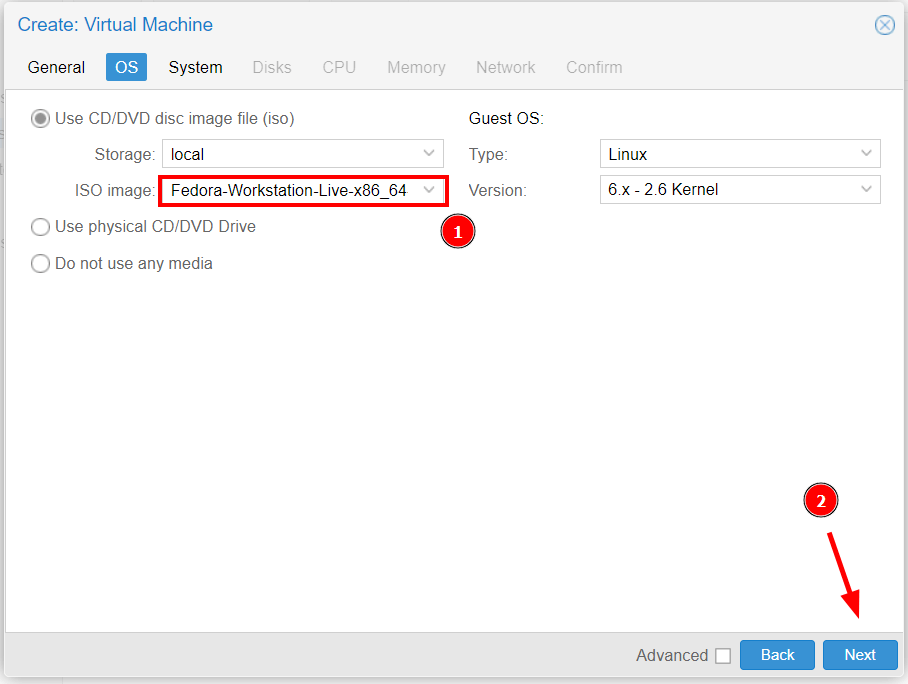
For the ‘System‘ tab, leave everything as is and click ‘Next‘.
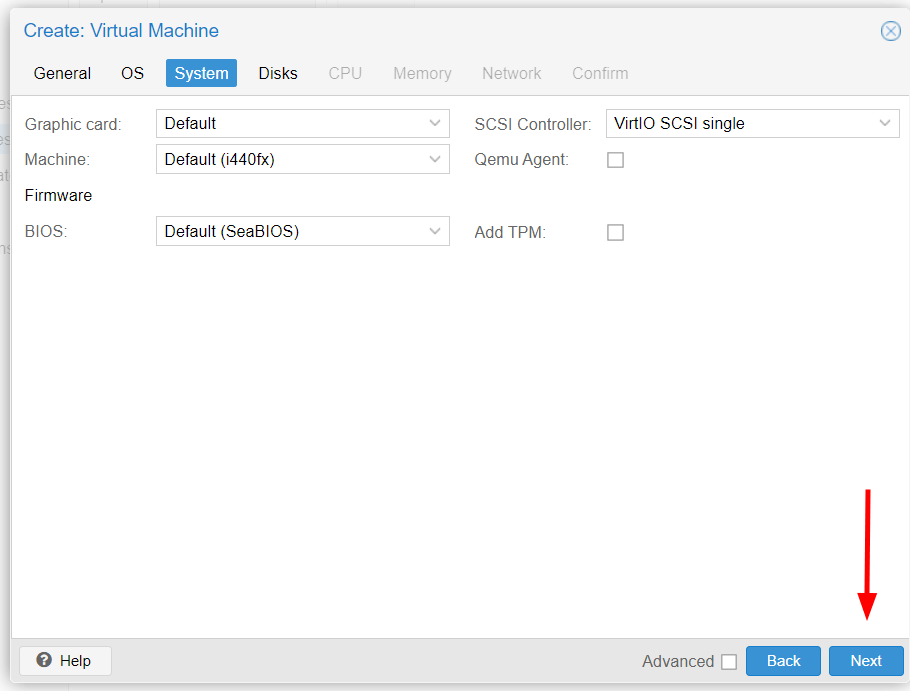
For the ‘Disks‘ tab, select the disk size and the format of the VM file and click ‘Next‘.
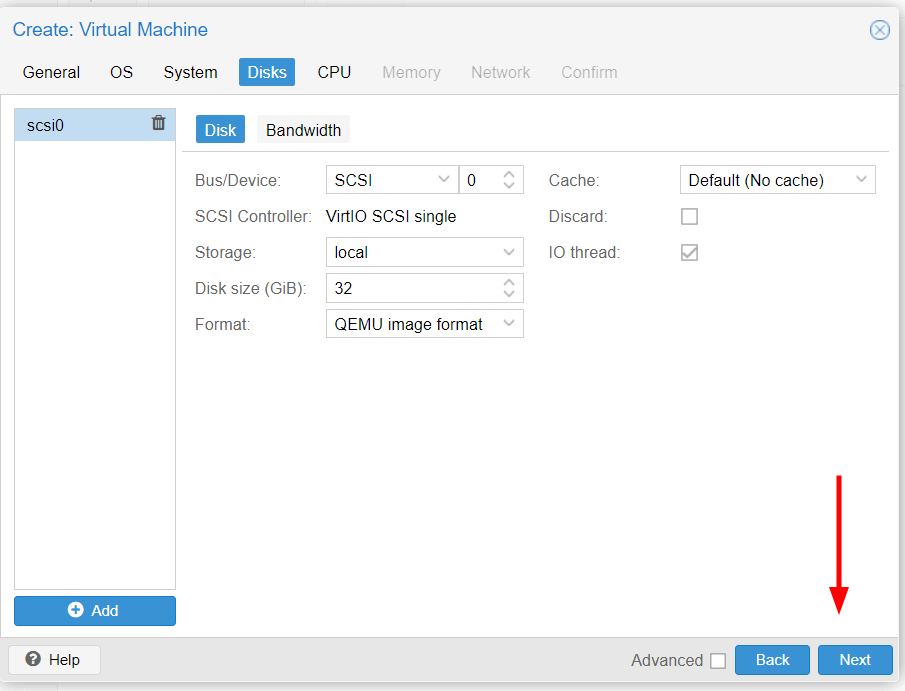
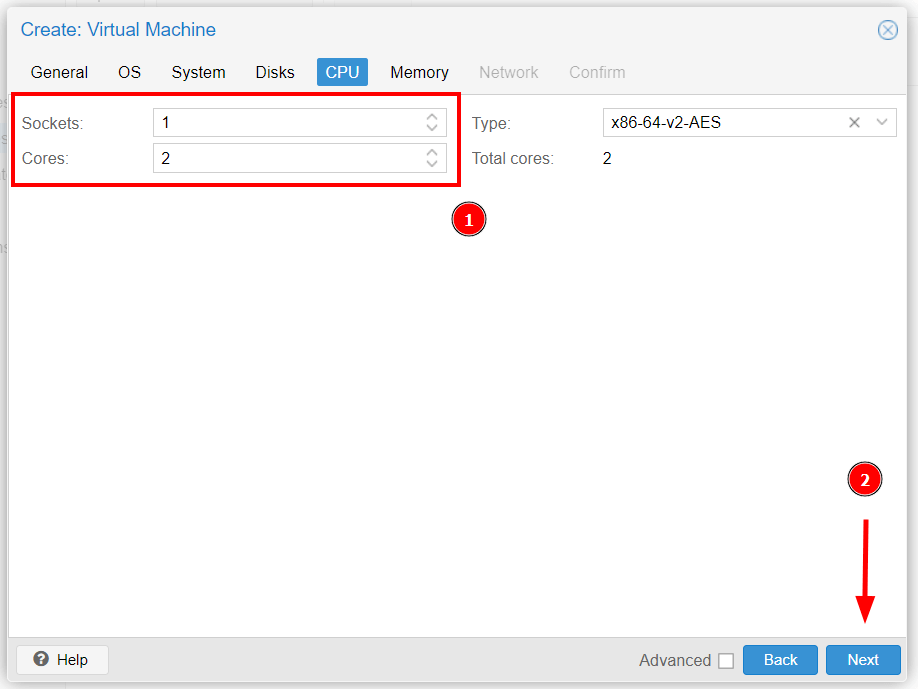
Next, be sure to select the number of sockets and CPU cores for your VM and click ‘Next‘.
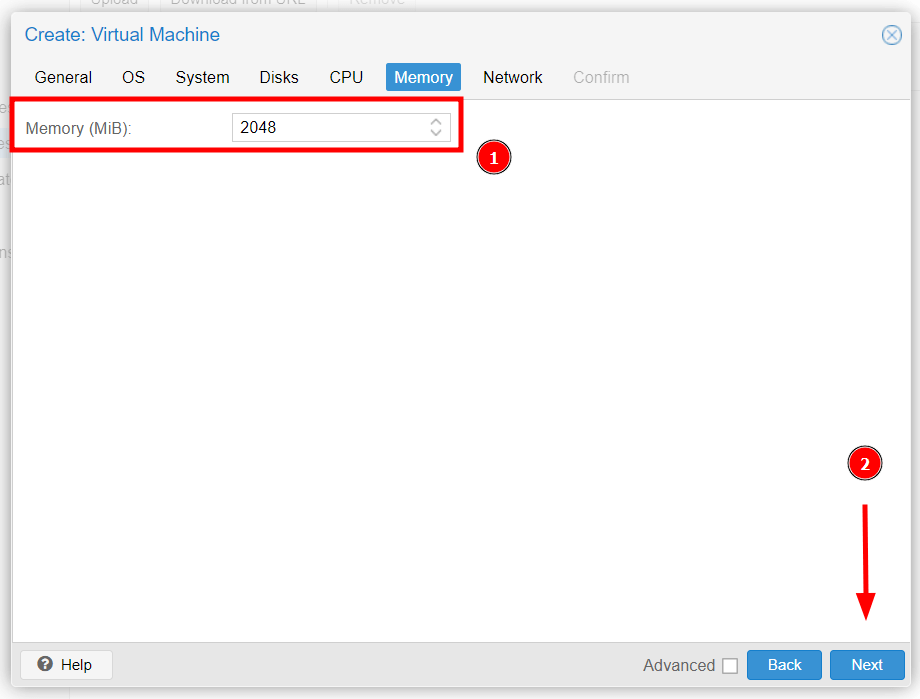
For the ‘Memory‘ tab, adjust the RAM size for your VM and click ‘Next‘.
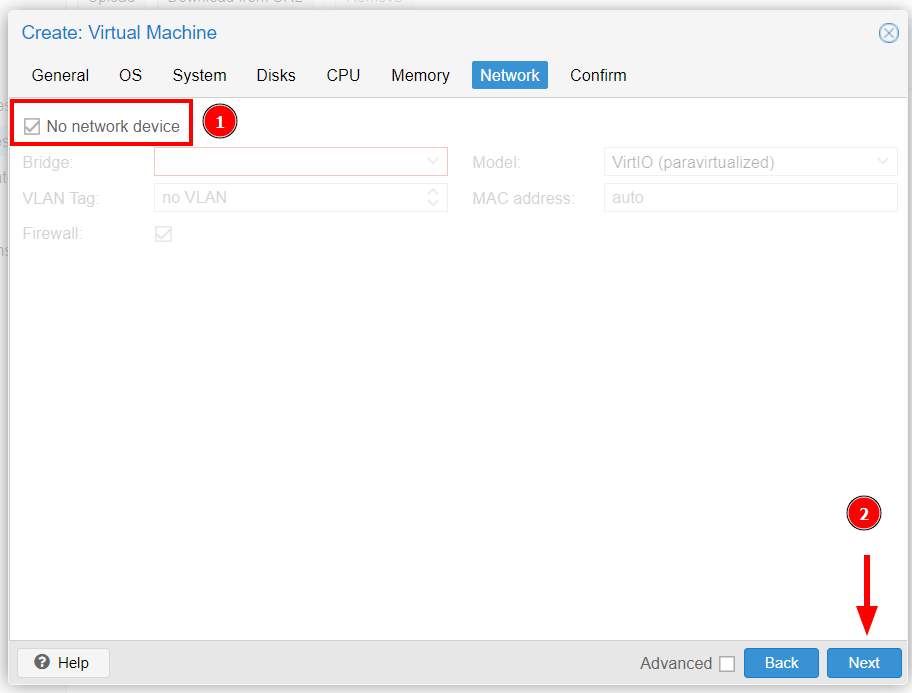
For the network tab, select ‘No network device‘ for now since you have not configured a Linux bridge. Then click ‘Next‘.
Lastly, confirm all the details and click ‘Finish‘.
Step 3: Start the VM on the Proxmox
To start the Virtual Machine, hit the Start button as indicated by the arrow. Alternatively, you can right-click on the VM name and select the `Start` option.
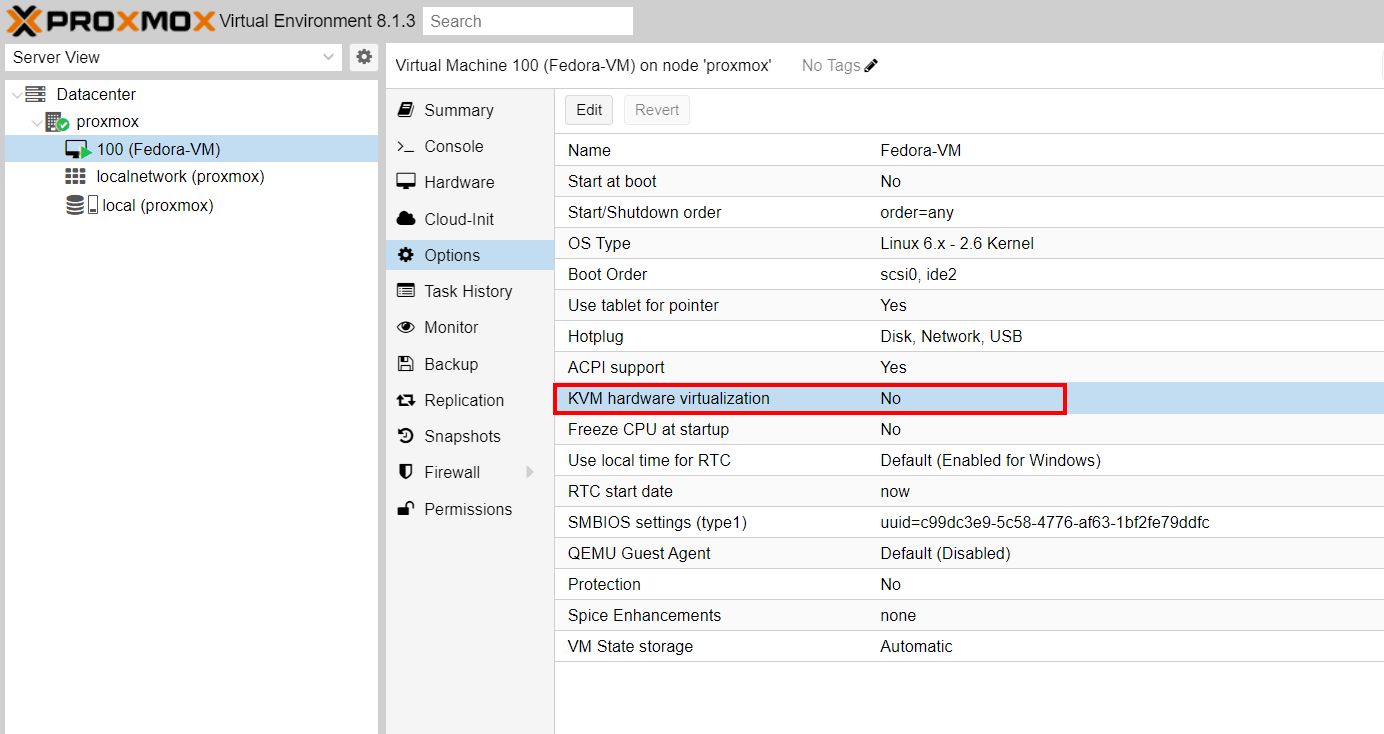
NOTE: You might encounter the following error when starting a VM:
“TASK ERROR: KVM virtualization configured, but not available. Either disable in VM configuration or enable in BIOS”
To troubleshoot this error, head over to ‘VM name‘ –> Options –> KVM hardware virtualization and set it to `No`.
Then go ahead and start the virtual machine. This time, it will be launched without any error.
In our case, we are running a VM with a Fedora ISO image attached to it. This is what you should see.
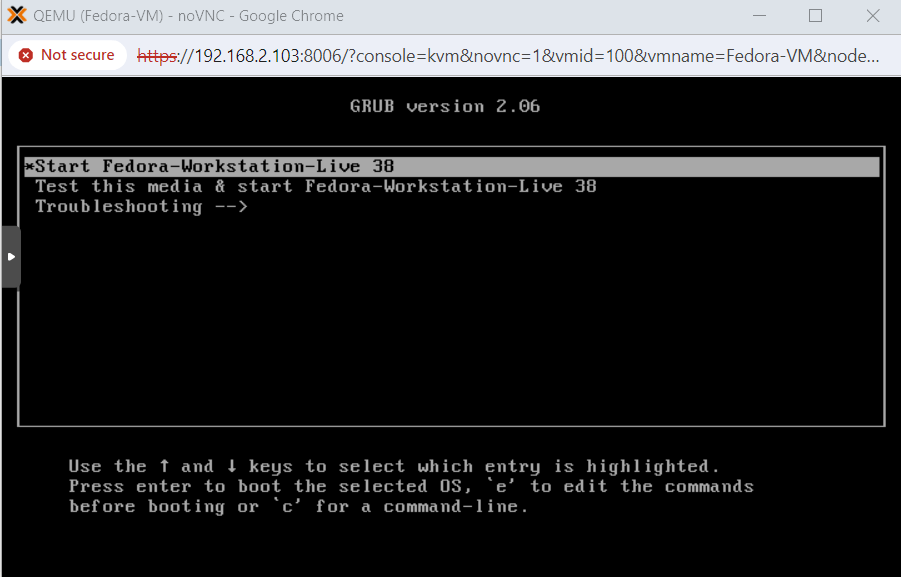
From here you can continue with the installation of your VM and later learn how to backup and restore vm.
Conclusion
In this tutorial, we have demonstrated how you can create a virtual machine in Proxmox. Hopefully, you’ve been able to create one using your preferred ISO image file.
In the upcoming tutorial, we will discuss how to create LXC containers in Proxmox.
If this article helped you solve a problem, consider buying a coffee. It helps keep TecMint free, supports the authors, and keeps the project going.
Got Something to Say? Join the Discussion... Cancel reply