 |
VOOZH | about |
|
VOOZH | about |
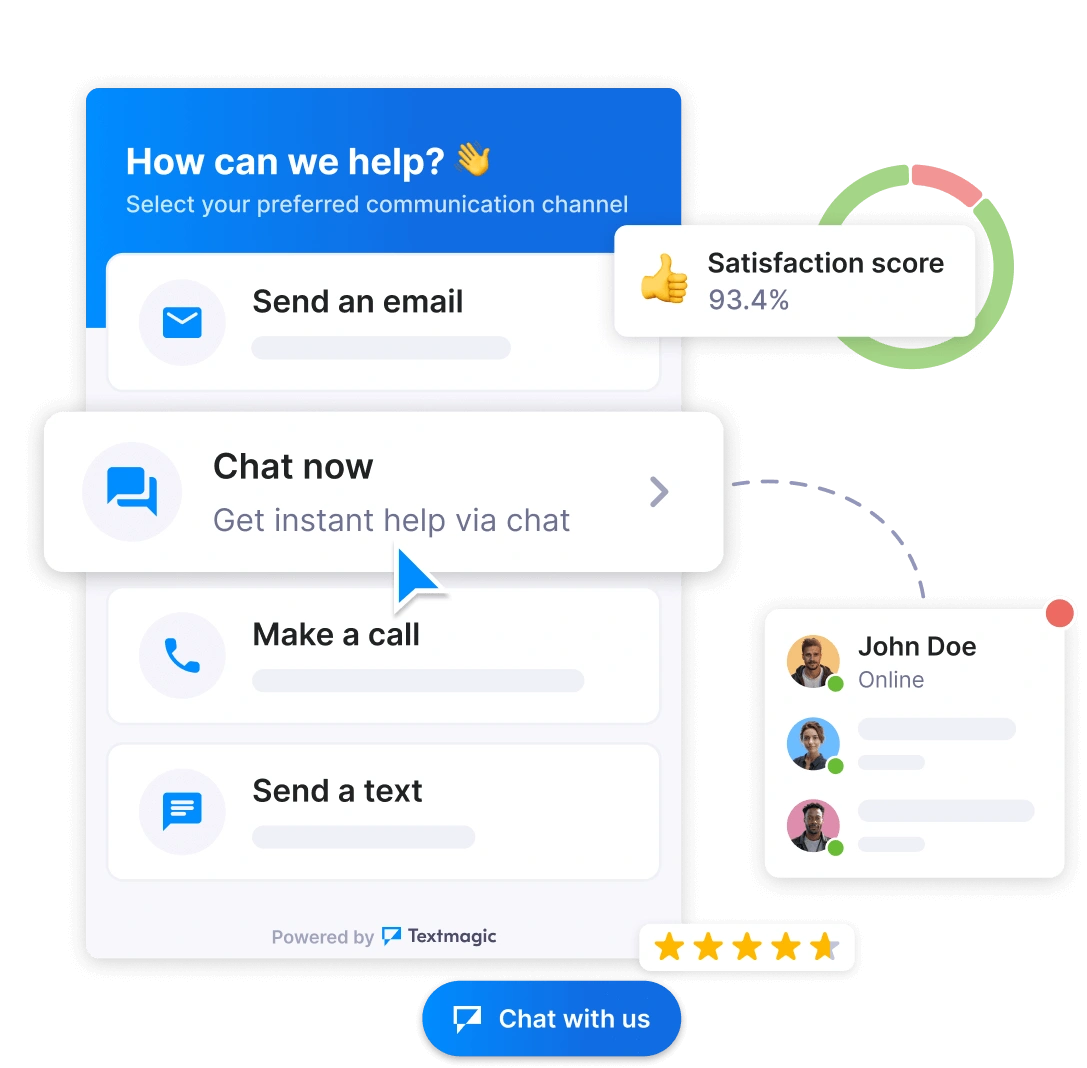
Give visitors quick answers through their preferred channel. These features help your team stay organized, capture more leads, and deliver better service.
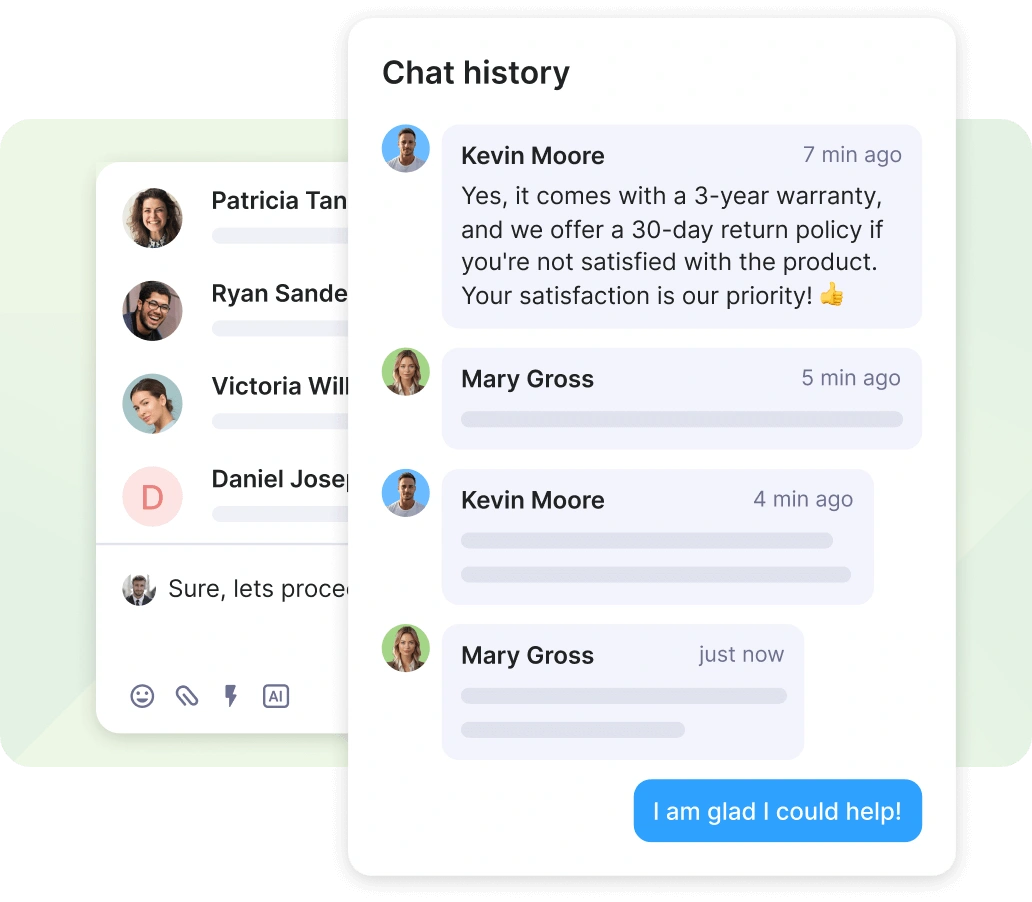
Make customer conversations effortless with our unified inbox. Manage all your communication channels in one place – from the first hello to lasting loyalty.
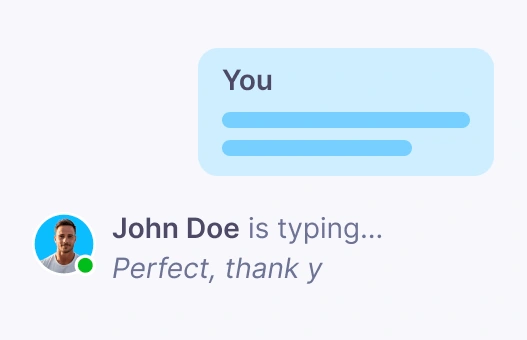
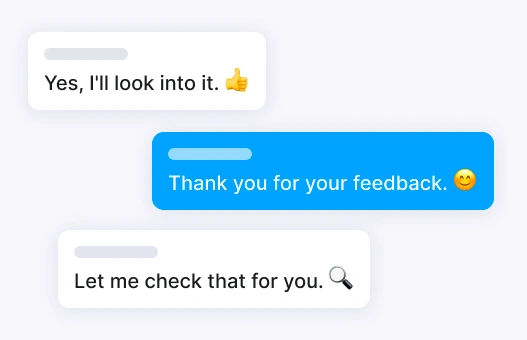
Peek at what people are typing before they hit send. It lets you prepare answers faster.
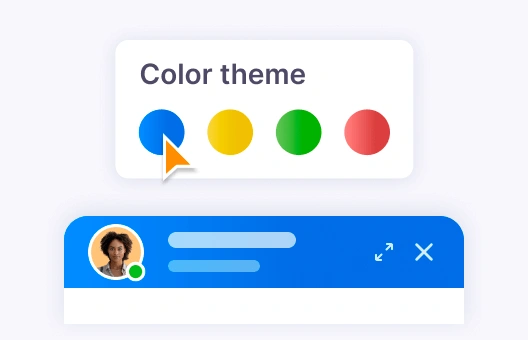
Make the widget look like it's a part of your site. You can change colors, texts and fully adjust it.
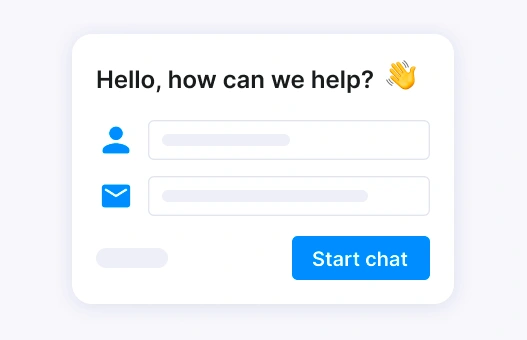
Ask visitors relevant questions before they start chatting. It will give you the needed context.
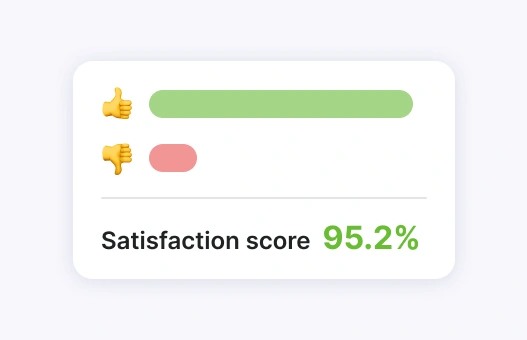
Find out how happy people are with your support. Be aware what's working and what's not.
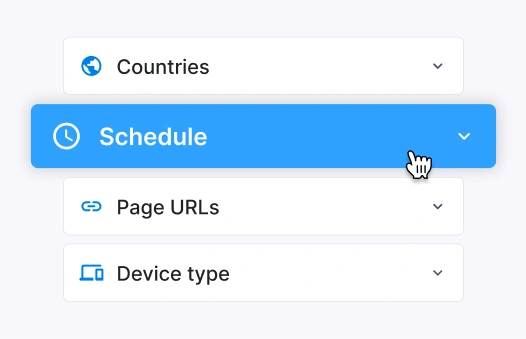
Decide where, when, and who sees your chat widget with page, schedule, and location targeting.
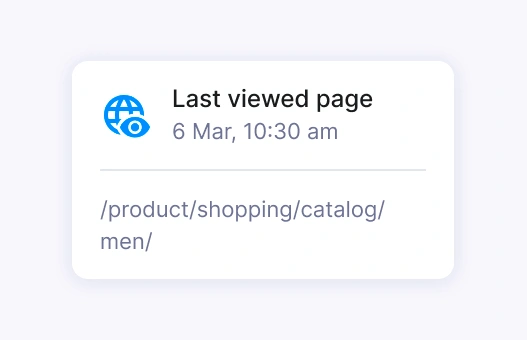
See which pages visitors looked at before starting a chat to better understand their interests.
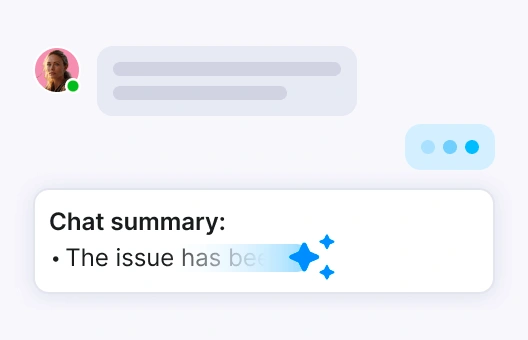
Deliver fast and precise responses to customers’ questions with the generative AI bot help.
Use ready-made responses for common questions to save time and improve response speed.
Sign up for free to access all our features. No credit card required. The chat widget is free to use. We'll let you know if any charges are introduced.
Invite team members to handle conversations. Assign roles and collaborate on chats in real-time.
Customize the chat widget to match your brand and install it on your website with just a few clicks.
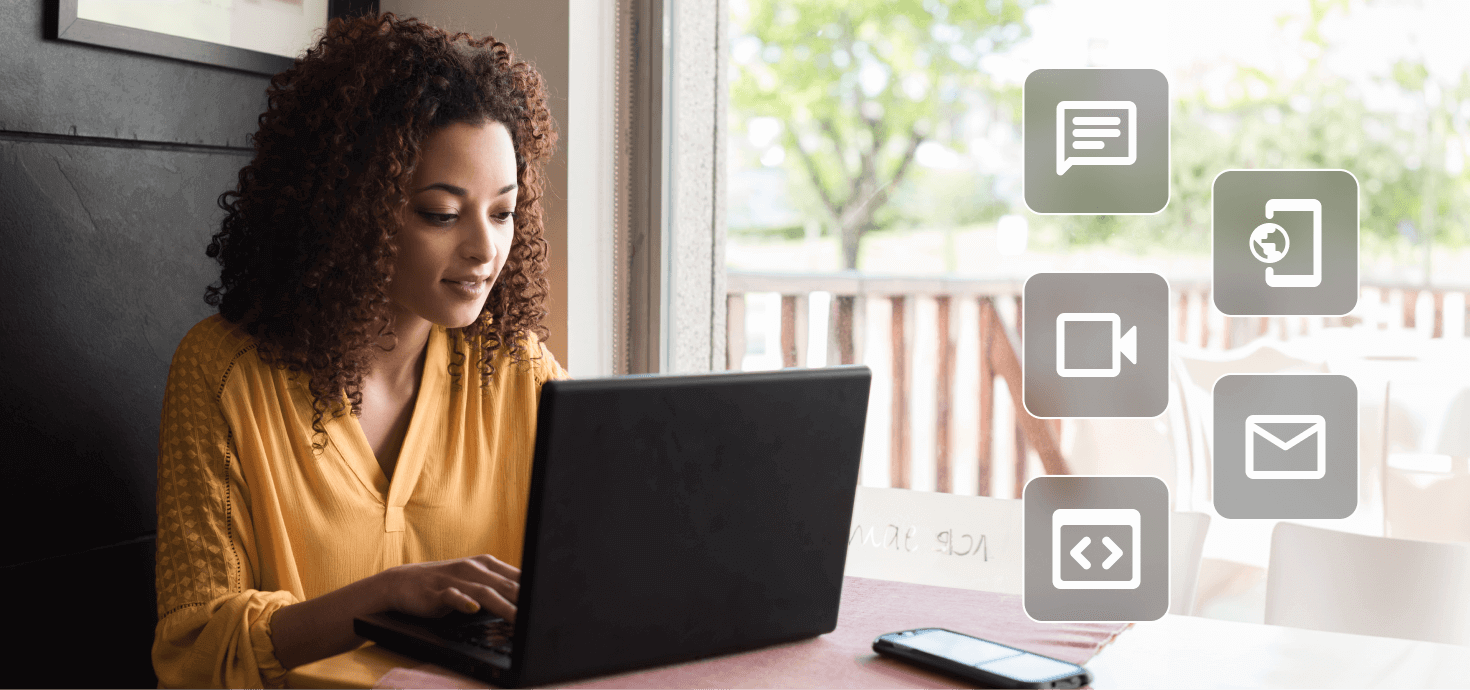
Connect with customers through live chat, SMS, email, WhatsApp, or calls - all from one inbox. Never miss an opportunity to help.
Haven’t found what you were looking for? Contact us now
The Textmagic chat widget is a powerful tool that can improve your website functionality in several key ways:
Without the chat widget, your website would lack essential features and become a one-sided, passive experience where users can only consume content without any means of interaction with your business.
Yes, you can. In the Channels section in the widget editor, select which channels (email, text message, call, live chat) you want to make available to your visitors. You can also customize each channel’s settings to suit your needs.
To learn more, please read this support article.
In the Targeting section, you can define who sees your widget based on criteria like countries, schedule, page URLs, and device types. This ensures that your widget is seen by the most relevant people.
To learn more, please read this support article.
Of course! You can return to the widget editor at any time to make changes. After editing, simply save your changes, and they will be applied automatically without needing to re-embed the code.
Yes, after setting up your widget, you can click on the "View Test Page" button in the Embed Code section. This lets you preview how the widget will appear on your website and make any necessary adjustments before it goes live.
To learn more, please read this support article.
To embed the widget, go to the Embed Code section, copy the provided code, and paste it into your website’s HTML before the closing tag. This will activate the widget on your site, making it visible to visitors.