 |
VOOZH | about |
|
VOOZH | about |
Validating input fields is imperative when crafting forms to collect data from your customers. Form validation gives you total control of the customer experience and enables you to guide the user through the path you want them to take.
👁 Form Validation in Vue With VuelidateYou should conduct validation on both the client and server side of your application for quality assurance. In this tutorial, we’ll walk through how to conduct simple form validation in Vue.js.
The Replay is a weekly newsletter for dev and engineering leaders.
Delivered once a week, it's your curated guide to the most important conversations around frontend dev, emerging AI tools, and the state of modern software.
You can create forms in Vue applications just as you would with HTML5. That means little to no additional skills are required to build forms in the Vue template section of any component with plain HTML.
This tutorial is suited for developers at all stages, including beginners. Below are a few things you should already have before going through this tutorial.
node -v
npm uninstall -g vue-cli
npm install -g @vue/cli
npm install
Vuelidate is a simple, lightweight, model-based validation library for Vue applications. Validation rules are added to a validation object where a given component is defined (instead of directly inside the DOM).
Vuelidate works well with other libraries such as Moment and VueX and can be added with the add command on the Vue CLI. It also has support for collection validation, nested models, and function composition.
Create a new Vue application in your terminal.
Vue create newapp
Choose the default setup. After the project has been created, navigate to the new project folder.
cd newapp
Install Vuelidate with your package manager of choice. I use npm, so I did:
npm add vuelidate
This installs the library for your newapp project. The next step is to register it as a plugin so you can use it in your Vue app.
Go to the main.js file inside the src directory and register it. Your main.js file should look like this:
import Vue from 'vue'
import App from './App.vue'
import Vuelidate from "vuelidate";
Vue.use(Vuelidate);
Vue.config.productionTip = false
new Vue({
 render: h => h(App),
}).$mount('#app')
Vue also ships with a graphical user interface that you can use to manage Vue.js applications. To access it, go to your terminal and run the following command.
vue ui
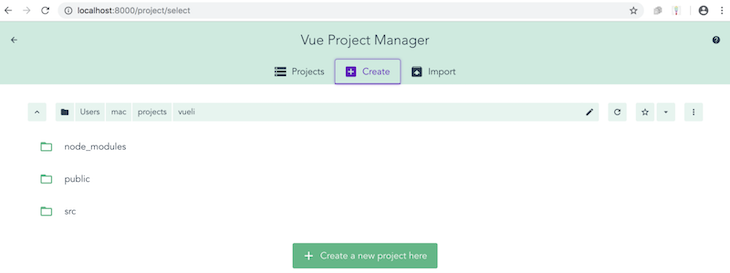
This will lead you to a browser interface that looks like this:
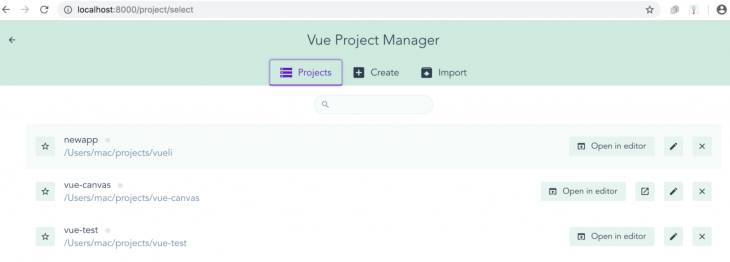
You can create a new Vue project with this GUI or import one. Since we already created the newapp project, let’s import it. Click “Import” to open your file manager and find your newapp folder. The project is popped into the GUI.
👁 newapp Folder in Vue Project Manager
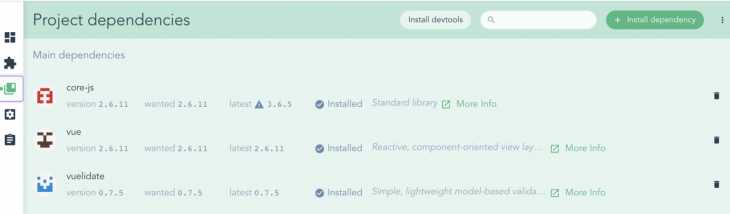
The GUI dashboard has five tabs. The third tab, labeled “Project dependencies,” is where you can find Vuelidate (which we added earlier).
👁 Dependencies Displayed in Vue Project Manager
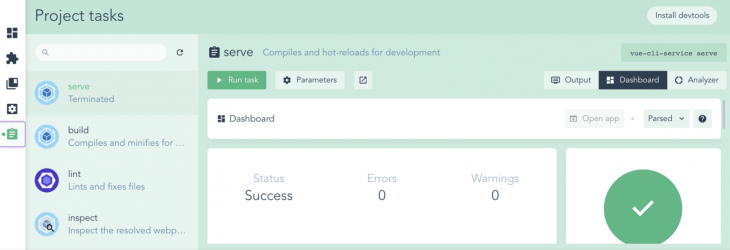
You can add or remove dependencies straight from the GUI dashboard. To run the application, use the fifth tab (“Project tasks”). Select the “serve” task and hit “Run task” to see your application served in localhost.
👁 Project Tasks in Vue Project Manager
Now that we’ve brought in the Vuelidate library and registered it as a plugin, let’s build out a simple form to see it in action. Open the app.vue file and replace the content with the code block below.
<template>
 <div id="visa">
 <h1>Create a New Vue Account</h1>
 <form>
 <label for="full name">Full Name:</label>
 <input type="text">
 <br>
 <label for="email">Email Address:</label>
 <input type="text"> <br>
 <span></span>
<label for="password">Password:</label>
 <input type="text"><br>
 <span></span>
 <br>
 <label for="age">Age:</label>
 <input type="text">

 </form>
</div>
</template>
<script>
export default {
 name: 'app'
}
</script>
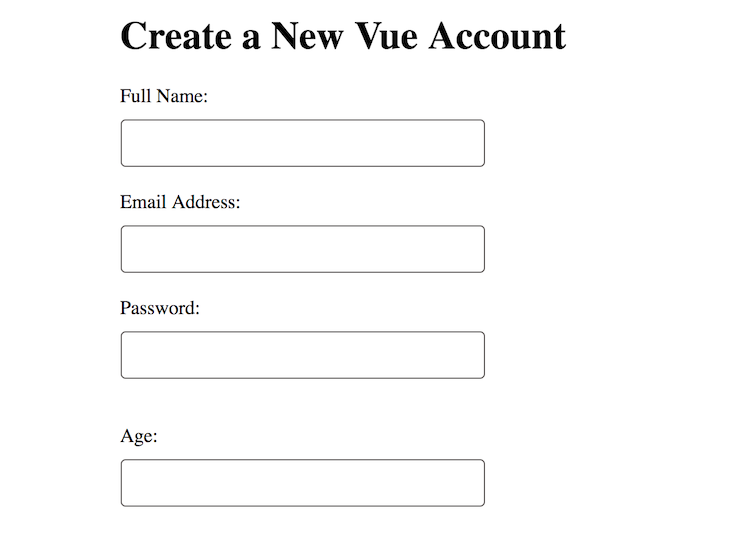
This displays a simple contact form that looks like this:
To set validation rules for the number of characters, you need to be present in the name and password fields. The validations option is available to you once Vuelidate is registered as a plugin.
In the script section of your app.vue file, add the code block below.
<script>
import { required, minLength, between } from 'vuelidate/lib/validators'
export default {
 name: 'app',
 data() {
 return {
 name: '',
 password: '',
 age: ''
 }
 },
 validations: {
 name: {
 required,
 minLength: minLength(4)
 },
 password: {
 required,
 minLength: minLength(4)
 },
 age: {
 required,
 between: between(18,45)
 }
 }
}
</script>
First, we imported the following built-in validators.
minLength, which refers to the minimum number of characters for a given required input fieldrequired, which points to a required input field that has to be filled before submission is possiblebetween, which points to a range of numbers for input to be given inIn the template section of your app.vue file, replace the current content with the following block of code.
<template>
 <div id="visa">
 <h1>Create a New Vue Account</h1>
 <form>
 <div>
 <!-- Full name validation -->
 <div class="form-group" :class="{ 'form-group--error': $v.name.$error }">
 <label class="form__label">Full Name</label>
 <input class="form__input" v-model.trim="$v.name.$model"/>
 </div>
 <span class="error" v-if="!$v.name.required">Field is required</span>
 <span class="error" v-if="!$v.name.minLength">Name must have at least {{$v.name.$params.minLength.min}} letters.</span>
 <tree-view :data="$v.name" :options="{rootObjectKey: '$v.name', maxDepth: 2}"></tree-view>
 <!-- Email Address-->
 <label for="email">Email Address</label>
 <input type="text"> <br>
 <span></span>
 <!-- Password validation-->
 <div class="form-group" :class="{ 'form-group--error': $v.password.$error }">
 <label class="form__label">Password</label>
 <input class="form__input" v-model.trim="$v.password.$model"/>
 </div>
 <span class="error" v-if="!$v.password.required">Field is required</span>
 <span class="error" v-if="!$v.password.minLength">Name must have at least {{$v.password.$params.minLength.min}} letters.</span>
 <tree-view :data="$v.password" :options="{rootObjectKey: '$v.password', maxDepth: 2}"></tree-view>
 <!-- Age validation-->
 <div class="form-group" :class="{ 'form-group--error': $v.age.$error }">
 <label class="form__label">Age</label>
 <input class="form__input" v-model.trim="$v.age.$model"/>
 </div>
 <span class="error" v-if="!$v.age.between">Must be between {{$v.age.$params.between.min}} and {{$v.age.$params.between.max}}</span>
 <tree-view :data="$v.age" :options="{rootObjectKey: '$v.age', maxDepth: 2}"></tree-view>
</div>

 </form>
</div>
</template>
For every option, we used the v-model directive to bind the input data and also specify in spans the rules and how they are flagged. The $v selector, which is now available for use since Vuelidate has been added, makes it easy to build logic around the model.
The form looks exactly as it did before except that it can now show validators, according to the rules we set.
👁 Simple Form Tested With Vuelidate
That’s how easy it is to use the Vuelidate library to handle validations with the v-model directive. The full code for this project is available on GitHub.
In this tutorial, we went over how to handle basic form input validation with the Vuelidate library. We also showed how to use the Vue GUI and ran through a quick overview of how it works.
In future posts, we’ll dive deeper into Vuelidate and explore how we can use it to handle submission and passwords.
Debugging Vue.js applications can be difficult, especially when users experience issues that are difficult to reproduce. If you’re interested in monitoring and tracking Vue mutations and actions for all of your users in production, try LogRocket.
👁 LogRocket Dashboard Free Trial BannerLogRocket lets you replay user sessions, eliminating guesswork by showing exactly what users experienced. It captures console logs, errors, network requests, and pixel-perfect DOM recordings — compatible with all frameworks.
With Galileo AI, you can instantly identify and explain user struggles with automated monitoring of your entire product experience.
Modernize how you debug your Vue apps — start monitoring for free.
Learn how to use Gemini CLI subagents to delegate frontend, backend, testing, and docs tasks to specialized agents with guardrails and clear ownership.
Learn how next-browser gives AI agents runtime context for debugging Next.js apps, including React props, hydration, PPR, forms, and performance.
Build dynamic LLM routing in Next.js with OpenRouter, TanStack AI, task classification, model fallbacks, and cost-aware routing.
TSRX adds first-class control flow, conditional hooks, and scoped styles to React via a TypeScript compiler extension — no new framework required.
Hey there, want to help make our blog better?
Join LogRocket’s Content Advisory Board. You’ll help inform the type of content we create and get access to exclusive meetups, social accreditation, and swag.
Sign up now