 |
VOOZH | about |
|
VOOZH | about |
Looking to develop and test your API? Hoppscotch is a great open-source tool, and I’ll explain how to set it up. Then I’ll go into the APIs you can test with Hoppscotch and how to test them. After that, I’ll compare it to two of its alternatives: OpenAPI DevTools and Postman.
👁 Hoppscotch Vs Postman: A Guide To API TestingThere are multiple ways to set up Hoppscotch, but in this section, I’ll cover the desktop application and the web client because they’re most likely what you’ll interact with.
The desktop application is by far the easiest to set up. All you need to do is:
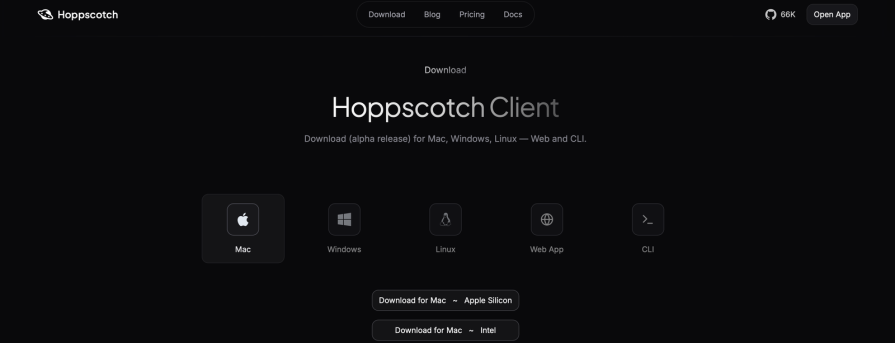
👁 Downloading Hoppscotch Client
After downloading the file, follow the installation process for your operating system, and then you should see the desktop application in your app library.
On the Hoppscotch client download page, you may have noticed the “Web App” option listed alongside the operating system options. Clicking the “Web App” option, and the “Open Web App” button that shows up will open the web client in a new tab.
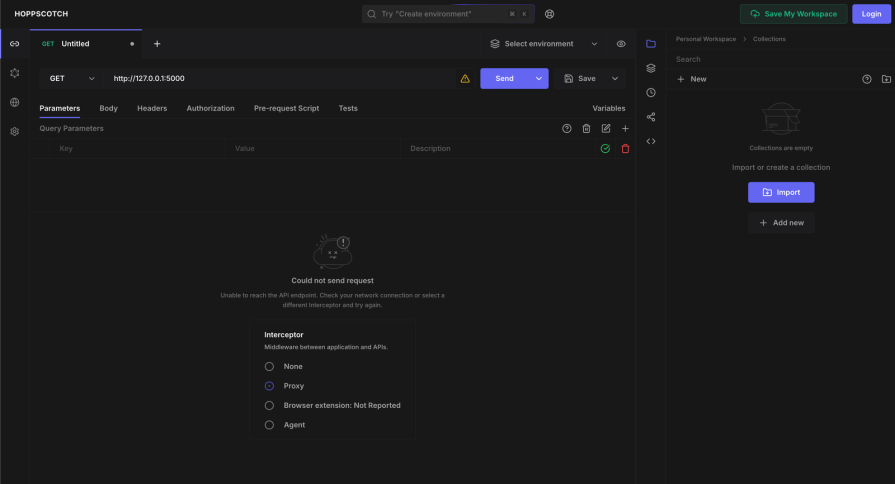
With its default settings, the web client only allows you to send requests to APIs that are publicly available on the internet. This means that trying to send requests to a locally hosted API (like localhost and 127.0.0.1) would display this error message:
👁 Hoppscotch Error Message Example
This happens because, by default, the web app’s interceptor is set to Hoppscotch’s proxy service, which is hosted at https://proxy.hoppscotch.io/ and doesn’t have access to APIs that aren’t accessible on the internet.
To allow access to locally-hosted APIs, you need to download the Hoppscotch browser extension and set it as the interceptor. You can only install the extension Chrome-based and Firefox-based browsers, so that’s something to keep in mind.
To install the browser extension, follow these steps:
👁 Install Hoppscotch Extension And Refresh Web Client
After refreshing the web client, you should see the text beside the Browser extension option change from Not Reported to the extension’s version number.
With the extension installed, you can now send requests to locally available APIs and publicly available ones. In the next section, I’ll cover the types of APIs you can test with Hoppscotch and how to test them.
In this section I’ll cover how to test REST, GraphQL, and WebSocket APIs with Hoppscotch. To make it easy, I made a GitHub repo with the code for the APIs.
REST APIs are built to allow web applications to create, read, update, and delete data on the backend.
Let’s imagine, for example, a basic RESTful API with these features:
| Request method – Endpoint | Request | Response | Description |
|---|---|---|---|
| GET – /message | No content | “Hello, world” | Respond with a message |
| POST – /message | “World, Hello” | “World, Hello” | Change the message that it would respond with |
| PUT – /message | “, World” | “World, Hello, World” | Append a text to the message |
| DELETE – /message | No content | “” | Clear the text |
In REST APIs, the actions of creating, reading, updating, and deleting data are represented using the POST, GET, PUT, and DELETE request methods respectively.
In our API, POST, and PUT requests to the /message endpoint change and add texts (respectively) to the message that a GET request to /message responds with, and a DELETE request allows the text to be cleared.
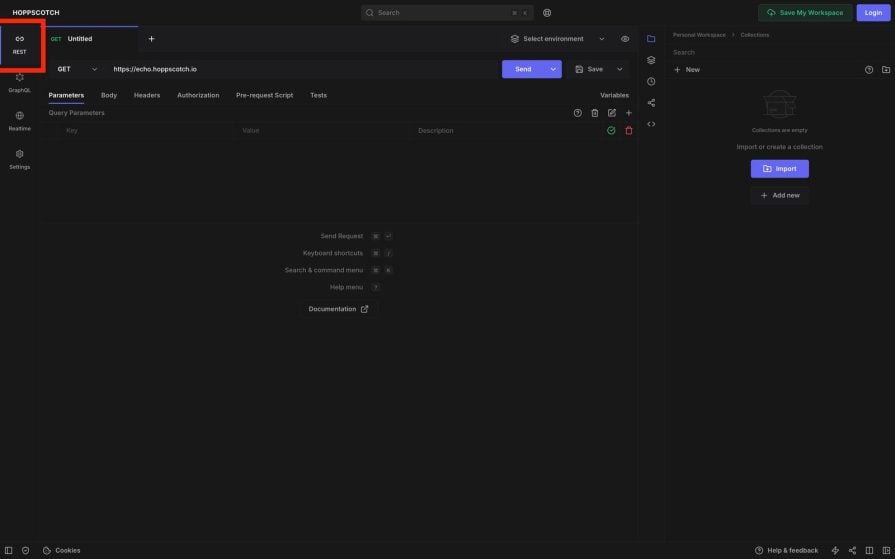
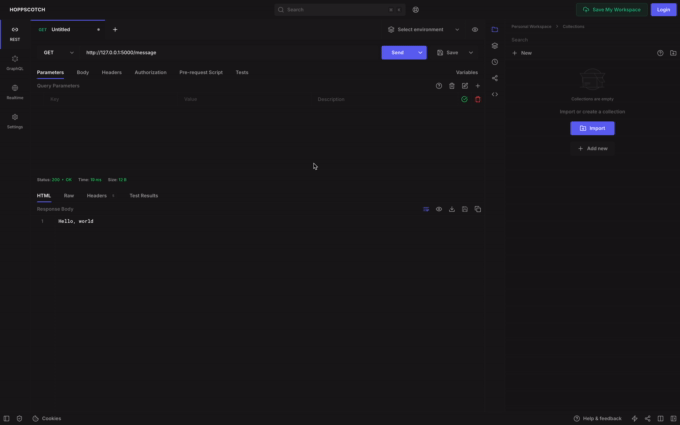
To send a GET request to the /message, you first need to make sure you’re in the REST tab on the left navigation pane:
👁 GET Request in Hoppscotch Part 1
Then change the URL of the endpoint to the text box and click Send:
If our API is hosted at http://127.0.0.1:5000, the endpoint’s URL would be http://127.0.0.1:5000/message.
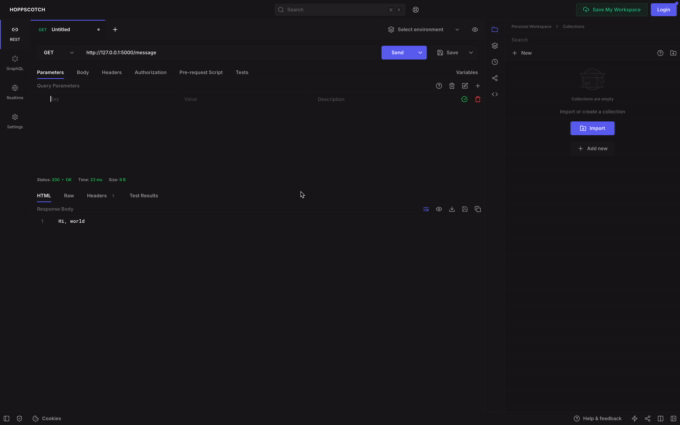
Sending the DELETE request is similar to sending the GET request. To send the DELETE request, change the request method option from GET to DELETE and click Send:
👁 DELETE Request in Hoppscotch
Send a POST request to the endpoint:
Sending the PUT request is similar to the POST request. All you need to do is set the request method option to PUT instead:
👁 You can change the text if you want to.
These four request methods cover majority of the operations that are usually carried out with REST APIs, and now you know how to send requests to them in Hoppscotch. Now, let’s now cover the next type of APIs you can test with Hoppscotch: GraphQL APIs.
To keep the operations similar to the basic RESTful API I described in the last section, I’ll be making this schema of the GraphQL API:
type Query {
 message: String # get the message
}

type Mutation {
 changeMessage(message: String): String # change the content of the message
 addText(text: String): String # append a text to the message
 deleteText: String # clear the message
}
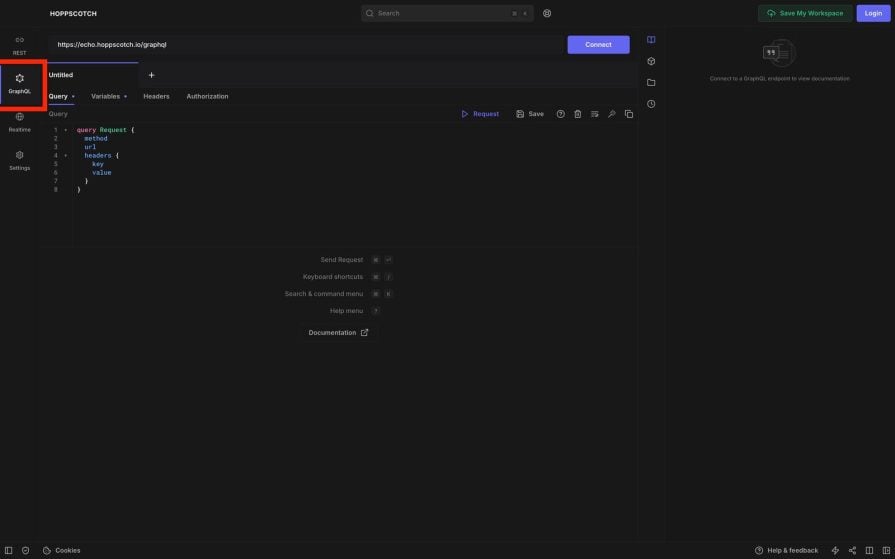
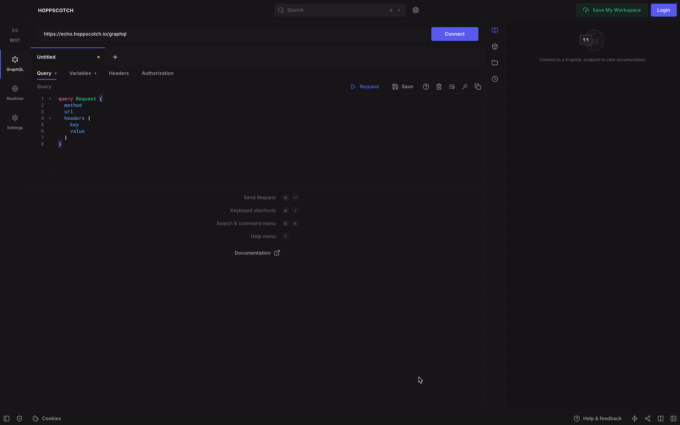
To make requests to GraphQL APIs, you first need to be in the GraphQL tab:
Once you’re in the GraphQL tab follow these steps to make requests to the API:
http://127.0.0.1:8000/graphql, this would be the URL we’re inserting.# 1.
query {
message
}
# 2.
mutation {
changeMessage(message: "Hi, world") # change text to "Hi, world"
}
# 3.
mutation {
deleteText
}
# 4.
mutation {
addText(message: ", and all") # Changes "Hi, world" to "Hi, world, and all"
}
After writing the query or mutation, click Run to send it API. Here’s a visual demonstration of the steps:
Now you’ve seen how to test GraphQL APIs with Hoppscotch. In the next section, I’ll go into how to test a real-time WebSocket API with Hoppscotch.
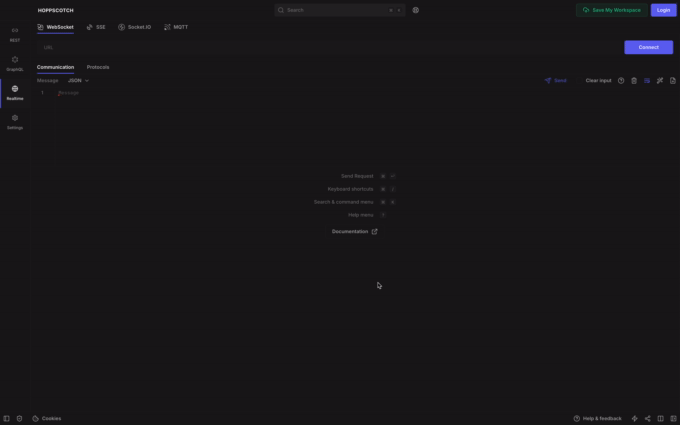
Testing WebSocket APIs with Hoppscotch is straightforward. All you need to do is:
If the connection is successfully established, you should see a “Connected to ” message in the Log section. Any message that the server sends will also be displayed in the Log section. You will also be able to send messages to the server by writing texts to send to the server in the Message box and clicking the Send button.
Here’s an animation to show these processes:
👁 Writing Texts To Send To Server
In the GitHub repo for the APIs, the WebSocket API will be hosted at http://127.0.0.1:8080. It sends the current date and time every second and stops when you send the message “end” to it.
The best way to understand Hoppscotch better is to look at how it compares with other tools in the same category. So, in this section, I’ll give an overview of two popular alternatives: Postman and OpenAPI DevTools.
Postman is a platform for building and testing APIs like Hoppscotch. However, unlike Hoppscotch, Postman isn’t open-source, but it provides extra functionalities that aren’t available in Hoppscotch. However, some of the functionalities require following one of their subscription plans.
Some of the features you get with Postman that you don’t get in Hoppscotch are:
But the features that you get with Hoppscotch that you can’t get in Postman, or are unavailable or limited in the free plan, are:
The choice between Hoppscotch and Postman depends on if you need any of the features that are only available in Postman. If you don’t need any of the extra features, the fact that Hoppscotch is open-source and gives you more flexibility makes it a great choice.
OpenAPI DevTools is a Chrome extension that allows you to record and monitor how web applications interact with their APIs. Both OpenAPI DevTools and Hoppscotch do similar things, but in in different ways.
Which of these two tools you should use depends on what you need to do. For example, if you’re building or testing your APIs, you might prefer to use Hoppscotch because, unlike OpenAPI DevTools, you can craft requests to send them to APIs to see what they do. Hoppscotch and Postman also allow you to run automated tests, unlike OpenAPI DevTools, which doesn’t.
But with OpenAPI DevTools, you can only view how a web application interacts with APIs, which makes it useful in understanding the flow of a website, which in turn helps with debugging and documentation.
OpenAPI DevTools also have the benefit of generating OpenAPI Specification, which is a standardized format for describing and documenting REST APIs.
However, the fact that both Hoppscotch and OpenAPI DevTools do things in different ways means that they can be used together. So they’re more like complementary tools than complete alternatives to each other.
Hoppscotch makes developing and testing APIs easy. You can learn how to import your data by taking a look at its importer documentation page.
If you want to learn more about OpenAPI DevTool and how it does things differently from Hoppscotch or Postman, you can go ahead and read my previous guide on exploring and testing API behavior with OpenAPI DevTools.
While GraphQL has some features for debugging requests and responses, making sure GraphQL reliably serves resources to your production app is where things get tougher. If you’re interested in ensuring network requests to the backend or third party services are successful, try LogRocket.
👁 LogRocket Dashboard Free Trial BannerLogRocket lets you replay user sessions, eliminating guesswork around why bugs happen by showing exactly what users experienced. It captures console logs, errors, network requests, and pixel-perfect DOM recordings — compatible with all frameworks.
LogRocket's Galileo AI watches sessions for you, instantly aggregating and reporting on problematic GraphQL requests to quickly understand the root cause. In addition, you can track Apollo client state and inspect GraphQL queries' key-value pairs.
From RSC vulnerabilities and the Vercel breach to TypeScript 7.0 Beta and AI agents — the nine frontend storylines that defined H1 2026, ranked.
AI tools generate working React code fast, but miss race conditions, empty states, debouncing, and accessibility. Here’s how to catch bugs before production.
Learn how to use Gemini CLI subagents to delegate frontend, backend, testing, and docs tasks to specialized agents with guardrails and clear ownership.
Learn how next-browser gives AI agents runtime context for debugging Next.js apps, including React props, hydration, PPR, forms, and performance.
Hey there, want to help make our blog better?
Join LogRocket’s Content Advisory Board. You’ll help inform the type of content we create and get access to exclusive meetups, social accreditation, and swag.
Sign up now