 |
VOOZH | about |
|
VOOZH | about |
The Replay is a weekly newsletter for dev and engineering leaders.
Delivered once a week, it's your curated guide to the most important conversations around frontend dev, emerging AI tools, and the state of modern software.
Integrating React Native into a native application, either Android or iOS, can be complex if not done correctly. In this article, our goal is to integrate React Native components into a native Android application.
👁 Integrate react native components native appsOne of the biggest benefits of integrating React Native when creating mobile applications is the ability to reuse code across both iOS and Android apps. This provides almost full code reusability after React Native has been integrated into an existing application, reducing development time and development cost considerably.
We’ll cover the following:
First, let’s initialize our React Native project.
npx react-native init nativeandroid
cd nativeandroid
Start up the Metro Bundler and run the following command inside our React Native project folder:
npx react-native start
Now, start the application.
npx react-native run-android
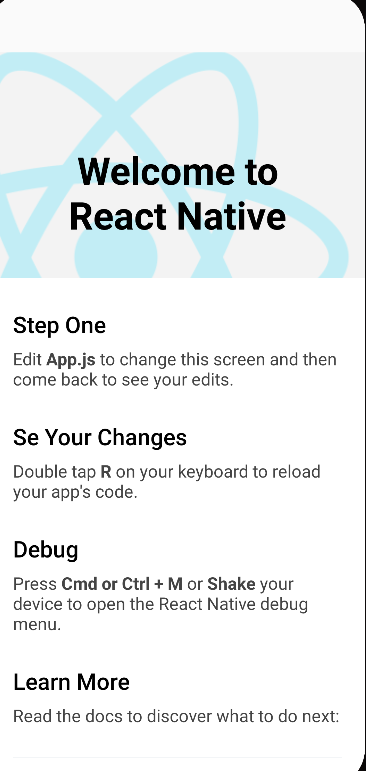
If setup has been completed correctly, the Android application should start on the Android Studio emulator.
👁 Welcome page for React Native
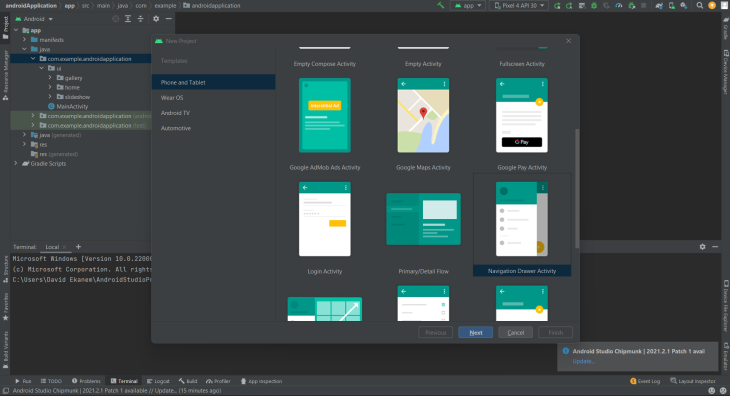
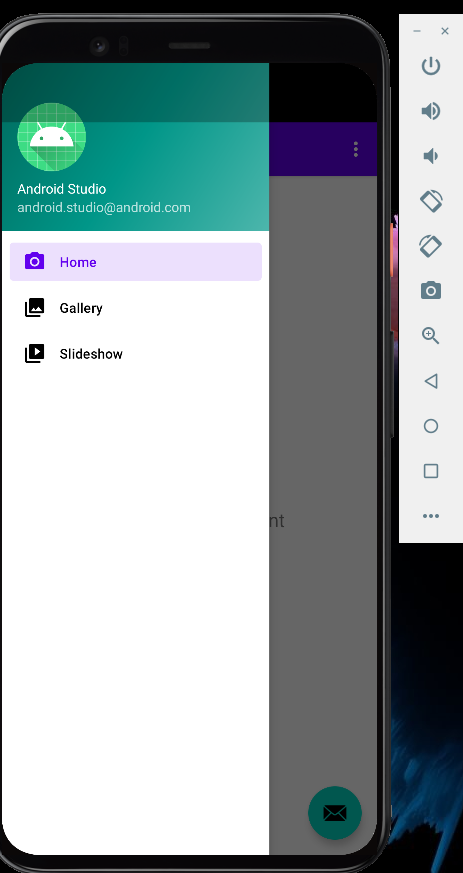
If no native Android application has been created using Android Studio, a new application can be created.
👁 Using Android Studio to create basic fragment Android mobile application
Using Android Studio, a basic fragment Android mobile application has been created.
This directory will hold our React Native application and Native Android application. Create an Android folder:
mkdir ReactNativeIntegration
cd ReactNativeIntegration
mkdir android
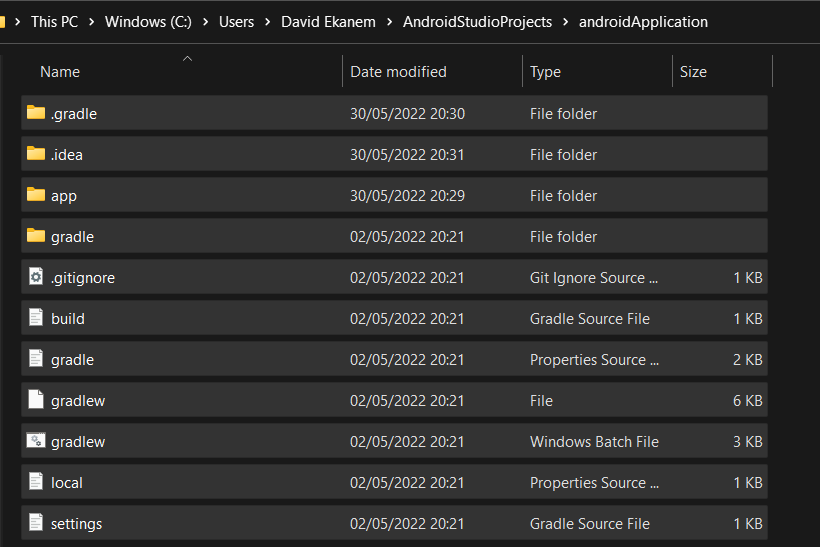
Navigate to the root folder of the Android application created with Android Studio, copy all the files from the Android application in the AndroidStudioProjects file, and paste it into the Android folder that we just created.
👁 Moving Android Application files into new Android folder
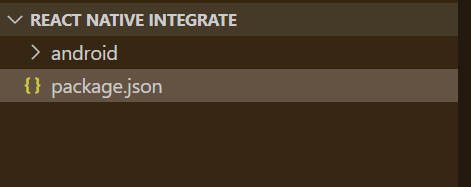
Create a package.json in the ReactNativeIntegration folder.
cd ..
touch package.json
code package.json
Add the code block below to the empty package.json file.
{
 "name": "nativeandroid",
 "version": "0.0.1",
 "private": true,
 "scripts": {
 "start": "npx react-native start",
 "android": "npx react-native run-android"
 }
}
At the end, the file directory should look like this:
Here, we install:
[email protected]hermesvsm – JavaScript for running our React Native applicationjsc-android – Maintainable build script allowing React Native to incorporate up-to-date releases of JSC into the frameworkyarn add [email protected] react hermesvm jsc-android @react-native-community/[email protected]
Maven is the go-to tool for managing and building our project. It’s handy, as it automatically fetches dependencies based on the needs of the project, handling transitive dependencies as well.
To start, open Android Studio in the native application’s build.gradle file.
👁 Native application's build.gradle file
Add these lines of code to the dependencies section:
dependencies {
 //noinspection GradleCompatible
 implementation "com.android.support:appcompat-v7:27.1.1"
 implementation "com.facebook.react:react-native:+" // From node_modules
 implementation "org.webkit:android-jsc:+"
}
We’ll take advantage of the power of autolinking to enable our application to access native modules and use native modules provided by React Native libraries. Add the line of code to the bottom of the build.gradle file, below the dependencies section.
apply from: file("../../node_modules/@react-native-community/cli-platform-android/native_modules.gradle"); applyNativeModulesAppBuildGradle(project)
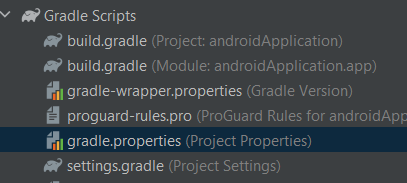
Navigate to the build.gradle file in our androidApplication file.
👁 Gradle.properties is highlighted
Add the code below at the top level of the build.gradle file:
allprojects {
 repositories {
 maven {
 // All of React Native (JS, Android binaries) is installed from npm
 url ("$rootDir/../node_modules/react-native/android")
 }
 maven {
 // Android JSC is installed from npm
 url("$rootDir/../node_modules/jsc-android/dist")
 }
 google()
 jcenter()

 }
}

task clean(type: Delete) {
 delete rootProject.buildDir
}
In settings.gradle, add the line of code at the bottom to enable autolinking.
apply from: file("../node_modules/@react-native-community/cli-platform-android/native_modules.gradle"); applyNativeModulesSettingsGradle(settings)
Comment out the dependencyResolutionManagement code block.
pluginManagement {
 repositories {
 gradlePluginPortal()
 google()
 mavenCentral()
 }
}

//dependencyResolutionManagement {
// repositorMode.set(RepositoriesMode.FAIL_ON_PROJECT_REPOS)
// repositories {
// google()
// mavenCentral()
// }
//}
Sync the Gradle changes. There should be no errors.
Internet permissions can be enabled in the AndroidManifest.xml file by adding the following code to the AndroidManifest.xml file.
<uses-permission android:name="android.permission.INTERNET" />
<?xml version="1.0" encoding="utf-8"?>
<manifest xmlns:android="http://schemas.android.com/apk/res/android"
 package="com.example.androidapplication">

 <uses-permission android:name="android.permission.INTERNET" />
DevSettings access permissions should also be enabled.
Then, add the following code to the AndroidManifest.xml file:
<activity android:name="com.facebook.react.devsupport.DevSettingsActivity" />
 </intent-filter>
 </activity>
 <activity android:name="com.facebook.react.devsupport.DevSettingsActivity" />
</application>
When creating production release builds, it is advised to strip the dev settings permission, as it is only needed when reloading JavaScript from the development server.
Due to some changes introduced in Android 9 (API level 28), cleartext traffic is disabled by default. Our application is unable to connect to Metro Bundler as a result.
In the AndroidManifest.xml file, add the useCleartextTraffic option to the debug.
<application
 android:usesCleartextTraffic="true">
</application>
When creating release builds, this is not compulsory.
To round up the integration process, the native Android application code will be modified to integrate React Native.
In the root of our React Native Integrate folder, create an index.js file.
touch index.js
Input the code block below into the index.js file:
import React from "react";
import { AppRegistry, StyleSheet, Text, View } from "react-native";

const Integration = () => {
 return (
 <View style={styles.container}>
 <Text style={styles.hello}>Hello, World</Text>
 </View>
 );
};
var styles = StyleSheet.create({
 container: {
 flex: 1,
 justifyContent: "center",
 },
 hello: {
 fontSize: 20,
 textAlign: "center",
 margin: 10,
 },
});

AppRegistry.registerComponent("IntegratedApp", () => Integration);
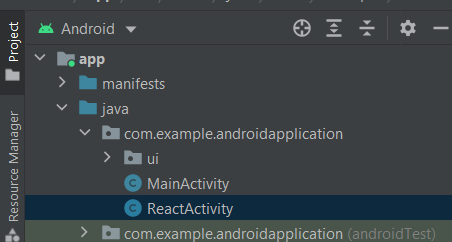
In order to start the React Native runtime and tell it to render our JS component, we must create a file called ReactActivity in Android Studio.
Opening up the Android project in Android Studio, create a class called ReactActivity that extends Activity and creates a ReactRootView, which starts a React application and sets it as the 👁 Creating ReactActivity class in Android project
Add the code block below to the ReactActivity.java file.
package com.example.androidapplication;

import android.app.Activity;
import android.os.Bundle;

import com.facebook.react.PackageList;
import com.facebook.react.ReactInstanceManager;
import com.facebook.react.ReactPackage;
import com.facebook.react.ReactRootView;
import com.facebook.react.common.LifecycleState;
import com.facebook.react.modules.core.DefaultHardwareBackBtnHandler;
import com.facebook.soloader.SoLoader;

import java.util.List;

public class MyReactActivity extends Activity implements DefaultHardwareBackBtnHandler {
 private ReactRootView mReactRootView;
 private ReactInstanceManager mReactInstanceManager;

 @Override
 protected void onCreate(Bundle savedInstanceState) {
 super.onCreate(savedInstanceState);
 SoLoader.init(this, false);

 mReactRootView = new ReactRootView(this);
 List<ReactPackage> packages = new PackageList(getApplication()).getPackages();
 // Packages that cannot be autolinked yet can be added manually here, for example:
 // packages.add(new MyReactNativePackage());
 // Remember to include them in `settings.gradle` and `app/build.gradle` too.

 mReactInstanceManager = ReactInstanceManager.builder()
 .setApplication(getApplication())
 .setCurrentActivity(this)
 .setBundleAssetName("index.android.bundle")
 .setJSMainModulePath("index")
 .addPackages(packages)
 .setUseDeveloperSupport(BuildConfig.DEBUG)
 .setInitialLifecycleState(LifecycleState.RESUMED)
 .build();
 // The string here (e.g. "IntegratedApp") has to match
 // the string in AppRegistry.registerComponent() in index.js
 mReactRootView.startReactApplication(mReactInstanceManager, "IntegratedApp", null);

 setContentView(mReactRootView);
 }
 @Override
 public void invokeDefaultOnBackPressed() {
 super.onBackPressed();
 }
}
Now, start the application.
npm run start
👁 Application displays Hello, World
Integrating React Native components can be quite a task, but the development benefits outweigh the challenges. With React Native being an open source framework, developers gain access to a vast array of shared codebases after integrating their applications with React Native, which improves the developer experience and aids in speedier application development.
I hope this article has provided you with a sufficient guide.
LogRocket's Galileo AI watches sessions for you and and surfaces the technical and usability issues holding back your React Native apps.
LogRocket also helps you increase conversion rates and product usage by showing you exactly how users are interacting with your app. LogRocket's product analytics features surface the reasons why users don't complete a particular flow or don't adopt a new feature.
Start proactively monitoring your React Native apps — try LogRocket for free.
Learn how to use Gemini CLI subagents to delegate frontend, backend, testing, and docs tasks to specialized agents with guardrails and clear ownership.
Learn how next-browser gives AI agents runtime context for debugging Next.js apps, including React props, hydration, PPR, forms, and performance.
Build dynamic LLM routing in Next.js with OpenRouter, TanStack AI, task classification, model fallbacks, and cost-aware routing.
TSRX adds first-class control flow, conditional hooks, and scoped styles to React via a TypeScript compiler extension — no new framework required.
Hey there, want to help make our blog better?
Join LogRocket’s Content Advisory Board. You’ll help inform the type of content we create and get access to exclusive meetups, social accreditation, and swag.
Sign up now