 |
VOOZH | about |
|
VOOZH | about |
Editor’s note: This post was updated on 29 August 2023 to reflect Google updates that require two-factor authentication and a Google-generated app password to connect Gmail accounts to Nodemailer.
👁 Sending Emails in Node.js Using NodemailerIn certain cases, a developer may wish to send emails to an application’s users directly from the server, like a welcome message or an account setup link. Nodemailer, a zero-dependency Node.js module, makes it easy to send emails from a server by abstracting away some of the complexities that arise when connecting an application to an email service.
In this tutorial, we’ll cover how to configure an email address for Nodemailer, send emails from inside of an application, attach files to an email, add fields for CC and BCC, and finally, add CSS and HTML styling to an email template.
To follow along with this article, you’ll need:
If you wish to follow along, you can view the code for this demo in my GitHub repo. Let’s get started!
The Replay is a weekly newsletter for dev and engineering leaders.
Delivered once a week, it's your curated guide to the most important conversations around frontend dev, emerging AI tools, and the state of modern software.
If you don’t already have an email address you’d like to use to follow along, start by setting up a new one. You can use any email service, however, if you’re using a Gmail account, there are some important steps you’ll need to follow to configure your account.
By default, Gmail prevents bots from accessing emails hosted on Google servers. Gmail runs several checks to ensure that every email account is accessed by a recognized user at a recognized location.
Google requires your account to have two-factor authentication (2FA) enabled to connect it to Nodemailer. Set up 2FA on your Gmail address by going here.
We’ll also need to set up an app password. To do so, follow these steps:
Now that our email account is set up correctly, let’s start writing our code.
First, create a new directory. I called mine fassstmail:
mkdir fassstmail
cd fassstmail
In the fassstmail directory, create a new Node.js project:
npm init -y
Next, we’ll install Express Handlebars, a templating engine that allows us to create HTML email templates:
npm i nodemailer-express-handlebars nodemailer
Now that we’ve installed the required dependencies, let’s set up a template to send emails.
In the root of your project, create a folder called views. Inside, create a file called email.handlebars, which will hold the HTML code and styles for our emails.
Handlebars is a templating language, so we can add variables to our HTML, then substitute the variables for the values we want in our final email. In Handlebars, variables are structured with two opening and closing brackets surrounding the variable text, as in {{variable}} .
In the email.handlebars file, let’s create an HTML template for a simple welcome email:
// email.handlebars
<!DOCTYPE html>
<html>
<head>
 <meta charset="utf-8">
 <meta http-equiv="x-ua-compatible" content="ie=edge">
 <title>Welcome Email</title>
</head>
<body>
 <h2>Hello {{name}}! </h2>
 <p>We're glad to have you on board at {{company}}. </p>
</body>
</html>
In the HTML template above, we have two variables, {{name}} and {{company}}. Later, we’ll learn how to replace the variables in this template with actual values.
Now that we have our email template set up, let’s create an entry file. Create a file called server.js at the root of your fassstmail project. In server.js, add the following code, which will trigger sending an email:
const hbs = require('nodemailer-express-handlebars')
const nodemailer = require('nodemailer')
const path = require('path')

// initialize nodemailer
var transporter = nodemailer.createTransport(
 {
 service: 'gmail',
 auth:{
 user: '[email protected]',
 pass: 'password_for_your_email_address'
 }
 }
);

// point to the template folder
const handlebarOptions = {
 viewEngine: {
 partialsDir: path.resolve('./views/'),
 defaultLayout: false,
 },
 viewPath: path.resolve('./views/'),
};

// use a template file with nodemailer
transporter.use('compile', hbs(handlebarOptions))

 for (const user of users) {
 if (user.email) {
 const mailOptions = {
 from: '"My Company" <[email protected]>', // sender address
 template: "email", // the name of the template file, i.e., email.handlebars
 to: user.email,
 subject: `Welcome to My Company, ${user.name}`,
 context: {
 name: user.name,
 company: 'my company'
 },
 };
 try {
 await transporter.sendMail(mailOptions);
 } catch (error) {
 console.log(`Nodemailer error sending email to ${user.email}`, error);
 }
 }
 }

});
In the mailOptions object, template refers to the template file we want to use with Nodemailer. In our case, we want to use the email.handlebars file. The context object holds the actual values we would like to use in place of the variables in our Handlebar template file.
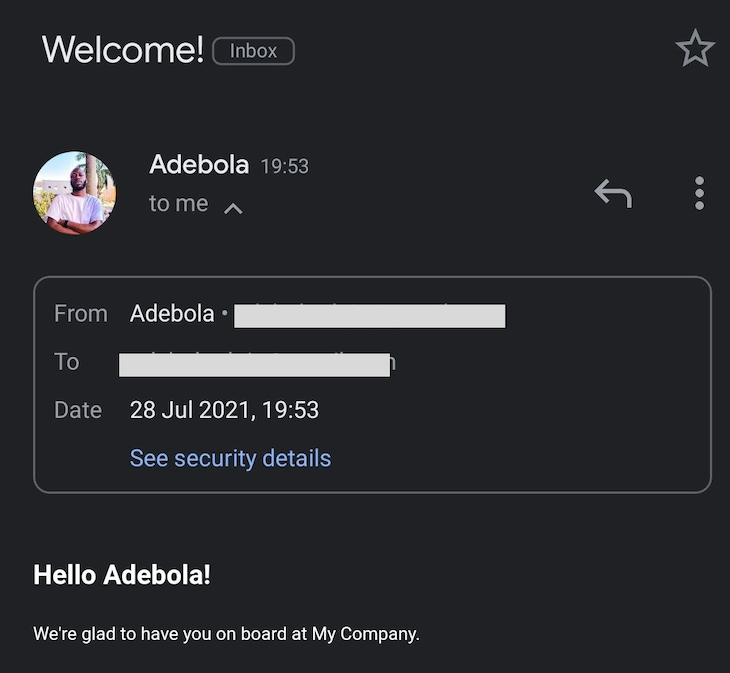
I’ll replace the variable {{name}} with Adebola and the variable {{company}} with My Company.
Finally, to trigger sending an email, call the transporter.sendMail function and pass it to the mailOptions object.
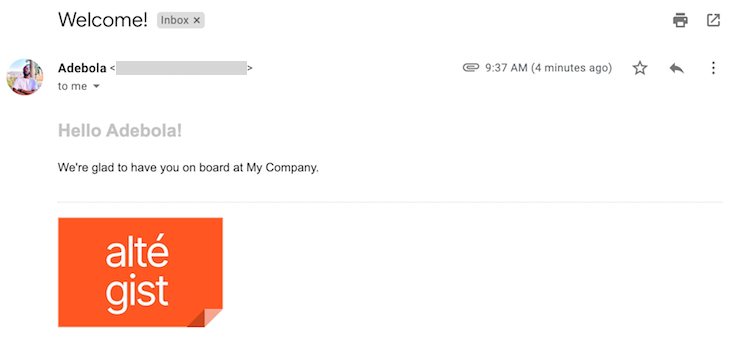
To test your code, run the command node server.js in your terminal. You should get a Message sent response. When you navigate into your email, you should also have received the email.
👁 Screenshot of the Nodemailer email received successfully
And that’s it! You’ve successfully sent an email using Nodemailer. You can follow the steps outlined above to send other types of emails, and you can even use Nodemailer to notify yourself if something goes wrong on your server.
Now, let’s learn how to add attachments to our emails.
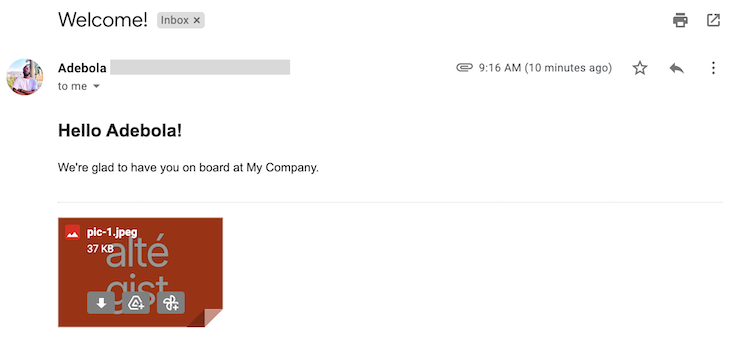
In the root of your project, create a folder called attachments, which will contain the files we would like to add as attachments to our email. I’m going to add an image called pic-1.jpeg by adding it to the attachments folder.
Next, add the following line to the mailOptions object.
var mailOptions = {
...,
attachments: [{ filename: "pic-1.jpeg", path: "./attachments/pic-1.jpeg" }],
}
In the mailOptions object, attachments takes an array, meaning you can attach any type of file to the email you’re sending. Now, when we send the email, the image is attached.
👁 Screenshot of Successful Nodemailer Email with Image Attachment
To attach other types of files to your email, like PDFs or documents, just follow the same process.
Let’s add fields for CC and BCC to forward your email to multiple email addresses at once. Add the following code to your mailOptions object:
var mailOptions = {
...,
cc: '[email protected]',
bcc: '[email protected]'
}
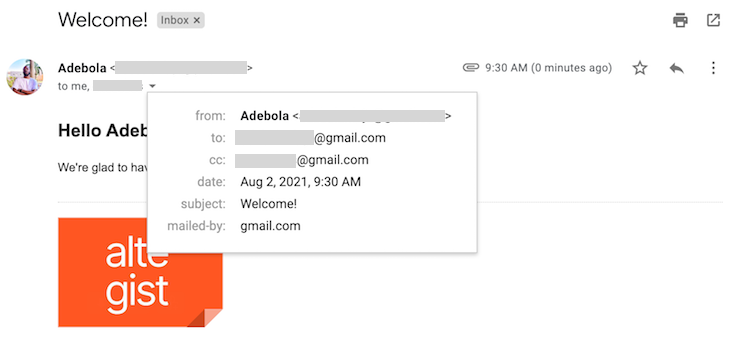
In the image below, you can see there is a CC field with a second email address:
👁 Screenshot of Nodemailer Email With Another Address on CC
You can add styles to your emails in the same way you would add styles to an HTML file. In the <head> block in your email.handlebars file, create a style block where you can add all of your desired styles:
<style>
 h2 {
 color: #c4c4c4;
 }
</style>
I added a header to my email that appears in a light grey color. I’ll use this field to send a personalized message, as seen in the image below:
👁 Screenshot of Custom Styling Added to Nodemailer Email
Now, you have all of the tools you need to get started creating and sending emails with Nodemailer and Node.js.
Nodemailer is an excellent tool that makes it easy to send emails from an application securely. In this tutorial, we learned how to make our own email template in Nodemailer, add attachments, and add custom styling. You can follow this process any time you need to communicate with the users of your application.
Deploying a Node-based web app or website is the easy part. Making sure your Node instance continues to serve resources to your app is where things get tougher. If you’re interested in ensuring requests to the backend or third-party services are successful, try LogRocket.
👁 LogRocket Network Request MonitoringLogRocket lets you replay user sessions, eliminating guesswork around why bugs happen by showing exactly what users experienced. It captures console logs, errors, network requests, and pixel-perfect DOM recordings — compatible with all frameworks.
LogRocket's Galileo AI watches sessions for you, instantly identifying and explaining user struggles with automated monitoring of your entire product experience.
LogRocket instruments your app to record baseline performance timings such as page load time, time to first byte, slow network requests, and also logs Redux, NgRx, and Vuex actions/state. Start monitoring for free.
Learn how next-browser gives AI agents runtime context for debugging Next.js apps, including React props, hydration, PPR, forms, and performance.
Build dynamic LLM routing in Next.js with OpenRouter, TanStack AI, task classification, model fallbacks, and cost-aware routing.
TSRX adds first-class control flow, conditional hooks, and scoped styles to React via a TypeScript compiler extension — no new framework required.
Learn how to build a full React Native auth system using Better Auth and Expo — with email/password login, Google OAuth, session persistence, and protected routes.
Hey there, want to help make our blog better?
Join LogRocket’s Content Advisory Board. You’ll help inform the type of content we create and get access to exclusive meetups, social accreditation, and swag.
Sign up now