 |
VOOZH | about |
|
VOOZH | about |
Creating fillable forms in Google Docs and Google Forms is an easy way to collect information, run surveys, or manage registrations. Both tools let you design, customize, and share interactive forms with ease.
Discover how to make a fillable form in Google Docs that respondents can easily complete online.
Start by going to the Google Docs website. You can edit existing documents from Google Drive or create new ones.
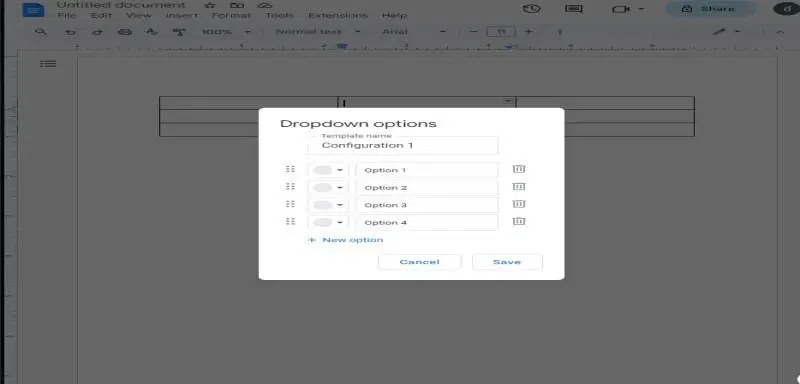
Click on Insert, then Table to select how many rows and columns you want. You can go with one row and two columns, or choose more. Leave a column for answers and label it.
Create organized sections and questions with tables. Adjust the rows and columns to fit your layout. To tweak a table, select it and go to Format > Table Properties.
Add a picture by clicking "Insert > Image" and choosing where you want it. You can also insert drawings from Drive or create new ones by selecting "Insert > Drawing".
Start by open Google Forms and click "Blank from". Open it in your browser or through G-Drive. Then, click the "+" to add questions, like multiple-choice, checkboxes, dropdowns, or text fields.
Before you customize Google Forms, go to "Settings." Decide if you want grades to show up automatically or manually after submission, just like quiz settings. You can also set preset point Values.
Connect your forms to Google Sheets to gather information. In the 'Responses' tab, click the spreadsheet icon to start a new sheet. Choose where you want the responses by clicking the three dots, selecting "select response destination," and picking a new or existing sheet.
Once your Google Form is ready, you can spice it up with extra features. If you want to add a timer, use an add-on called Extended Forms. This is super handy for tasks like recruiting, registration, testing, and quizzes.
For more advanced form creation, learn how to use Google Forms to create surveys that can automatically collect and organize responses.
Step 1: Go to Google Forms and start a new form.
Step 2: Add questions using different field types like multiple choice, checkboxes, or linear scales.
Step 3: Customize your survey with themes, and set up response options.
Step 4: Share the survey via a link or embed it on your website.
Enhance your forms by customizing Google Forms settings to suit your survey needs.
Step 1: Use sections and logic branching for complex surveys.
Step 2: Customize confirmation messages to engage with respondents after submission.
Step 3: Set up notifications to keep track of responses
.webp)