 |
VOOZH | about |
|
VOOZH | about |
Jupyter Notebook is a popular web-based interactive computing environment, widely used among data scientists and programmers. Working with Jupyter Notebook in MacOS helps perform various tasks including data cleaning and transformation, numerical simulation, statistical modelling, data visualization, machine learning and much more.
In addition to this, you can set up Jupyter Notebook on your Mac device using different methods such as pip, setup.py, Homebrew, Anaconda and Miniconda. Let's get started:
- macOS 10.13 or higher.
- Python 3.6 or later.
- At least 1GB of free disk space.
If you already have Python installed on your macOS, using the pip package manager is the easiest way to install Jupyter Notebook. Here's a step-by-step guide:
MacOS comes with Python installed, but it’s usually a good idea to install the latest version via Homebrew (a package manager for macOS) to ensure compatibility with newer packages.
If you don’t have Python installed, open the Terminal and run the following command to install it using Homebrew:
brew install python
Open Terminal and run the following command to install Jupyter using pip:
pip install notebook
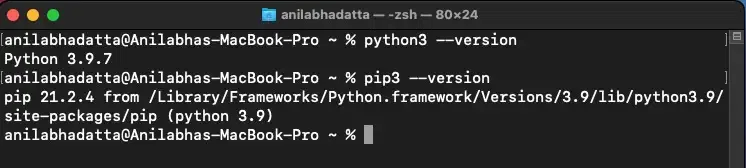
Check if pip3 and python3 are correctly installed:
python3 --version
pip3 --version
Type the following command in the terminal to upgrade your pip (to prevent installation errors)
pip3 install --upgrade pip
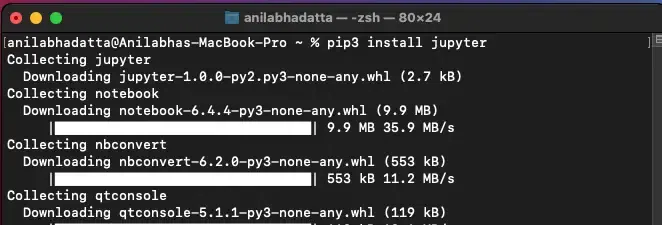
Enter the following command in the terminal to get Jupyter Notebook using pip3.
pip3 install jupyter
This is an alternate method to get Jupyter Notebook on your MacOS using the setup.py file. Here's how you can do it:
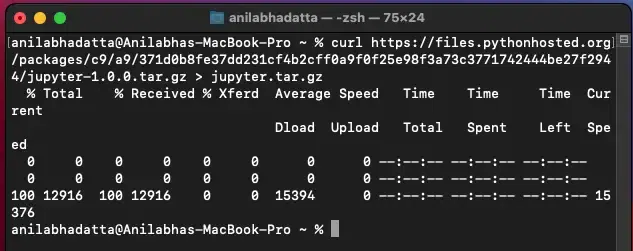
To Download the latest source package of Jupyter Notebook for python3 click here and use command:
curl https://files.pythonhosted.org/packages/c9/a9/371d0b8fe37dd231cf4b2cff0a9f0f25e98f3a73c3771742444be27f2944/jupyter-1.0.0.tar.gz > jupyter.tar.gz
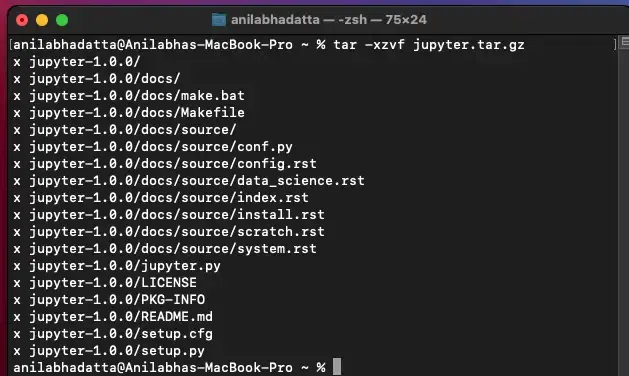
Extract the downloaded package using the following command:
tar -xzvf jupyter.tar.gz
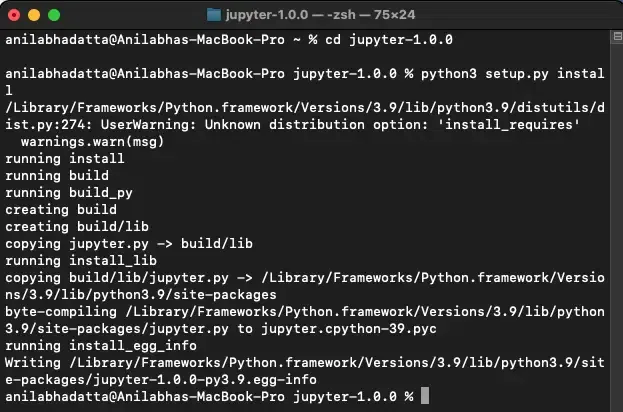
Go inside the folder and enter the following command to install the package using the command:
cd jupyter-1.0.0
python3 setup.py install
Note:You must have developer tools for XCode MacOS installed in your system
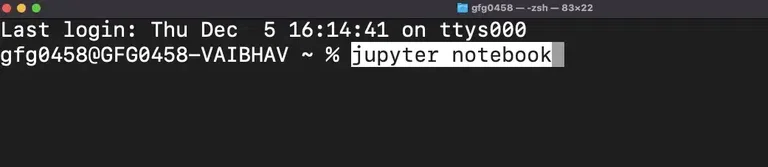
Enter the following command in your terminal to start up Jupyter Notebook and verify the installation using the following command:
jupyter notebook
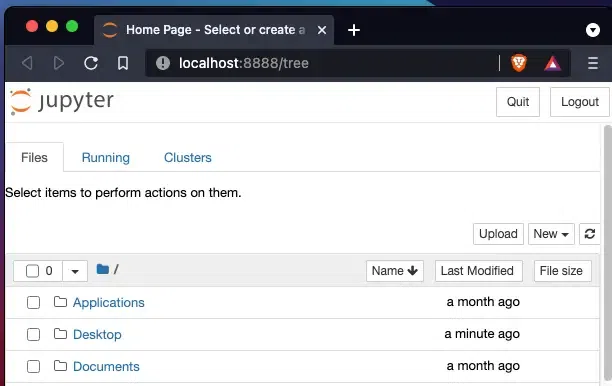
Once the verification is complete, launch Jupyter Notebook in your default web browser.
Homebrew is a package manager for MacOS (also Linux) which helps in managing different applications and tools in your device. Below are simple steps to get Homebrew for Jupyter Notebook in your MacOS:
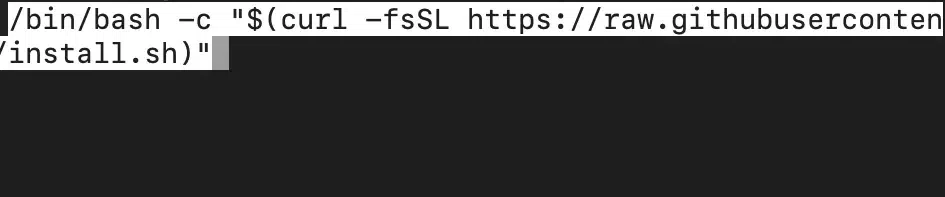
Run the following command in the terminal if you don't have Homebrew.
/bin/bash -c "$(curl -fsSL https://raw.githubusercontent.com/Homebrew/install/HEAD/install.sh)"
Now use Homebrew to install Jupyter Notebook using the following command:
brew install python
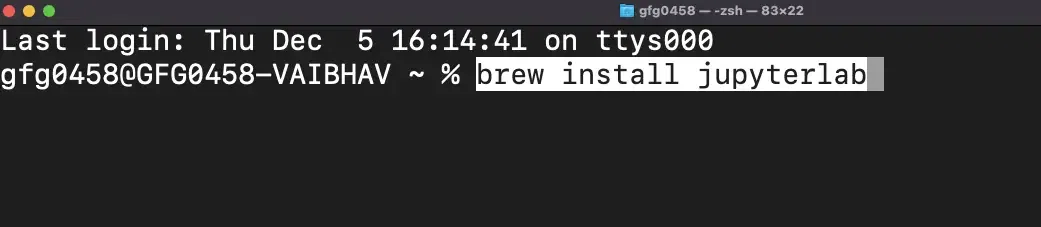
Now, use the following command to install Jupyter Notebook using Homebrew on MacOS:
brew install jupyterlab
Once the verification is complete, use the following command to launch Jupyter Notebook in your default web browser:
jupyter notebook
If you're a data science professional/student, then you might consider choosing this method. Here's how you can start this method:
Visit the official website and get Anaconda distribution for MacOS. Now, follow the simple instructions as instructed to complete the setup.
Type the following command to launch the Jupyter Notebook in your web browser:
jupyter notebook
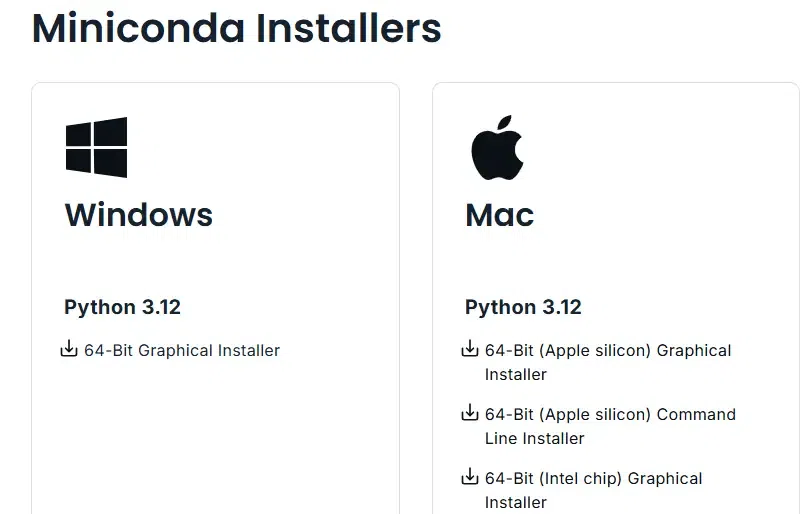
If your system gets slow often or does not have enough space then you may switch to Miniconda - a lightweight version of Anaconda.
Go to the official site get Miniconda and follow the on-screen instructions.
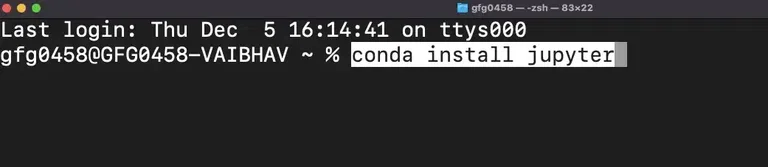
Open the Terminal and run the following commands:
conda install jupyter
Now, type this command to launch the jupyter Notebook:
jupyter notebook
Jupyter Notebook is essential for data science, machine learning and interactive computing. On macOS, it can be installed using pip, Homebrew, Anaconda or Miniconda: