 |
VOOZH | about |
|
VOOZH | about |
Nose 2 is a successor of Nose package and is used for testing python applications. In this article, we will look into the process of installing Nose2 Package on Windows.
The only thing that you need for installing the Scrapy module on Windows are:
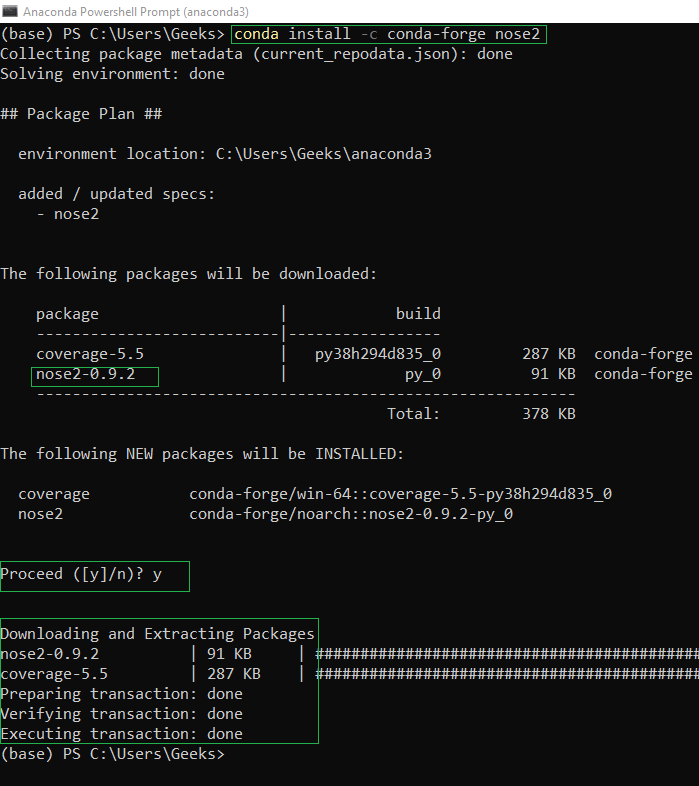
If you want the installation to be done through conda, open up the Anaconda Powershell Prompt and use the below command:
conda install -c conda-forge nose2
Note: The best way to install this module in conda is through coda-forge.
Type y for yes when prompted.
You will get a similar message once the installation is complete:
👁 Installing Nose2 Package on Windows using CondaMake sure you follow the best practices for installation using conda as:
conda create -n my-env
conda activate my-env
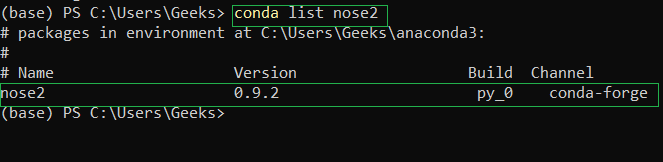
To verify if Nose2 Package has been successfully installed in your system run the below command in Anaconda Powershell Prompt:
conda list nose2
You'll get the below message if the installation is complete:
👁 Verifying Nose2 Package Installation on Windows using CondaIf you want the installation to be done through PIP, open up the command Prompt and use the below command:
pip install nose2
You will get a similar message once the installation is complete:
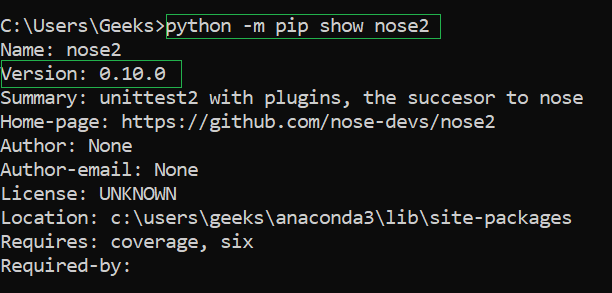
👁 Installing Nose2 Package on Windows using PIPTo verify if the Nose2 package has been successfully installed in your system run the below command in Command Prompt:
python -m pip show nose2
You'll get the below message if the installation is complete:
👁 Verifying Nose2 Package Installation on Windows using PIP