 |
VOOZH | about |
|
VOOZH | about |
Node.js is a JavaScript runtime used for building scalable, server-side applications. Installing Node.js on Windows is straightforward, and following the correct steps ensures proper setup and smooth functioning of the Node Package Manager (NPM).
To install Node.js on Other Operating Systems:
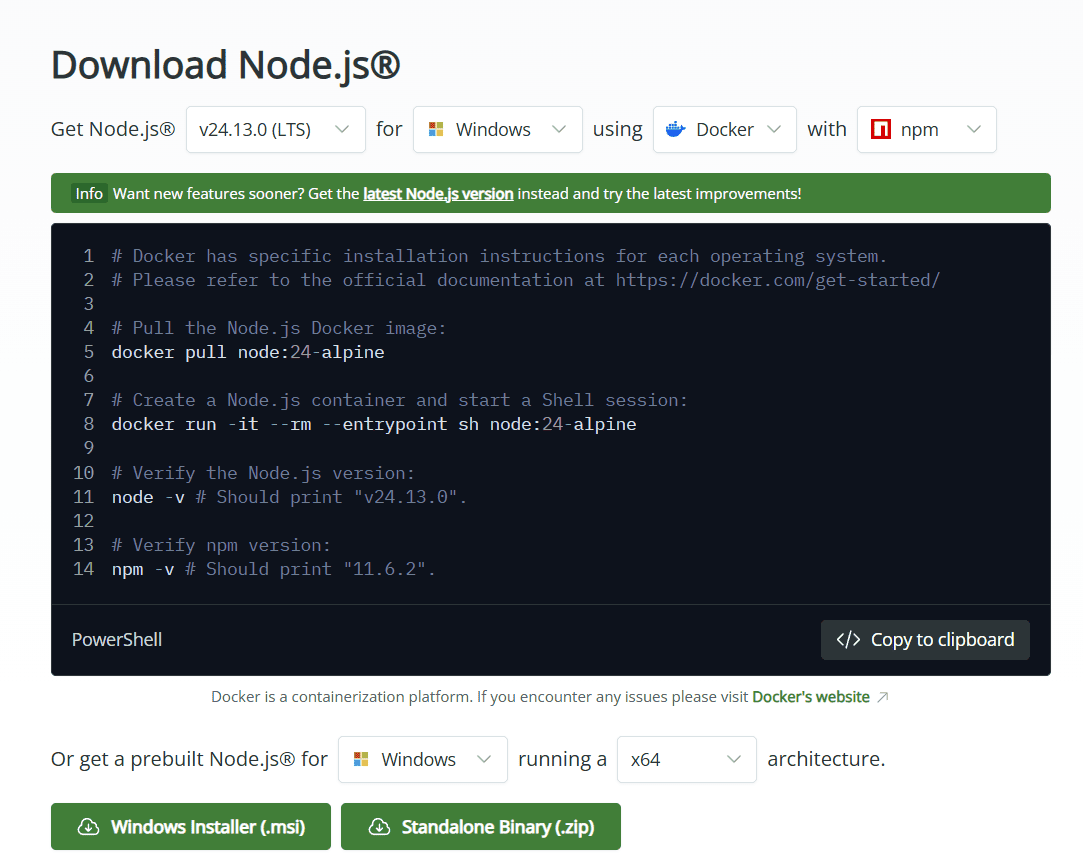
Follow these steps to install the Node.js on your Windows:
The LTS (Long Term Support) version is recommended for most users since it is more stable, whereas the Current version includes the latest features but may have more frequent updates.
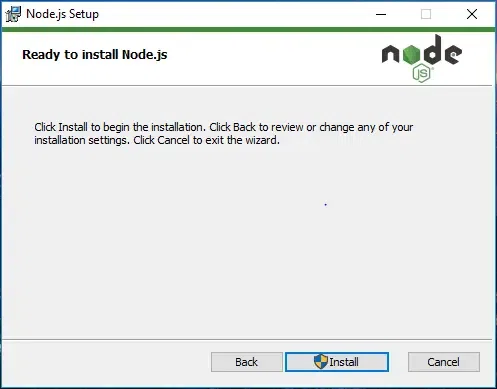
Run the downloaded installer to set up Node.js with the required components on your system.
The installer may prompt you to "install tools for native modules". Select “Install” to complete the process.
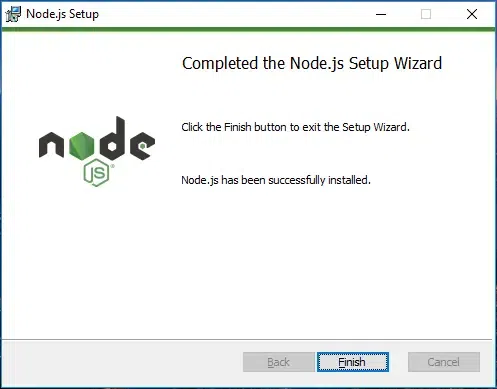
Wait for "Finish" to complete the setup.
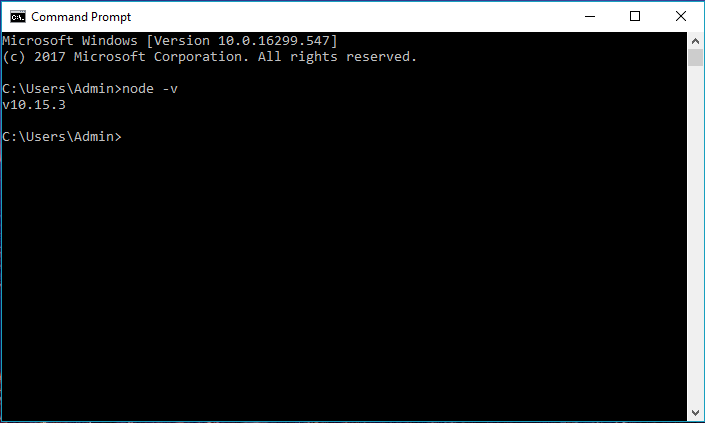
Open Command Prompt or PowerShell > Check the installed versions by running these commands:
C:\Users\Admin> node -vNote: You can run the following command, to quickly update the npm
npm install -g npm l // Updates the ‘CLI’ client
Node Version Manager or nvm-windows allows users to manage different versions of node.js Here's how you can do it:
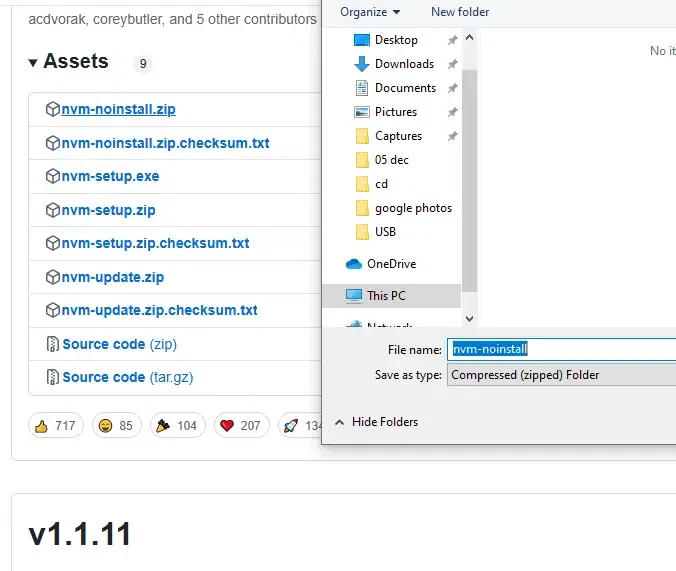
Download the latest NVM for Windows installer from the GitHub page. Now run the installer and follow the setup instructions.
Either you can run the downloaded installer manually and follow the on-screen instructions or run the following command in CMD or PowerShell:
nvm install latestNote: You can also specify the node.js version by using "nvm install 14.17.6" or you can choose any installed version as a default by using "nvm use 14.17.3"
To check the installed version of Node.js, run the following command:
node -vNote: You can use a specific versions by using - nvm use 14.17.6
Windows Subsystem for Linux (WSL) is a great option for those who prefer a Linux environment. You can run a Linux distribution on your Windows machine and use Linux tools like apt-get for installation.
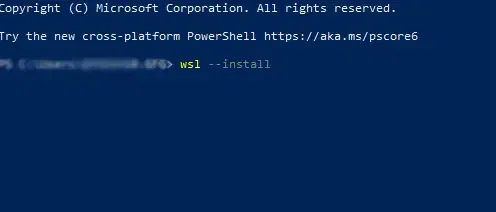
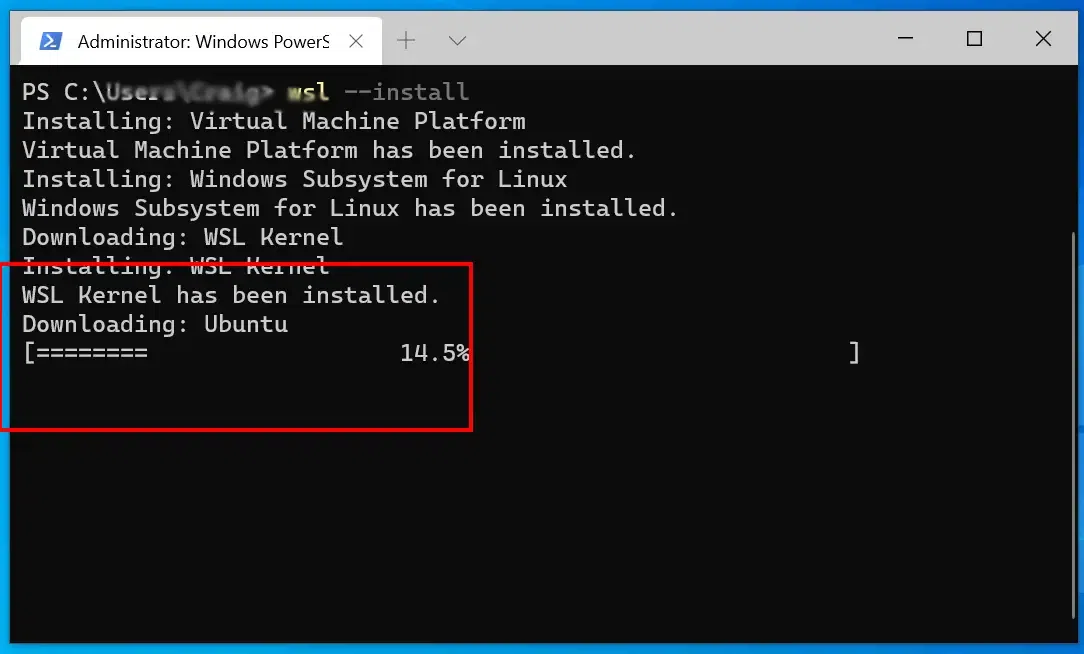
Open PowerShell as Administrator and run the following command:
This will install the WSL feature and the default Ubuntu distribution.
Once WSL is installed, launch the Ubuntu (or another Linux distro) app from the Start Menu and set up your Linux distribution by creating a user and password.
aptOpen the WSL terminal (Ubuntu or your chosen distribution) and update your package list:
sudo apt updateOnce the update is done, Install Node.js using the following command:
sudo apt install nodejs
sudo apt install npm
Once the installation is complete, verify the installation by entering the following command:
node -v
npm -v
These commands display the installed versions of Node.js and npm.
Note: You can also use nvm (Node Version Manager) within WSL to manage multiple versions of Node.js. Install it with: curl -o- https://raw.githubusercontent.com/nvm-sh/nvm/v0.39.0/install.sh | bash
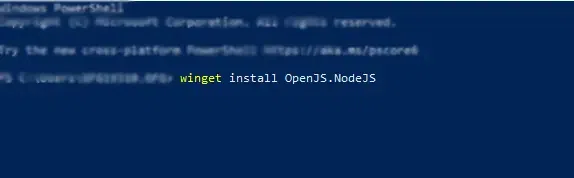
Windows 10 and 11 users can use winget, the Windows Package Manager, to easily install Node.js.
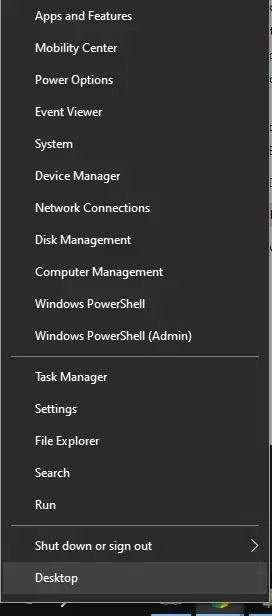
Right-click on the Start Menu and select Windows PowerShell (Admin).
Use the following command to install Node.js:
winget install OpenJS.NodeJSAfter installation, check if Node.js is installed correctly:
node -v
npm -v