 |
VOOZH | about |
|
VOOZH | about |
Creating a Java project in Eclipse IDE is the first step toward developing Java applications. Eclipse is a powerful IDE that simplifies project creation, code management, and application execution through its built-in development tools. In this guide, we'll create a Java project and run a simple program step by step.
A Java project is a collection of Java source files, packages, libraries, and configuration files organized into a single workspace. A typical Java project contains:
Follow these below steps to create a simple java project to run your first program on eclipse.
Launch Eclipse IDE from your desktop shortcut or installation directory. When Eclipse starts for the first time, it prompts you to select a Workspace, which is the location where all your Java projects and related files will be stored.
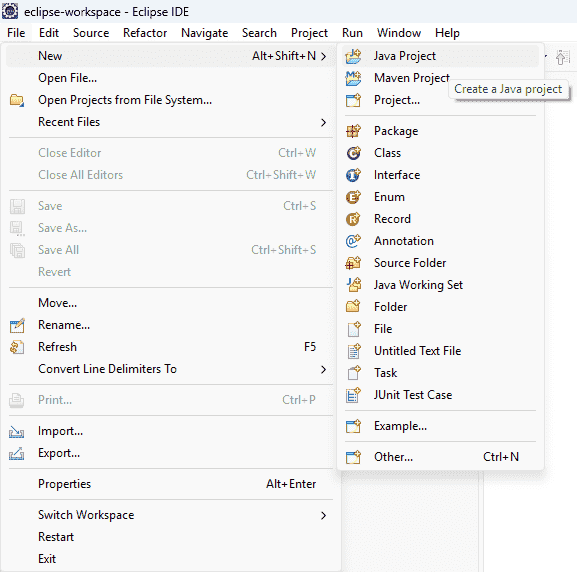
To create a new Java project in Eclipse, navigate to the File menu and select New -> Java Project. If the Java Project option is not visible, you can access it through the Project wizard.
After selecting Java Project, the New Java Project wizard opens. Fill in the following details:
Finally, click Finish to create the Java project.
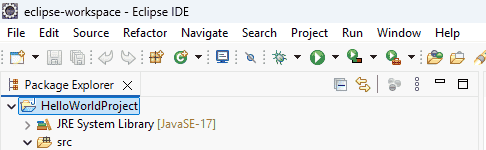
Below is the final project structure in the below image.
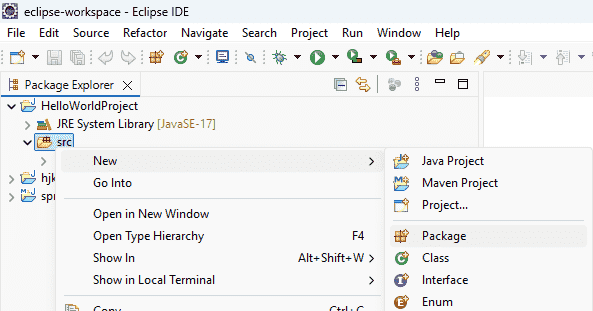
Right-click on src and select New - Package.
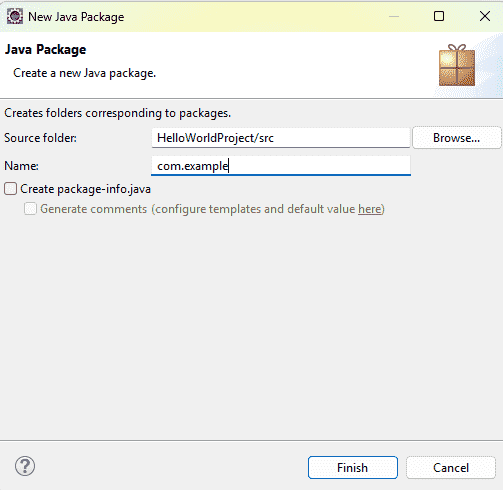
Enter package name and Click Finish
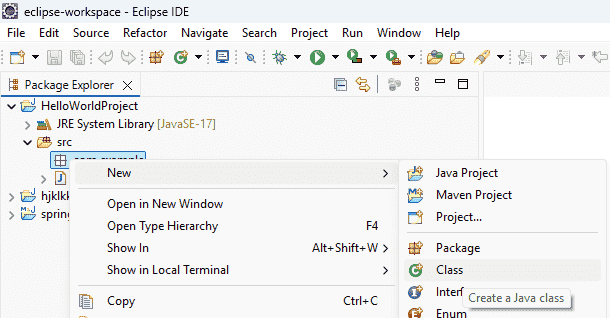
Right-click on the package and Select New - Class
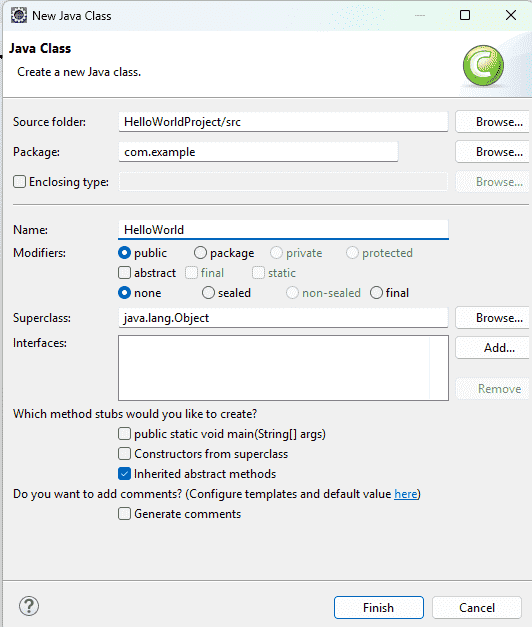
Enter the class name and click Finish. Eclipse automatically generates the class.
Now here we Write our First Program code To print Hello World
Hello, World!
Press the following commands to save your file.
Ctrl + S
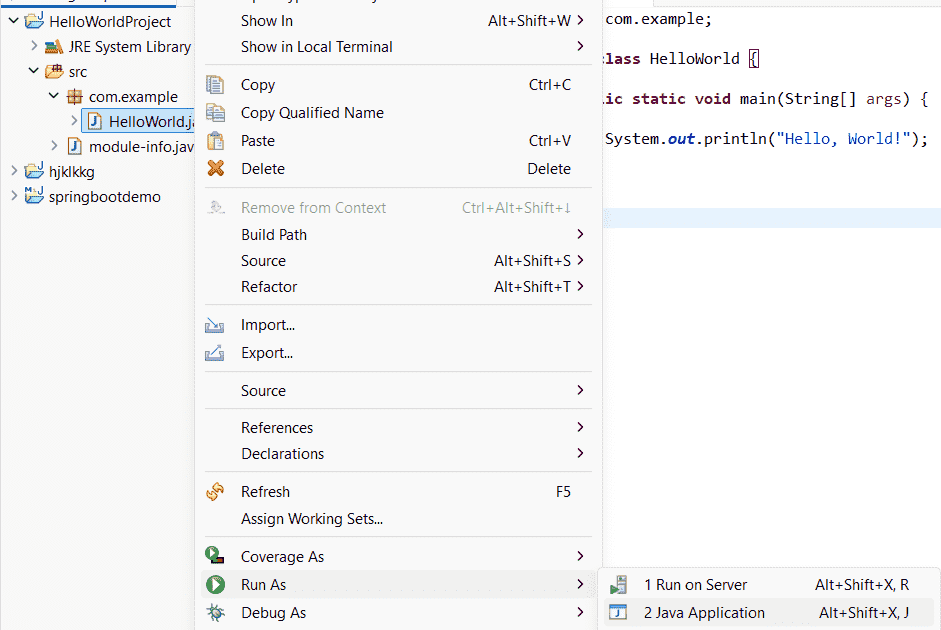
After running the program the console window displays:
Output:
Explanation: Creating a Java project in Eclipse is a straightforward process that involves setting up a workspace, creating a project, adding packages and classes, writing Java code, and running the application. Eclipse automates compilation and provides powerful development features to built java Application.