 |
VOOZH | about |
|
VOOZH | about |
Enforcing referential integrity is the fundamental aspect of maintaining data consistency and integrity in a relational database. Referential integrity ensured that the relationships between the tables remained valid, preventing orphaned or inconsistent data. The use of the foreign key is one of the mechanisms for enforcing referential integrity in a database management system (DBMS). In Java Database Connectivity (JDBC), java API is used for interacting with the databases, enforcing the referential integrity using the foreign keys involved the defining and managing these constraints programmatically in your application.
The following are prerequisites to enforce referential integrity using foreign keys in JDBC:
Note: If you met above prerequisites, you can easily enforce referential integrity using foreign keys in JDBC .
Create two tables in your database, and name it as "Customers" and "Orders".
The below figure shows the tables of Customers and Orders.
👁 Database TableThe above tables doesn't contain any rows.
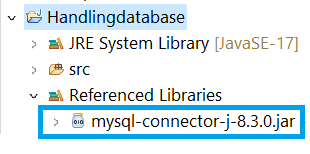
Here is the path for JDBC driver library that means MySQL JDBC driver jar file.
Create a Customer.java class file in src folder in your Java project, write below code in it.
Create a Order.java class file in src folder in your Java project, write below code in it.
Create a DatabaseConnector.java class file in src folder in your Java project, write below code in it.
Note: Make sure that you have to change the database url, username, password according to your database.
Create a CustomerDAO.java class file in src folder in your Java project, write below code in it.
Create a OrderDAO.java class file in src folder in your Java project, write below code in it.
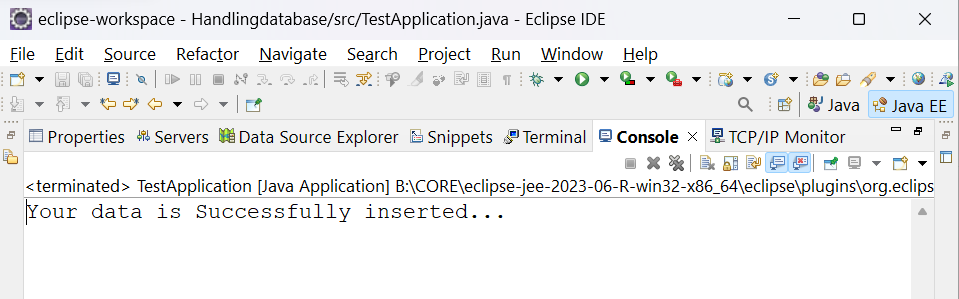
Create a TestApplication.java class file in src folder in your Java project, write below code in it. This code is used to insert the data into the database.
The output will be shown in console window in your Eclipse as shown below:
If you want to check the data is successfully inserted or not. you can check the tables in your database. If the data is present in the table, it is successfully inserted into your table, otherwise it is not inserted into your table.
Example:
👁 VerificationThe above two tables are inserted the rows successfully.