 |
VOOZH | about |
|
VOOZH | about |
Spring Autowiring is a feature of the Spring Framework that automatically injects dependent objects into a bean, reducing the need for explicit configuration. It helps make applications loosely coupled, cleaner, and easier to maintain.
Spring supports the following types of autowiring:
Spring does not perform autowiring. Dependencies must be defined explicitly.
Key Points:
Spring injects the dependency by matching the bean ID with the property name.
<bean id="city" class="sample.City" autowire="byName"/>
Key Points:
Spring injects the dependency based on the class type
<bean id="city" class="sample.City" autowire="byType"/>
Key Points:
Spring injects dependencies through the constructor.
<bean id="city" class="sample.City" autowire="constructor"/>
Key Points:
Spring first tries constructor, then byType.
<bean id="city" class="sample.City" autowire="autodetect"/>
Note: This mode is deprecated in newer Spring versions and should be avoided.
This example demonstrates how Spring automatically injects a dependency by matching the bean ID with the property name using setter-based injection.
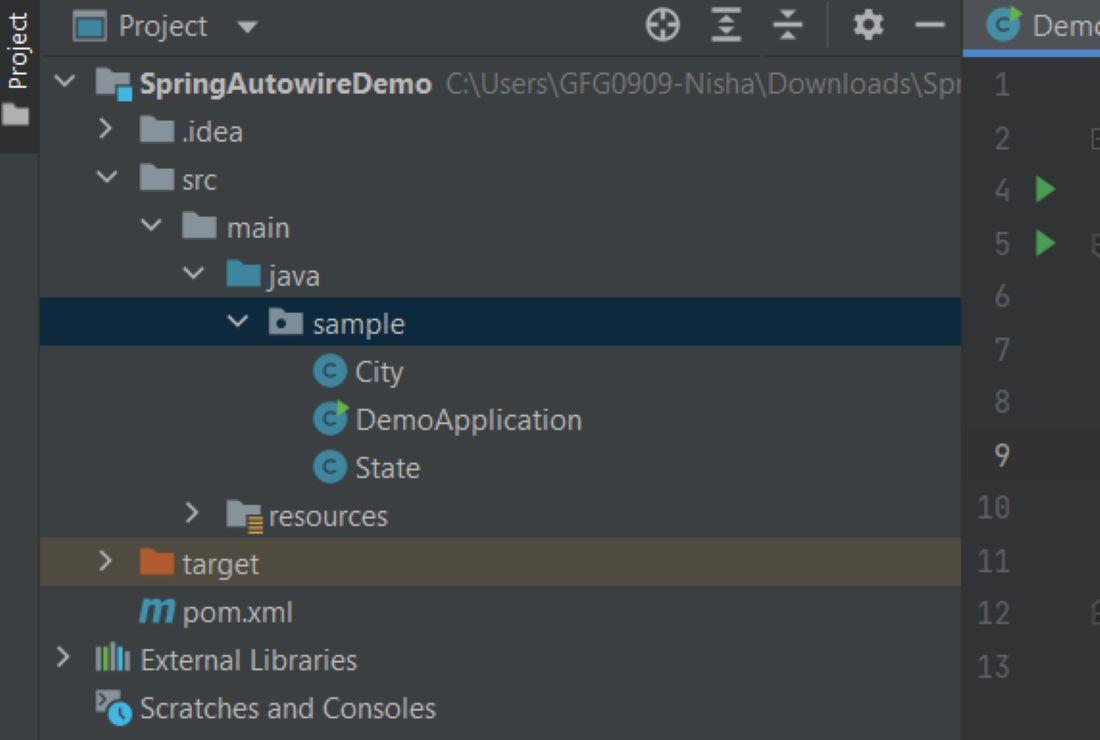
Create a new Maven project in IntelliJ IDEA with the required GroupId, ArtifactId, and Java version.
Organize the project into standard Maven directories for Java source files and resource files.
Add the spring-context dependency to enable core Spring features and dependency injection.
<dependencies>
<dependency>
<groupId>org.springframework</groupId>
<artifactId>spring-context</artifactId>
<version>5.3.30</version>
</dependency>
</dependencies>
Create a simple POJO class representing the State with private fields and public getter/setter methods.
State.java
Create a City class that depends on the State class and exposes a setter method for byName autowiring.
City.java
Define Spring beans in applicationContext.xml and enable autowiring using the byName mode.
applicationContext.xml
Load the Spring IoC container, retrieve the City bean, and invoke methods to verify dependency injection.
DemoApplication.java
Run the main class to execute the program and observe the injected dependency output.
Output: