 |
VOOZH | about |
|
VOOZH | about |
TableLayout in Android is a ViewGroup subclass that is designed to align child views in rows and columns like a grid structure. It automatically arranges all the child elements into rows and columns without displaying any border lines between cells. The Table Layout's functionality is almost similar to an HTML table, where the number of columns in the layout is determined by the row with the most cells. In this article, you will learn about the features, implementation and best practices of TableLayout in Android development.
The TableLayout can be defined using <TableLayout> like below:
and TableRow can be defined in the following way:
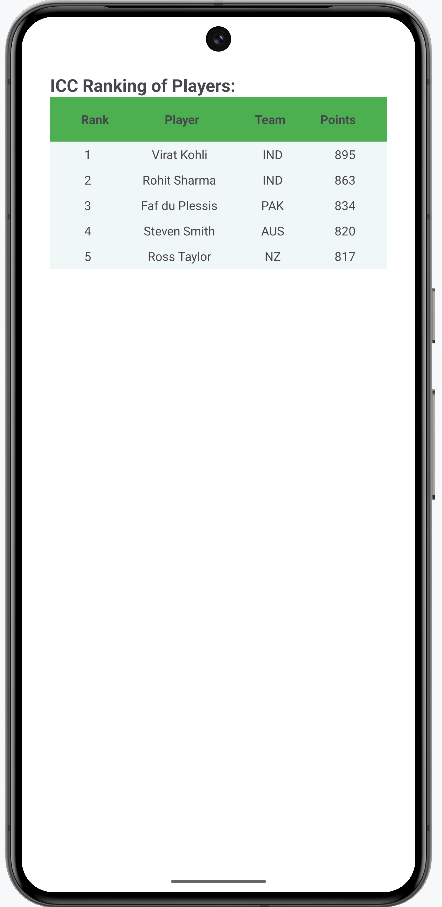
In this file, we declare the TableLayout and start adding table rows with the help of TableRow. We are creating ranking table of players where we define four columns Rank, Name, Country and Points. The code for the Table is:
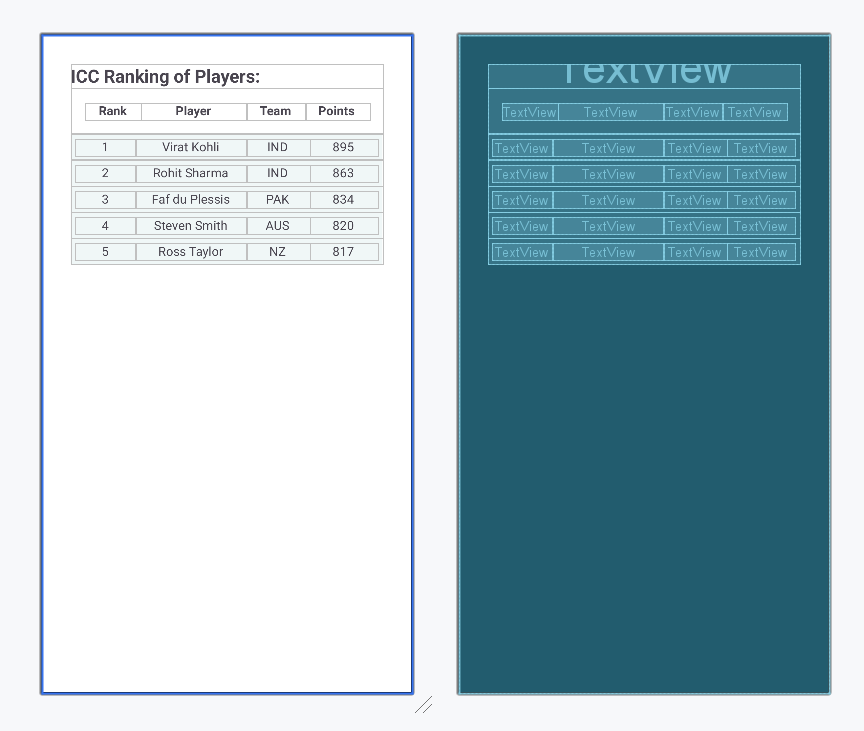
Design UI:
When we have created layout, we need to load the XML layout resource from our activity onCreate() callback method and access the UI element form the XML using findViewById.
After running the application, this is the expected result from the above code:
Android Table Layout in Kotlin is a useful tool for creating structured and responsive user interface. Table Layout in Android allows us for efficient organisation of UI elements in rows and columns that will increase the experience of users. You will learn about Android Table Layout in Kotlin by referring to this article.