In android development, we need an android device to run the application. So, developers of Android Studio provide an option to install android virtual device to run it. In this article, we will learn how to install Android Virtual Device (AVD).
Follow the below steps to install
Android Virtual Device.
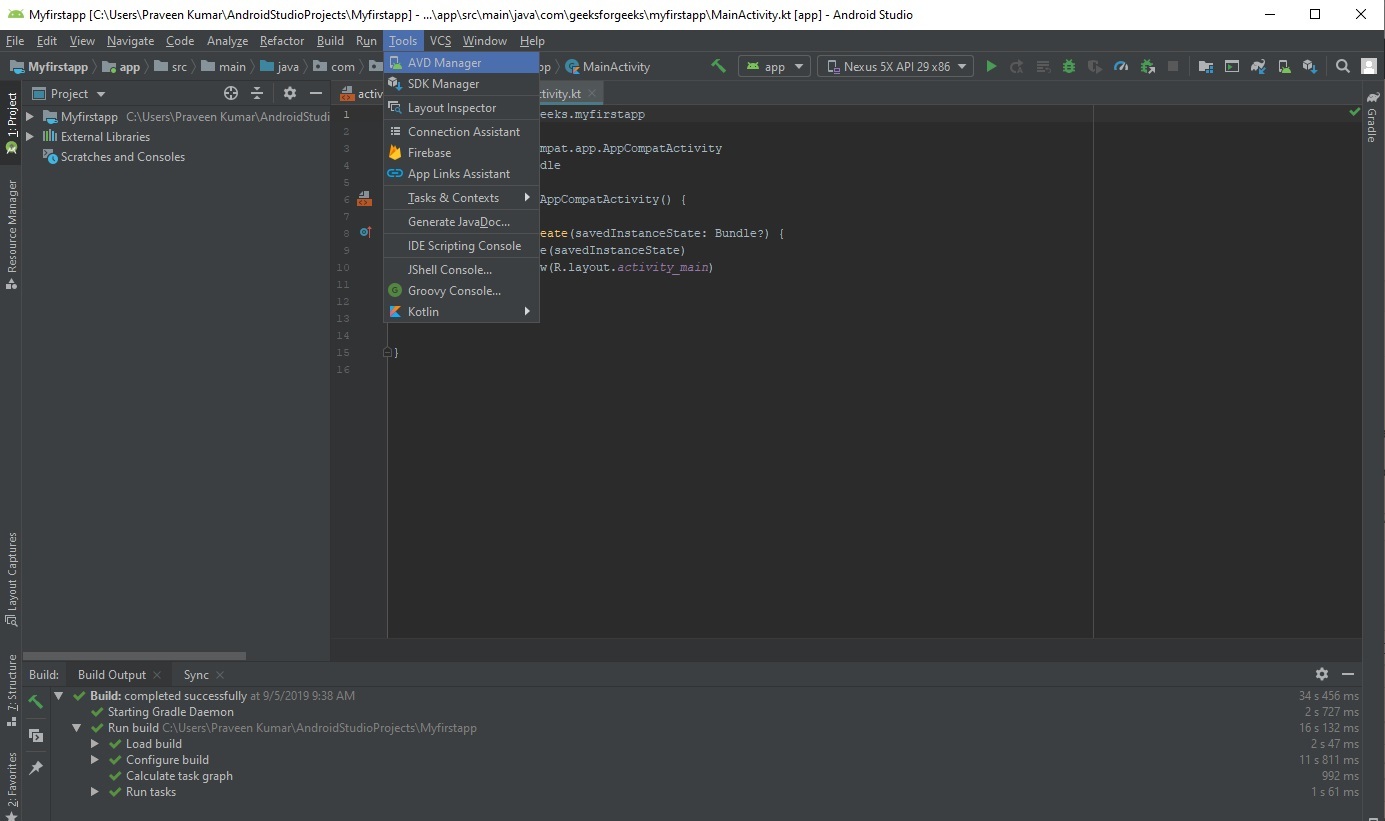
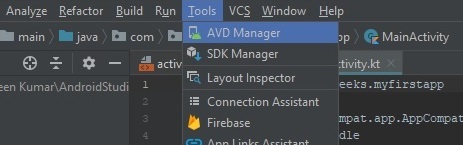
Step 1: Go to
Tools >
AVD Manager.
👁 Image
👁 Image
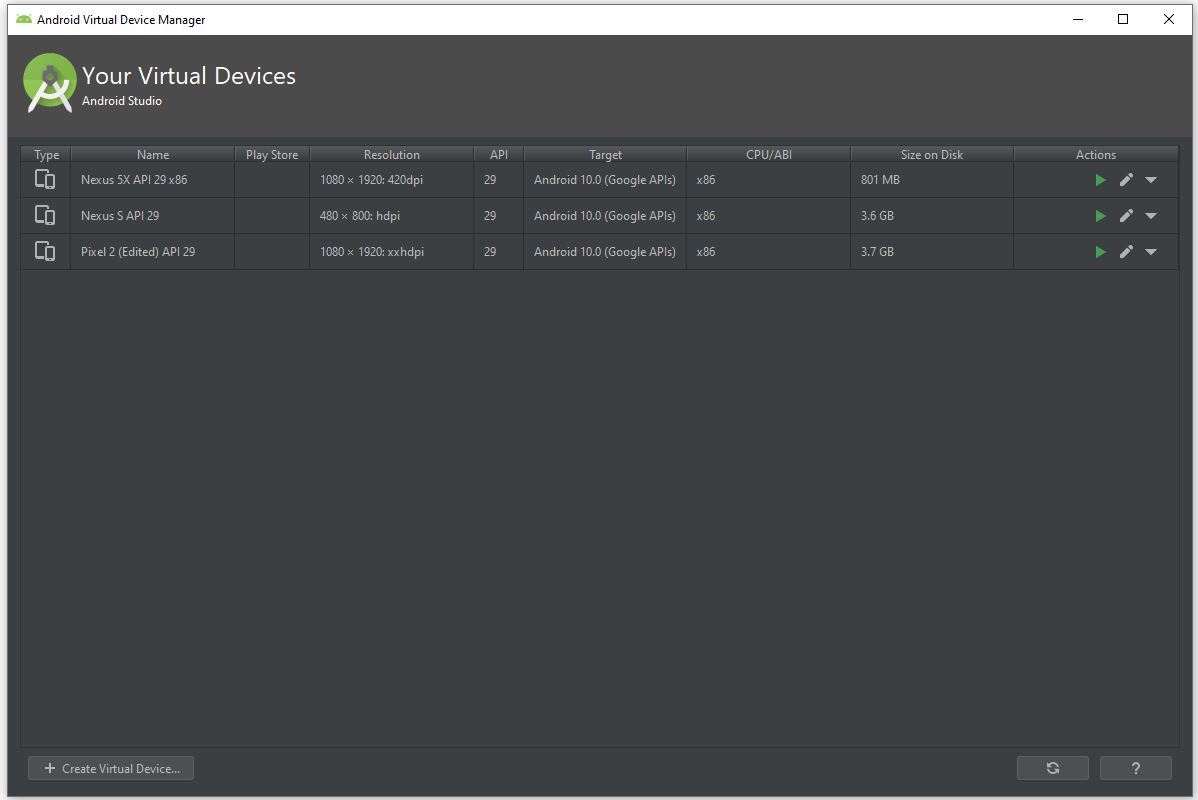
Step 2: Now click on
Create Virtual Device.
👁 Image
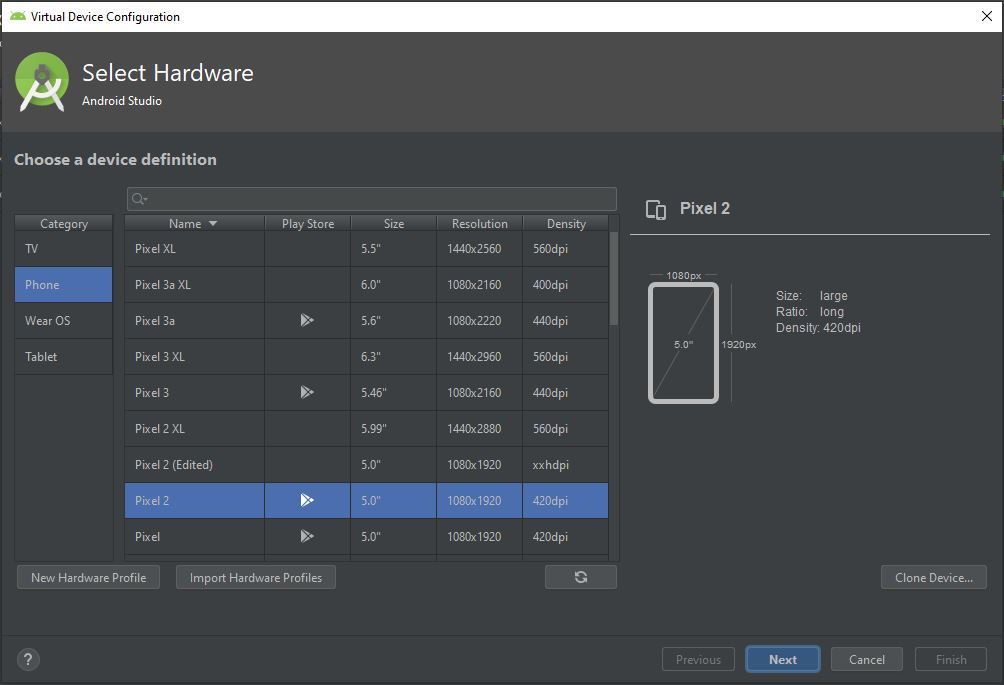
Step 3: A pop-up window will be there and here we select the category Phone because we are creating android app for mobile and select the model of mobile phone we want to install.
👁 Image
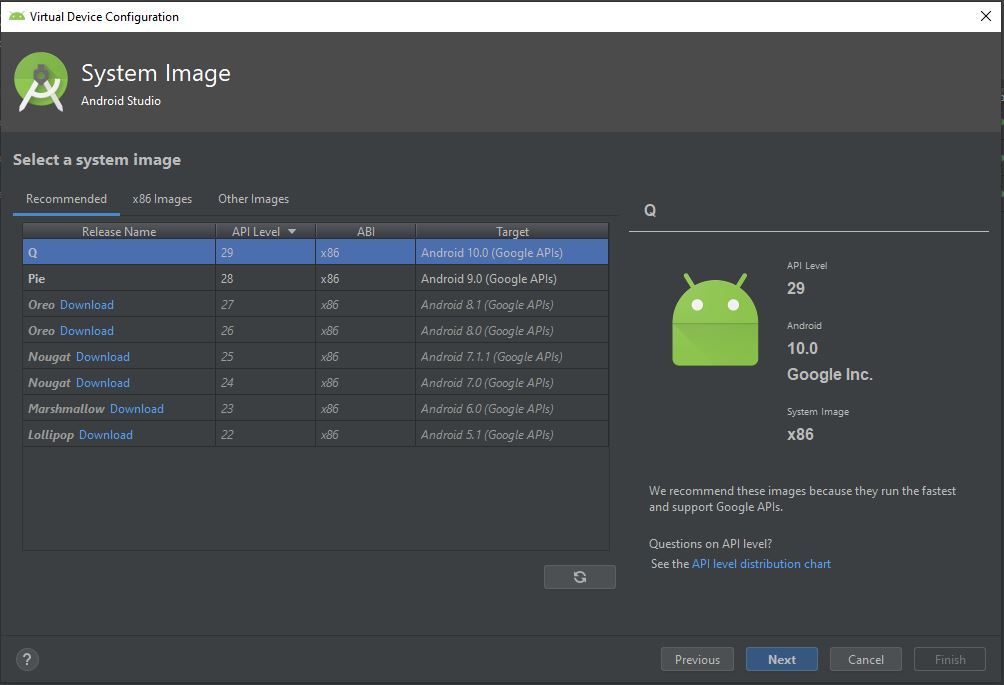
Step 4: Here we select the android version to download like
Q,
Pie,
Oreo etc and click
Next button.
👁 Image
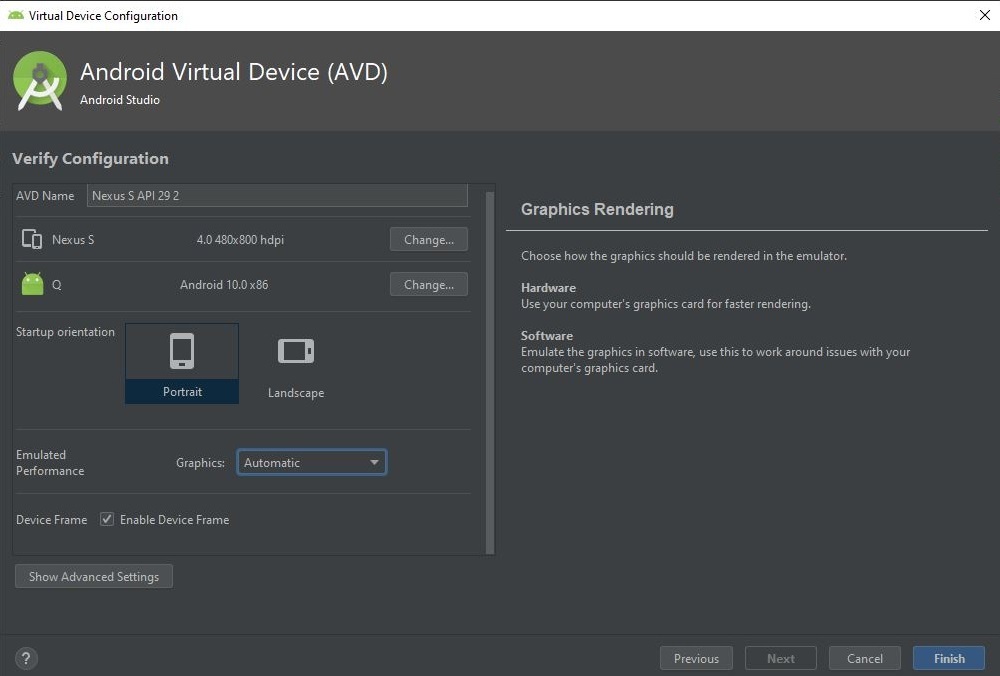
Step 5: Click the
finish button to complete the installation.
👁 Image
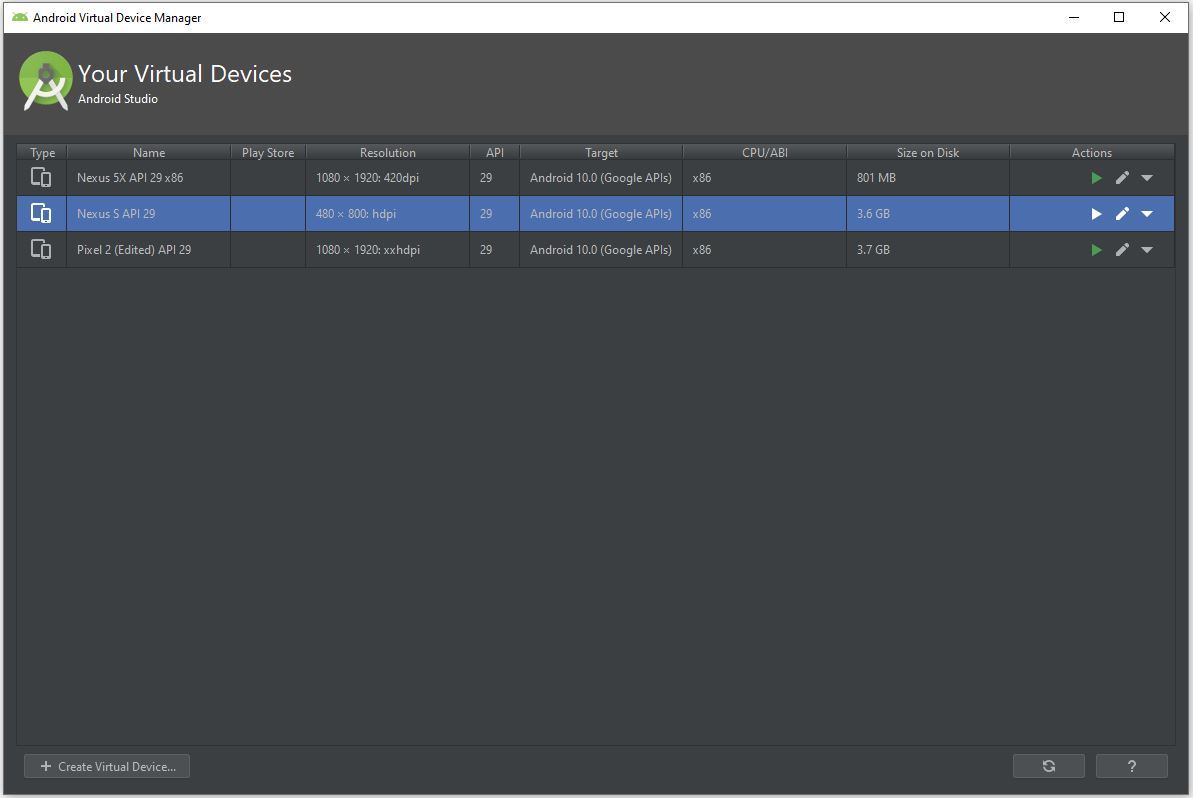
Step 6: Now we can select the virtual device we want to run as emulator can click on the
run icon.
👁 Image
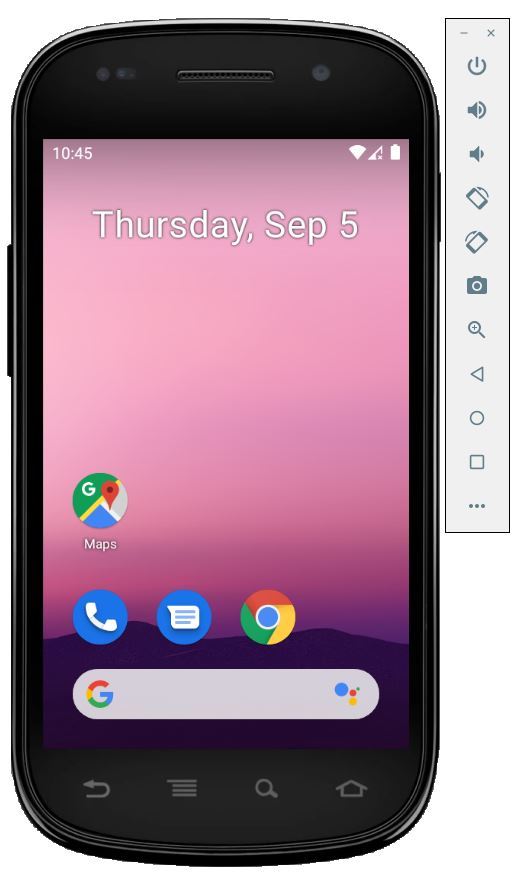
Step 7: Finally our virtual device is ready to run our android app.
👁 Image