Firebase ML KIT aims to make machine learning more accessible, by providing a range of pre-trained models that can use in the iOS and Android apps. Let's use ML Kit’s Face Detection API which will identify faces in photos. By the end of this article, we’ll have an app that can identify faces in an image, and then display information about these faces, such as whether the person is smiling, or has their eyes closed with wonderful GUI.
Approach
Step 1: Create a New Project
Open a new project in android studio with whatever name you want.
We are gonna work with empty activity for the particular project.
The minimum SDK required for this particular project is 23, so choose any API of 23 or above.
The language used for this project would be JAVA.
Leave all the options other than those mentioned above, untouched.
In Firebase console, create a new project or if you wanna work with an existing project then open that.
Name the project as per your choice.
Go to Docs.
Click on Firebase ML, and in the left space, choose 'recognize text' under Vision.
Go through the steps mentioned for better understanding.
Come back to Android Studio.
Go to Tools -> Firebase -> Analytics -> Connect with Firebase -> Choose your project from the dialog box appeared -> Click Connect. (This step connects your android app to the Firebase)
Step 3: Custom Assets and Gradle
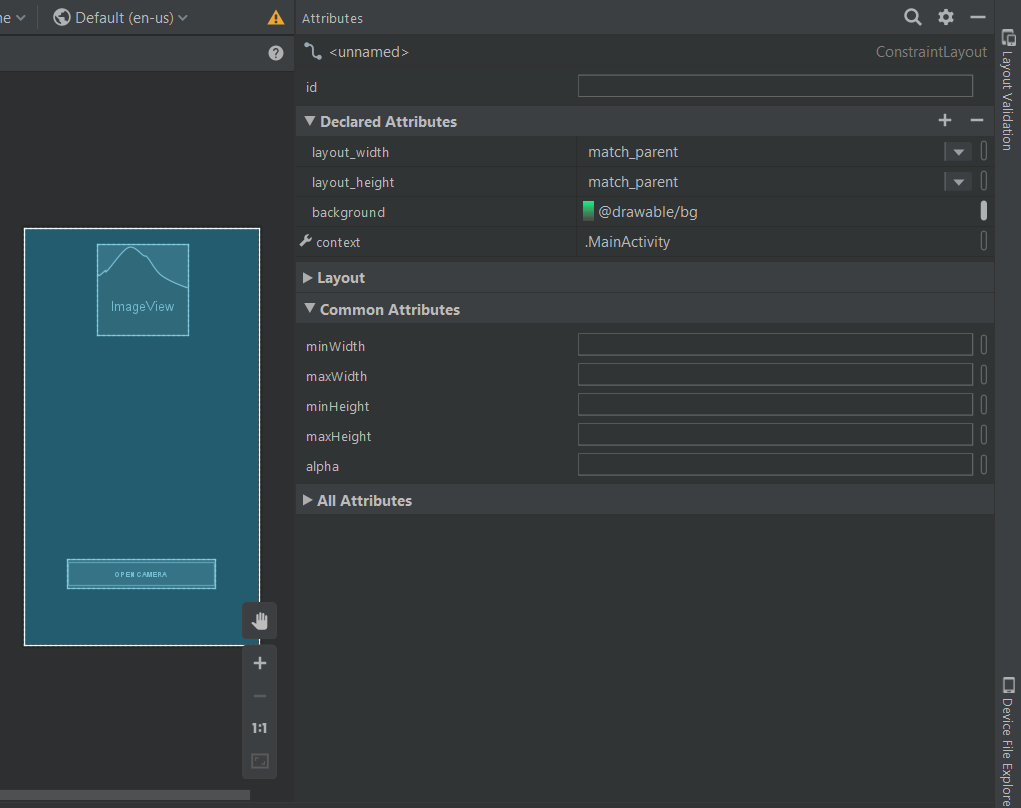
For enhancing the GUI either choose an image of .png format and add it in the res folder and set it as the background of main .xml file, or set a background color by going to the design view of the layout and customizing background under Declared Attributesas shown below:
Now go to layout -> new -> layout resource file -> Name: fragment_resultdialog.xml. This file has been created to customize the output screen, which will display a dialog box called Result Dialog box with a text view called Result Text with all the attributes of the detected image. Below is the XML file for the XML file created.
Advantage of Firebase ML Kit
Simplified Development: Firebase ML Kit provides pre-trained models for face detection, eliminating the need for complex machine learning expertise. This significantly reduces development time and resources.
Additional Tips:
Explore real-time face detection using the camera preview.
Implement additional functionalities like face tracking or emotion recognition (requires additional ML Kit components).
Thoroughly test your app on various devices and lighting conditions.
Step 5: Firebase App Initializer
Create a new java class by java -> new -> class -> Name: LCOFaceDetection.java -> superclass: Application(android.app.Application). Below is the example source code for the java class.
Step 6: Inflating the Result Dialog Box
Create a new java class namely, ResultDialog.java and superclass, DialogFragment, which is the java file for the fragment_resultdialog.xml. Below is the example code for java file.
Step 7: Open Camera on a Real Device and Enabling Face Detection
Below is the example code for the main java file.
There is a need of FirebaseVision and FirebaseVisionFaceDetector classes for this.
Here’s a list of all the settings you can configure in your face detection model.
Setting
Description
Performance mode
FAST (default) | ACCURATE
Favor speed or accuracy when detecting faces.
Detect landmarks
NO_LANDMARKS (default) | ALL_LANDMARKS
Whether to attempt to identify facial "landmarks":
eyes, ears, nose, cheeks, mouth, and so on.
Detect contours
NO_CONTOURS (default) | ALL_CONTOURS
Whether to detect the contours of facial features.
Contours are detected for only the most prominent face in an image.
