 |
VOOZH | about |
|
VOOZH | about |
Networking is a great way to connect your application with the world. Yes, before going straight into our topic, let's first try to find its necessity in your application. Networking is an essential aspect of modern applications, allowing them to connect with servers, databases, APIs, and other applications across the globe.
Most of the applications have some backend interaction. For example:
These functionalities are one of the crucial parts of your app, based on the requirements of the application. The best way to implement these functionalities is to use a separate interface, which can act as a storeroom, contains various properties and functions, and provides as per our needs, such Interfaces are called Application Programming Interfaces (APIs).
Now slowly we are coming towards the goal of the article. Now the question arisen how can we access the store-room?Is it available for everyone? If it is, then it might cause security issues. Well, these APIs have their protocols. HTTP (Hyper Text Transfer Protocol ) and HTTPS (Hyper Text Transfer Protocol Secure). With these protocols, we can send access requests to these APIs. We will discuss Restful Web Services here, as nowadays most Android applications implement networking through Restful Web Services.
We can use HTTP methods like GET, POST, PUT, and DELETE to create a new request to these APIs and can perform the following operations:
Restful web services often transmit data in JSON or XML format. Let us start with Rest API integration with Android application.
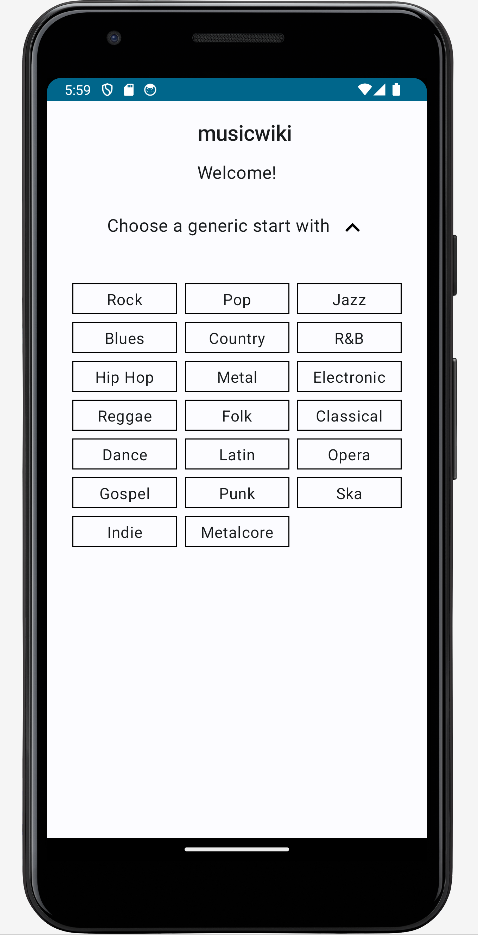
Last.fm, The world's largest online music service, provides. The Last.fm API allows developers to access a vast database of music-related data and build their own applications using this data. We will create our application with this API. The name of our application will be MusicWiki. MusicWiki is an unofficial Last.fm app that contains information about different music genres, the albums, artists and tracks listed under the genre or tag.
Goal:
Through this project we will going to cover the following topics:
Step 1: Download the Project
We will download the Project, In order to proceed further.
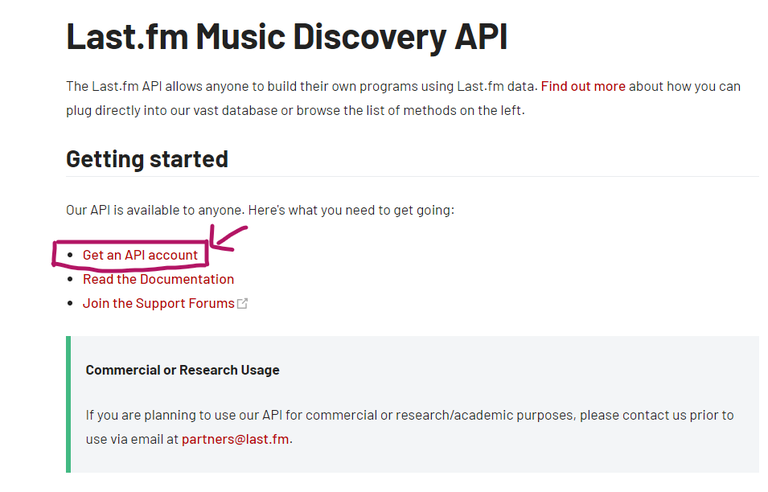
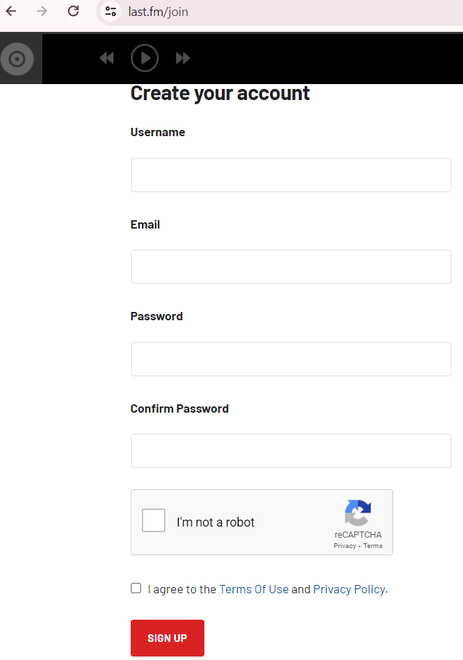
Create your own account.
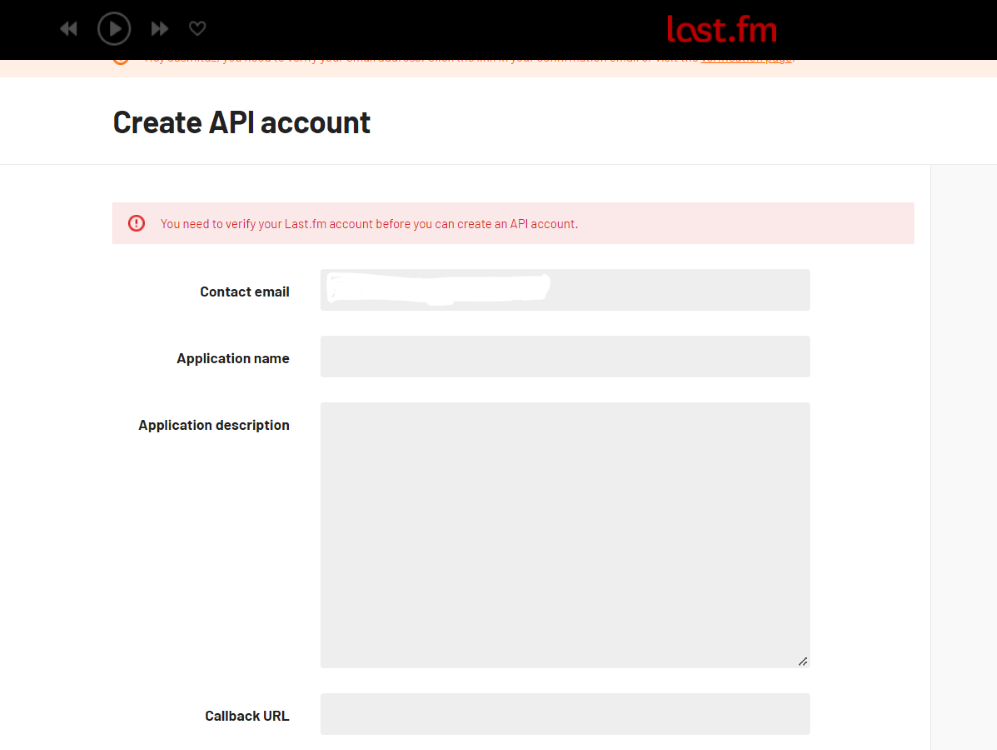
Fill up the information required for your application. (Don't need to give the Callback URL & Homepage name, if you don't have such information.)
Click on profile, verify your email and return back to the page. When you successfully cover the following step, you get your API key.
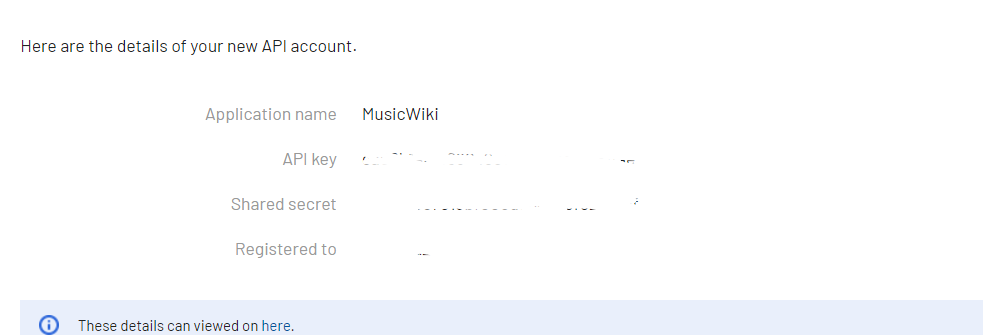
Copy the API_KEY and stored it into string.xml file.
<string name="API_KEY"></string>
Do you know, What have you learned for so long? The answer is Throttling API Documentation. As we mentioned earlier, Restful Web Services have their own protocols for accessing them. So our first task was to select one such well-documented and easily accessible API And find out from its documentation how we can use it. In the future, we will see how this API works and where we have to use the API_KEY. (Authentication Handling).
See here we have two options, we can code from scratch, Here you may need more knowledge and it is also a hectic process. Or we can take the help of third-party in-built libraries. Retrofit is a REST Client library (Helper Library) used in Android and Java to create an HTTP request and also to process the HTTP response from a REST API.
(i) Set up Retrofit for Jetpack-Compose application
Add the following dependencies in your app level build.gradle file. and sync the project.
// Retrofit for API requests
implementation ("com.squareup.retrofit2:retrofit:2.9.0")
implementation ("com.squareup.retrofit2:converter-gson:2.9.0")
// ViewModel and LiveData for MVVM architecture
implementation ("androidx.lifecycle:lifecycle-viewmodel-compose:2.7.0")
implementation ("androidx.lifecycle:lifecycle-livedata-ktx:2.7.0")
Keep in mind, That you have entered to the first phase of Error Handling and Analytics. Because, it's important to implement robust error handling and retry mechanisms to handle scenarios like server errors, network failures, or timeouts.
Let's try to deep dive onto the following code-snippet.
 @GET("2.0/") // API_ENDPOINT
 fun getGenres(@Query("method") method: String, @Query("api_key") apiKey: String,@Query("format") format:String): Call<Genre>

 @GET("2.0/")
 fun getTagInfo(@Query("method")method: String, @Query("tag")tagname:String,@Query("api_key") apiKey: String,@Query("format") format:String)
 : Call<GenreDetail>
When you build an application, first structure your requests. It is also applicable to your own APIs. In our application, We only needed to create GET requests to fetch the required data. The second part is to know the api endpoint and see if any authorization is needed for this request or not. This part will always customized according to your API requirement.
In many cases, your API might need an authentication, In that case, you need to include an appropriate authentication header, or you need to pass an API_KEY with requests, like in our case.
Let us deep-dive into ViewModel and try to find out why error handling is one of the crucial parts of API integration.
There may be many reasons for a failure request to API, such as a server error, or network error (unavailability of internet connection. If we don't consider those cases, it can result in an unnecessary application crash. Retrofitoffers a simple way to manage errors and extract information from the response body. Creating a custom Retrofit CallAdapter allows for centralized handling of API error responses, reducing boilerplate code effectively.
/** Handle Network Error, Server Error */
override fun onFailure(call: Call<GenreDetail>, t: Throwable) {
 Log.d("GenreDetailError",t.localizedMessage)
 }
 })
 }
 catch(e:Exception){
 /** Handle Error */
 Log.d("GenreDetailError", e.localizedMessage)
}
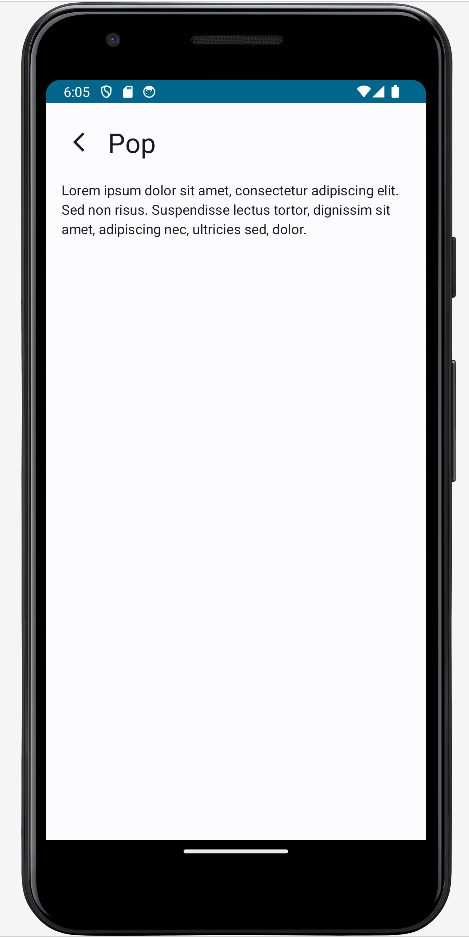
On Clicking any Button you can check the data about that Music Form:
Let us conclude our discussion with Security Rate Limiting.
This term indicates how many requests you can make within a certain period of time, While working or using any application, you may observe one message with Toast or Snackbar.
Too many requestsIf too many requests are made over that period, the API system will return an error message telling you that the rate limit has been exceeded. However, you can handle it by optimizing API calls for a particular screen, by sending a proper message to the user, or by creating a restriction on view-click events, so that, the user does not call the same API again and again.