 |
VOOZH | about |
|
VOOZH | about |
Uploading files in a web application is a common requirement, whether it's for user profile pictures, documents, or any other files. Ruby on Rails makes this task straightforward with its built-in tools. In this article, we'll walk through the steps to set up file uploads in a Rails app, from creating the project to displaying and downloading the uploaded files.
Table of Content
In this example, we are using the direct form submission method to upload a file in a Ruby on Rails application.
This method is straightforward to implement, especially for simple file upload needs. Other methods, such as AJAX file upload, chunked file upload, and direct-to-cloud storage upload, offer more advanced features like asynchronous uploading, handling large files, and offloading storage to cloud services. These approaches can be implemented to enhance user experience and scalability.
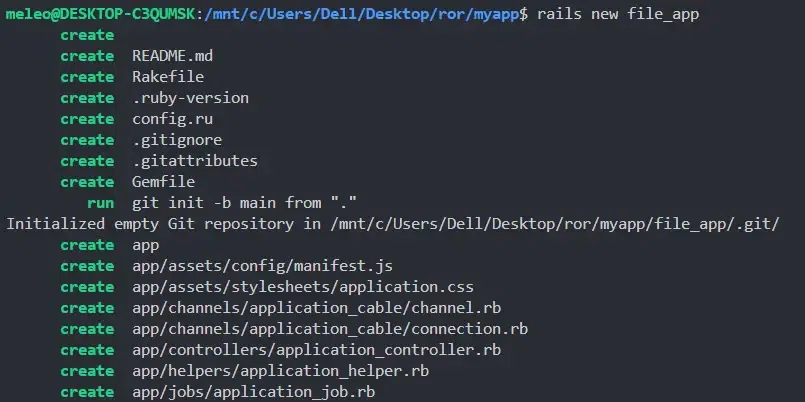
First, you'll need to create a new Rails application. Open your terminal and run the below command,
rails new file_app
To upload files, you'll need a model to store the file information. Let's create a model called 'Folder'. Make sure you are inside your project directory while executing the command.
rails generate model Folder title:string file:string
Here, the title will be a string to store the document's name, and the file will hold the uploaded file's path.
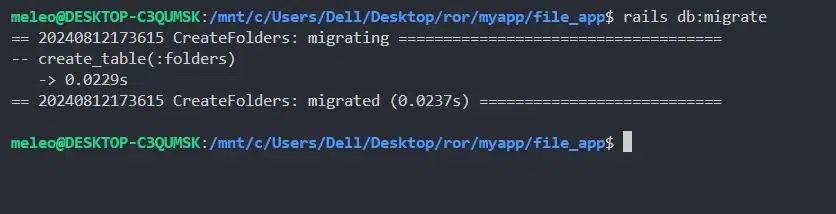
After running the command, migrate the database.
rails db:migrate
Rails has a built-in tool called Active Storage that makes file uploads easy. There are other useful gems and tools for file handling like,
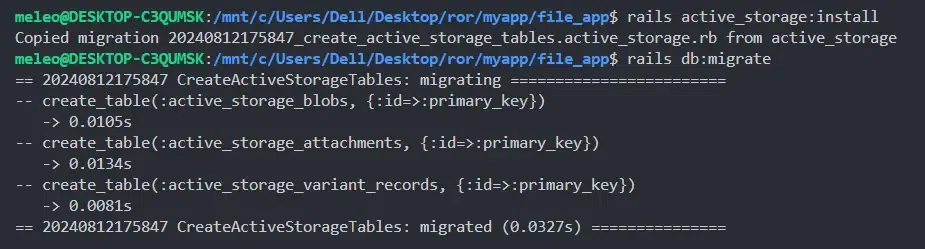
Active Storage is widely used and recommended. Install Active Storage by running,
rails active_storage:install rails db:migrate
This will add tables to your database to store file uploads.
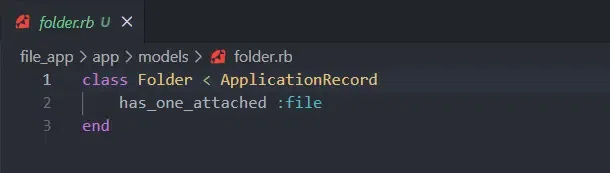
Now, update the 'Folder' model to attach files using Active Storage. Open 'app/models/folder.rb' and modify it like this,
This line indicates that each instance of the 'Folder' model can have one file attached to it.
Next, create a form in your FoldersController to allow users to upload files. Generate the controller using,
rails generate controller Folders
Now, add a 'new' action in 'app/controllers/folders_controller.rb'. This initializes a new, unsaved instance of the 'Folder' model and assigns it to the instance variable @folder.
In the same controller, add a 'create' action to save the uploaded file. The create action in the controller initializes a new 'Folder' with user-submitted parameters, attempts to save it, and either redirects to the document's show page with a success message or re-renders the new form if saving fails. The 'folder_params' method ensures that only permitted parameters are used.
Now, create a view to render the upload form. In 'app/views/folders/new.html.erb', add the following code,
To display the uploaded files, add a 'show' action in 'app/controllers/folders_controller.rb',
Then, create a view to show the document in 'app/views/folders/show.html.erb',
Finally, make sure to add routes for the new actions. In 'config/routes.rb', add: the following,
Rails.application.routes.draw do resources :folders, only: [:new, :create, :show] end
Start your Rails server using,
rails server
Visit 'http://localhost:3000/folders/new' in your browser to see the upload form. After uploading a file, you should be able to view and download it on the folder's show page.
In conclusion, file uploading in Ruby on Rails is easy to set up and use. With Rails' built-in features, you can quickly add file upload functionality to your app. This method lets users upload files through simple forms and manages those files efficiently on the server. Rails makes handling file uploads straightforward, ensuring that you can focus on building your app without worrying about complex file management issues.