The Canva is a popular online tool for creating stunning graphics and visual content. While Canva offers a variety of export options it doesn’t natively support saving images in the WebP format. The WebP is a modern image format known for its superior compression and high-quality results. This guide will show we how to save the Canva designs as WebP images using the simple two-step process.
The Canva is an online graphic design tool that enables users to create a wide range of the visual content including the social media graphics, presentations, posters and more. It provides an intuitive drag-and-drop interface and a vast library of templates, images and design elements. The Canva is accessible through a web browser and also offers mobile applications for on-the-go design.
How to Save Images as WebP in Canva?
As of the latest updates, Canva does not directly support exporting images in WebP format. However, we can use a workaround to achieve this. Here’s a step-by-step guide:
Open Canva and Select Your Design > Click on the Download Button > Choose File Type > Adjust Quality and Size > Click the Download Button
Step 1: Open Canva and Select Your Design
Log in to your Canva account and either open a previously saved design or create a new design.
Step 2: Click on the Download Button
Once your design is complete go to the top-right corner of the Canva interface and click on the “Share” button. In the dropdown menu, choose the “Download” option.
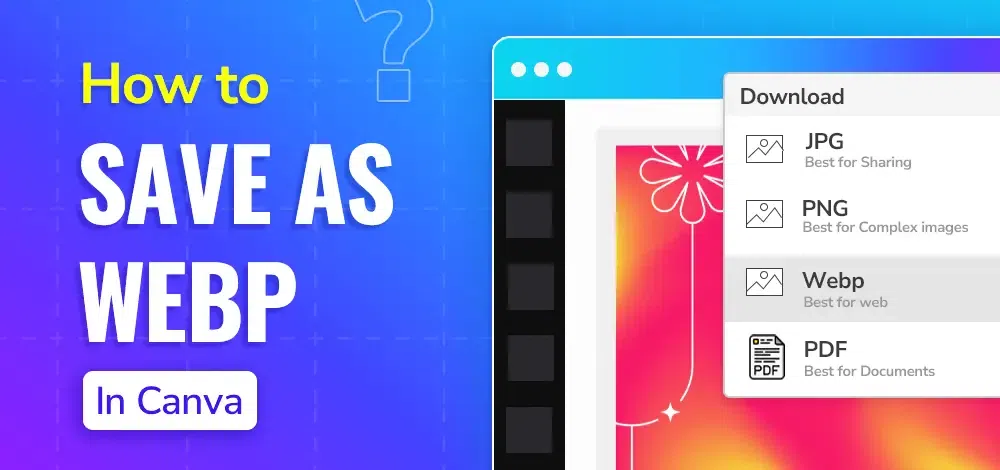
Step 3: Choose File Type
In the File Type dropdown menu, select WebP from the list of the available formats.
Step 4: Adjust Quality and Size (Optional)
Before downloading we can adjust the quality and size of the file if required.
Step 5: Click the Download Button
After setting the file type and any additional options click the Download button. Your design will be saved as a WebP file to your device.
Key Points to Consider
Quality vs. File Size: The WebP format supports both lossy and lossless compression. Choose the appropriate compression method based on the quality and file size requirements.
Compatibility: Ensure that the platforms where we intend to use the WebP image support this format. While WebP is widely supported by modern browsers some older systems or software might not be compatible.
Conversion Tools: Use reliable conversion tools to avoid loss of the image quality during the conversion process.
Mistakes to Avoid
Using Low-Quality Conversion Tools: Avoid using low-quality or unreliable conversion tools that might degrade the image quality. Opt for well-reviewed and trusted tools.
Ignoring Compatibility: Check the compatibility of WebP with intended use cases such as websites or applications to the ensure that your images display correctly.
Conclusion
Saving images as WebP in Canva requires a two-step process: downloading the image in the supported format and then converting it to WebP using a reliable tool. While Canva does not natively support WebP export this workaround allows to take advantage of the WebP format’s benefits including reduced the file sizes and improved image quality.
