
Up to this point all of the management of the XenServer host has been accomplished via a remote SSH connection. This is arguably the most straight forward approach, but it doesn’t always scale well to large XenServer pools or installations.
Update: In May 2016, Citrix released the new version of the XenServer 7 platform. For installation follow: Fresh Installation of XenServer 7.
Several applications/utilities exist in order to manage XenServer implementations and this article will cover the highlights of some of the commonly used options as well as provide a bash script for Linux user’s to obtain a console session to a guest running on a XenServer host.
Go through our XenServer Part 1 to 6 series to learn how to install, configure and manage XenServer 6.5.
Citrix provides a Windows only utility known as XenCenter that allows an administrator to manage XenServer implementations and the utility scales very well.
XenCenter provides all of the major features necessary for an administrator to effectively and efficiently manage XenServer hosts. XenCenter will allow for an administrator to manage multiple XenServer servers or pools and allows for the easy creation of guests, storage repositories, network interfaces (bonds/VIF), and other more advanced features in XenServer.
A third party option for managing XenServer implementations includes a web based manager known as Xen Orchestra. Xen Orchestra, in contrast to XenCenter, is installed on a Linux system and runs its own web server that allows system administrators to control XenServer implementations from theoretically any operating system.
Xen Orchestra has many of the same features as XenCenter and is constantly adding new features (including Docker management, disaster recovery solutions, and live resource modifications) and provides support subscriptions to companies who wish to have technical support on the product.
System Requirements
- XenServer 6.5 installed, updated, and accessible over the network.
- A Debian based Linux distro ( Xen Orchestra install only).
- Windows Machine ( Virtual or physical is fine; XenCenter install only).
Installation of XenCenter in Windows
XenCenter is Citrix’s approved method for managing XenServer. It is a fairly user friendly utility that can accomplish the bulk of the day to day tasks within organizations that utilize XenServer.
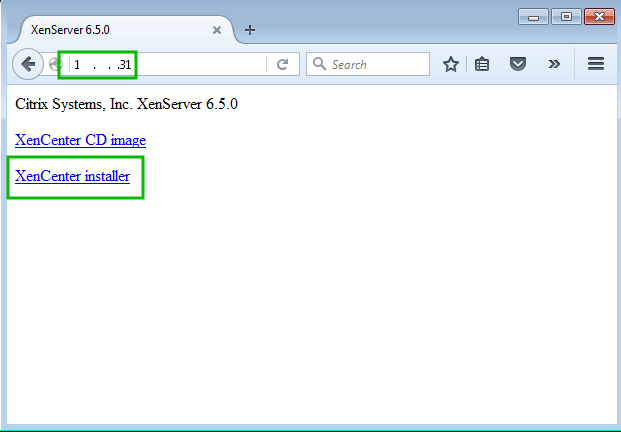
It is available both directly from Citrix (XenServer-6.5.0-SP1-XenCenterSetup.exe) or it can also be obtained from an already installed XenServer host by visiting the hosts IP/hostname from a web browser.
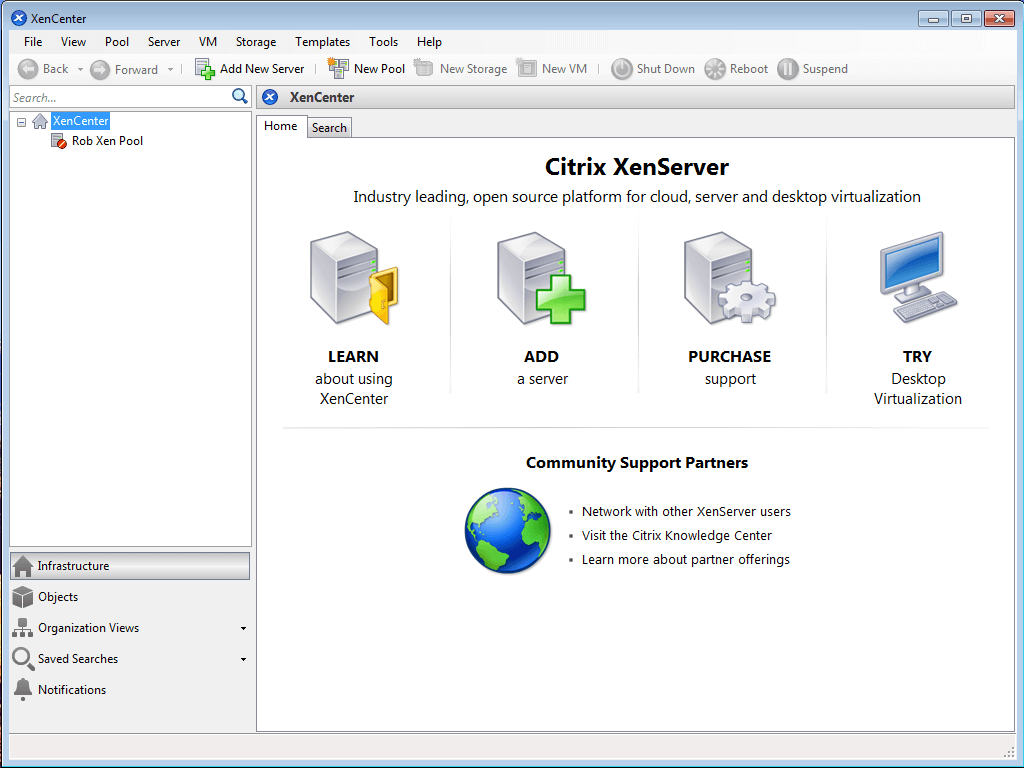
Once the installer has downloaded, it needs to be launched to actually install XenCenter to this particular host. The installation is very straight forward and once the installation is done, the application can be launched by clicking the XenCenter icon on the desktop or by locating the program in the Windows start bar.
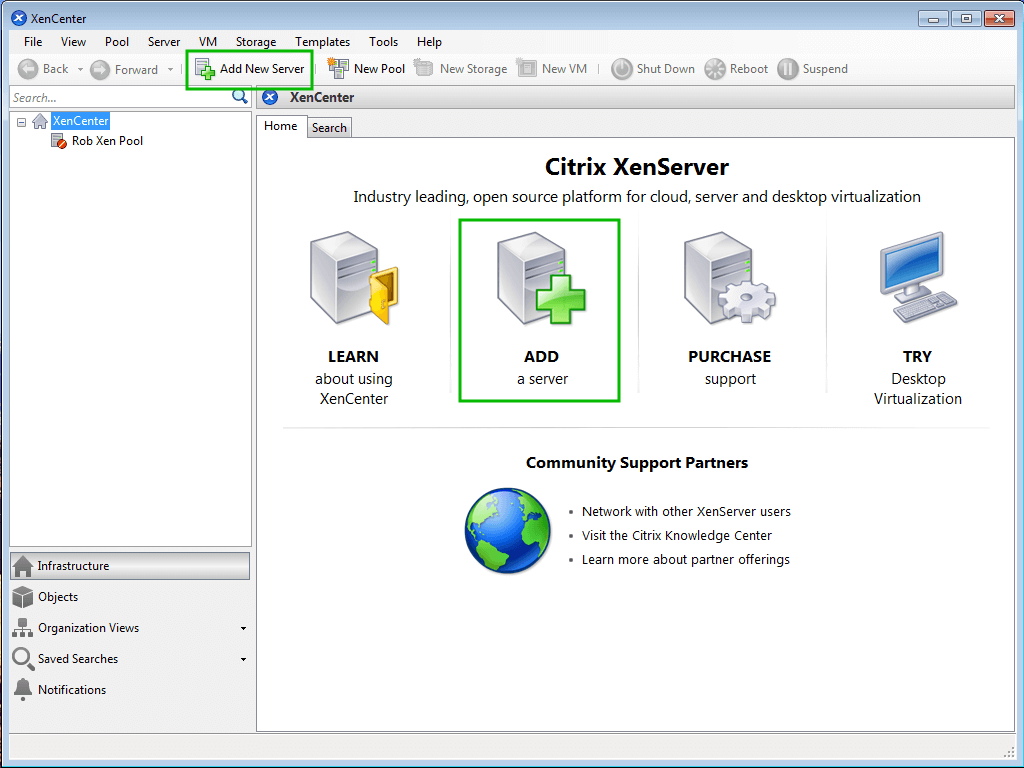
The next step in starting to manage XenServers with XenCenter is to add them to the panel by clicking ‘Add New Server‘.
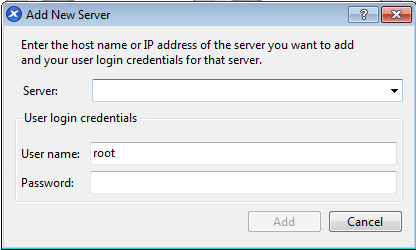
Clicking the ‘Add New Server‘ button will prompt for the IP address or hostname of the XenServer that should be added to XenCenter. The prompt will also request a username/password combo for a user to log into the host as well.
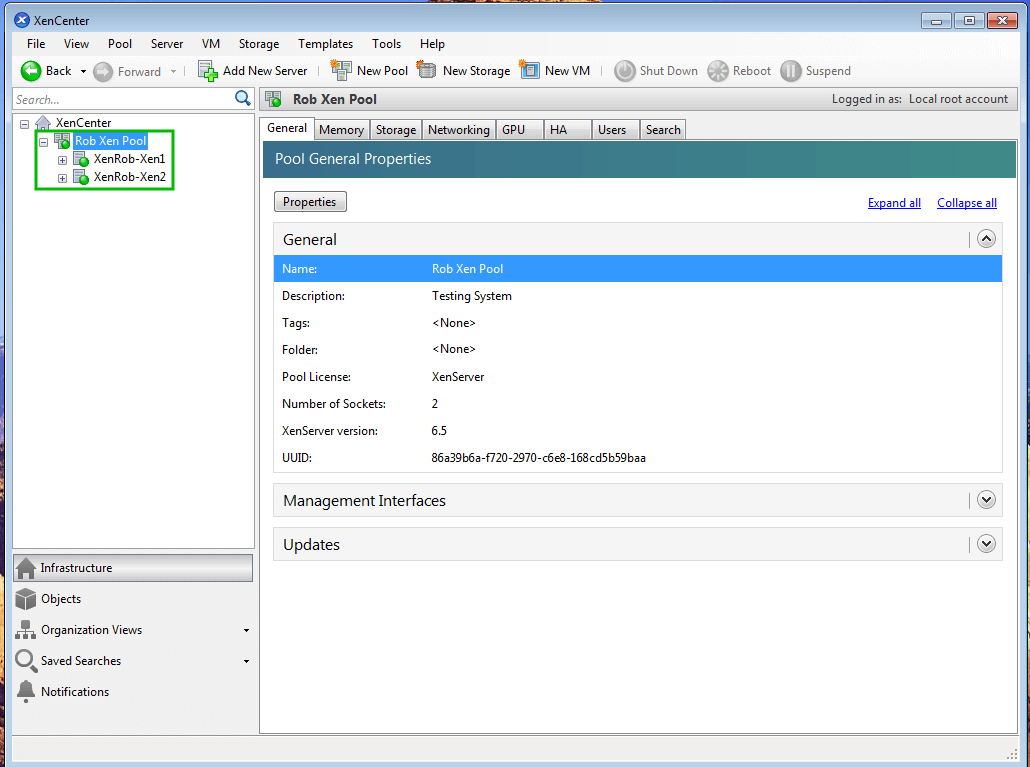
Upon successful authentication, the Xen server(s) should appear in the left panel of XenCenter showing that proper authentication has occurred and that the systems can now be managed through the interface.
The particular output here shows two Xen hosts as they were pooled together (more on this in future articles).
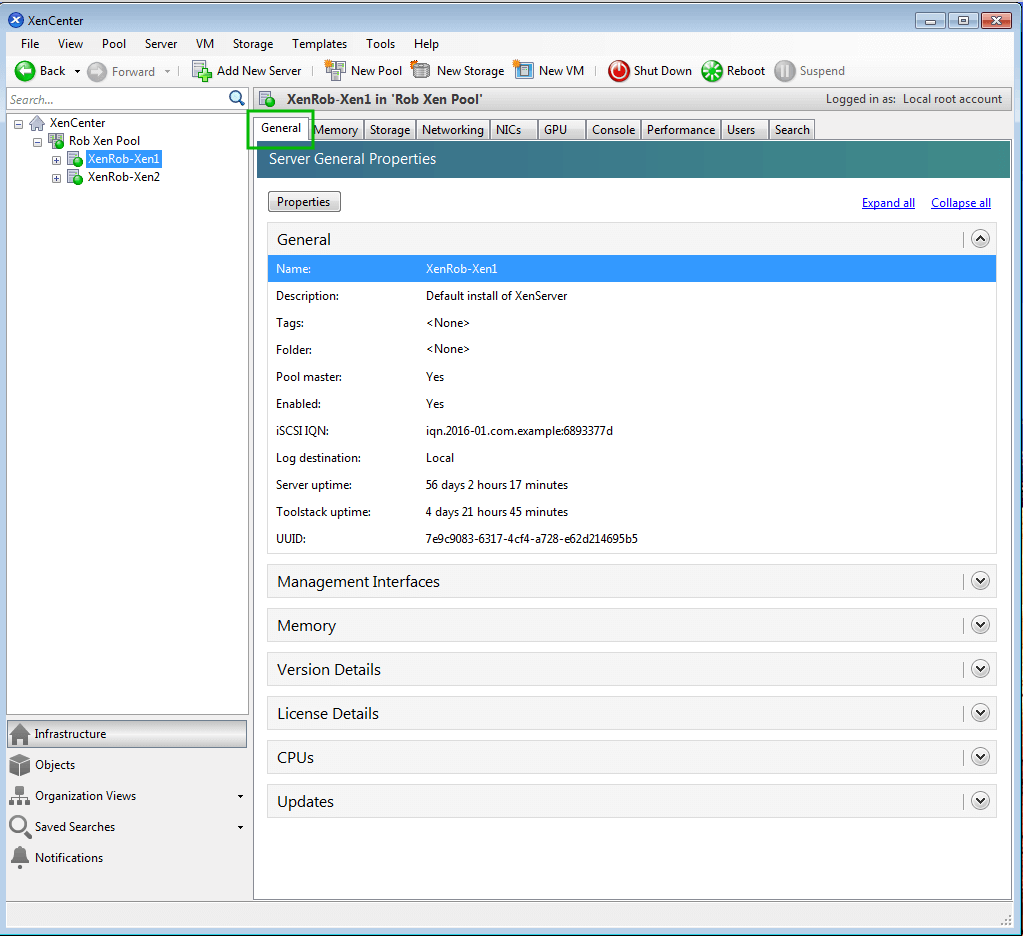
Once a successful connection has been established, configuration of the host(s) can begin. To view the details of a specific host, simply highlight the host by clicking on it and ensuring the ‘General‘ tab is selected in the center panel.
The ‘General‘ tab can be used to gain quick insight into the current configuration of this particular host including current status, patches applied, uptime, license information (if applicable), and more.
The tab names at the top of the host control panel are very self explanatory as to the purpose of that particular tab. Taking a closer look at some of them, many aspects from this series of articles can be confirmed.
For instance in part 3 “XenServer Network Configuration”, a network for Tecmint guests was created from the command line.
Arguably the most valuable tab within XenCenter is the ‘Console‘ tab. This tab allows the administrator to have console access to the XenServer host’s and virtual guest’s desktop interface.
This screen can also be used to manage the virtual guest operating system in the event that remote administration techniques are unavailable.
As can be seen from the interface, the XenCenter tool is a very versatile tool but does have the major drawback of only being available for administrators who use Windows or have a Windows virtual machine running somewhere.
For those who chose XenServer for its open source nature, it is frustrating that Windows is required in order to manage the system however there are still options.
If this article helped you solve a problem, consider buying a coffee. It helps keep TecMint free, supports the authors, and keeps the project going.
Got Something to Say? Join the Discussion... Cancel reply