AWS Elastic Beanstalk is a fully managed service that simplifies hosting web applications by automatically provisioning and managing the underlying infrastructure. Developers provide their code, and Elastic Beanstalk handles the rest.
Virtual machines, load balancers, operating systems, language runtimes, and web servers are all provisioned automatically.
Supports Java, .NET, PHP, Node.js, Python, Ruby, and Go.
Runs on Apache, Nginx, Passenger, and IIS depending on the platform.
Elastic Beanstalk itself has no additional charge — you pay only for the underlying AWS resources it provisions.
A single application can have multiple environments such as dev, staging, and prod running simultaneously.
Core Elastic Beanstalk Concepts
Application: A logical container for your entire project. Think of it as a folder that holds multiple versions and environments.
Environment: The actual running instance of your application — the collection of AWS resources (EC2, Load Balancer, Auto Scaling Group, etc.) that Elastic Beanstalk creates and manages on your behalf.
Application Version: A specific packaged snapshot of your code, typically a .zip or .war file.
Platform: The full technology stack your application runs on, combining the operating system, language runtime, web server, and application server (e.g., Python on Amazon Linux 2 with Gunicorn, or Go on Amazon Linux 2).
Launching a Sample Application
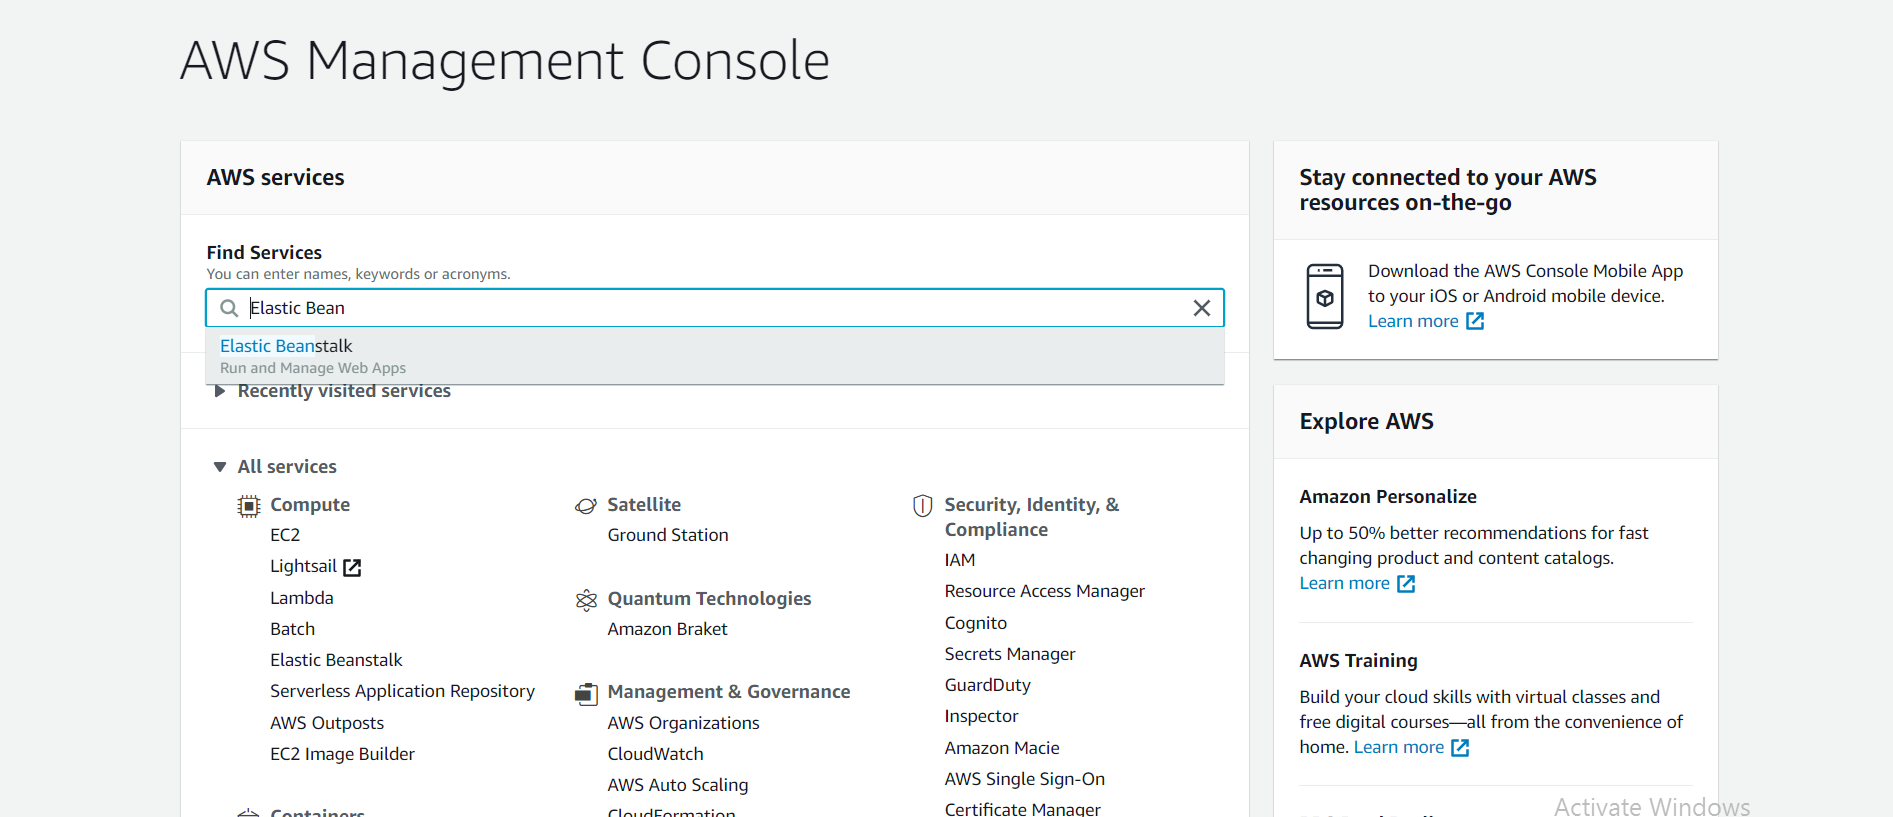
Step 1: Log in to your AWS account, search for Elastic Beanstalk in the main search bar, and select it to open the service dashboard.
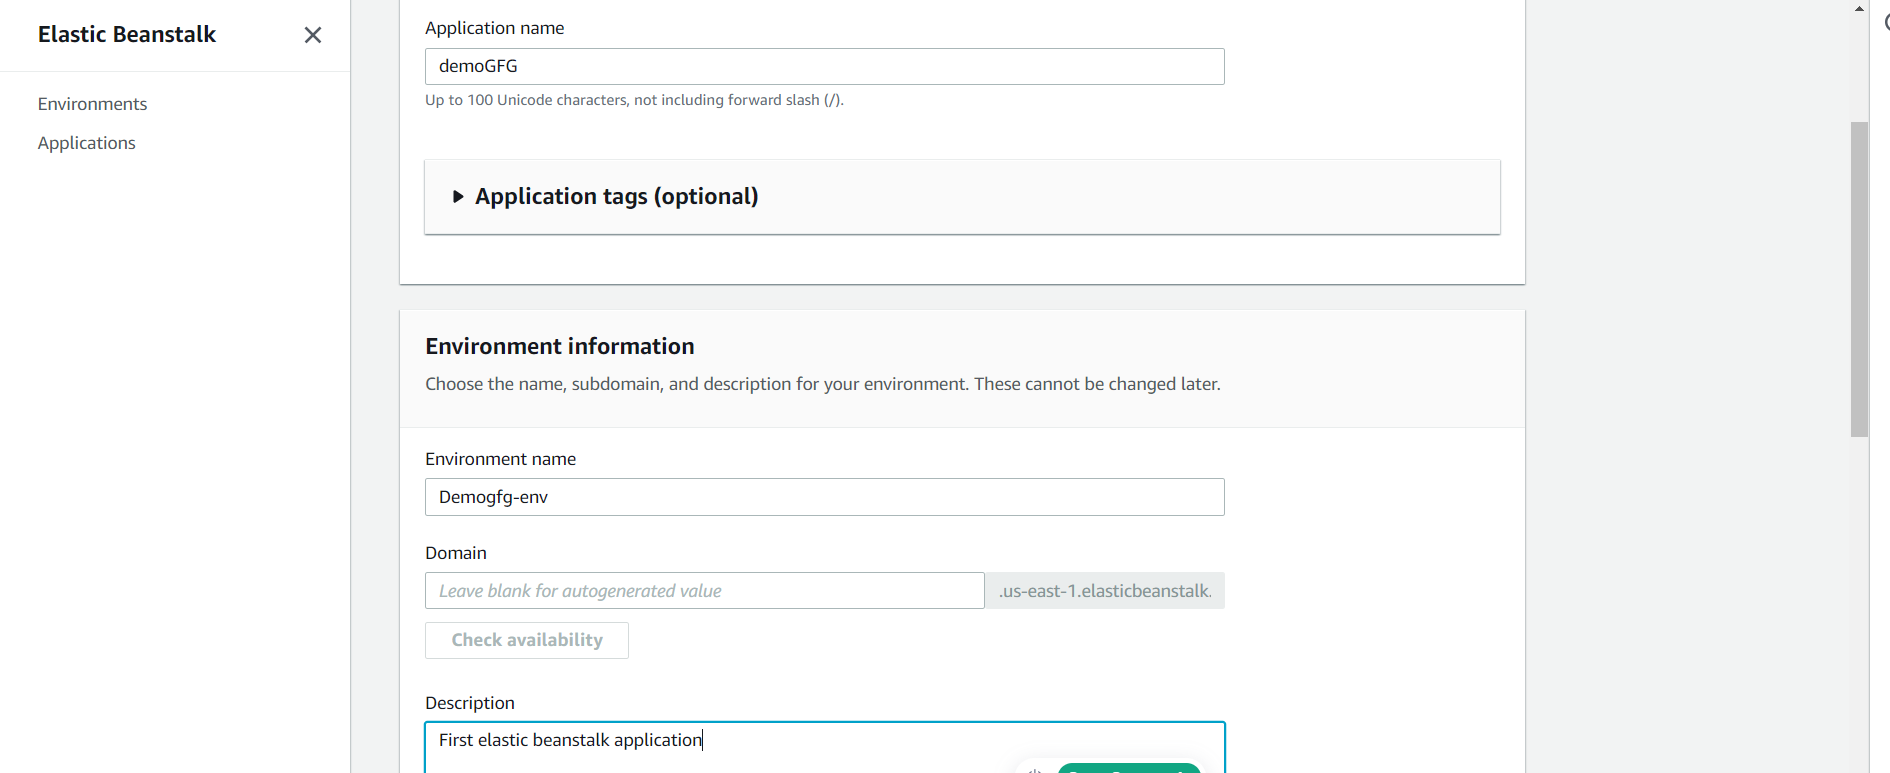
Leave the Environment name as auto-generated, or customize it.
Leave the Domain field blank for an auto-generated subdomain, or enter a preferred value.
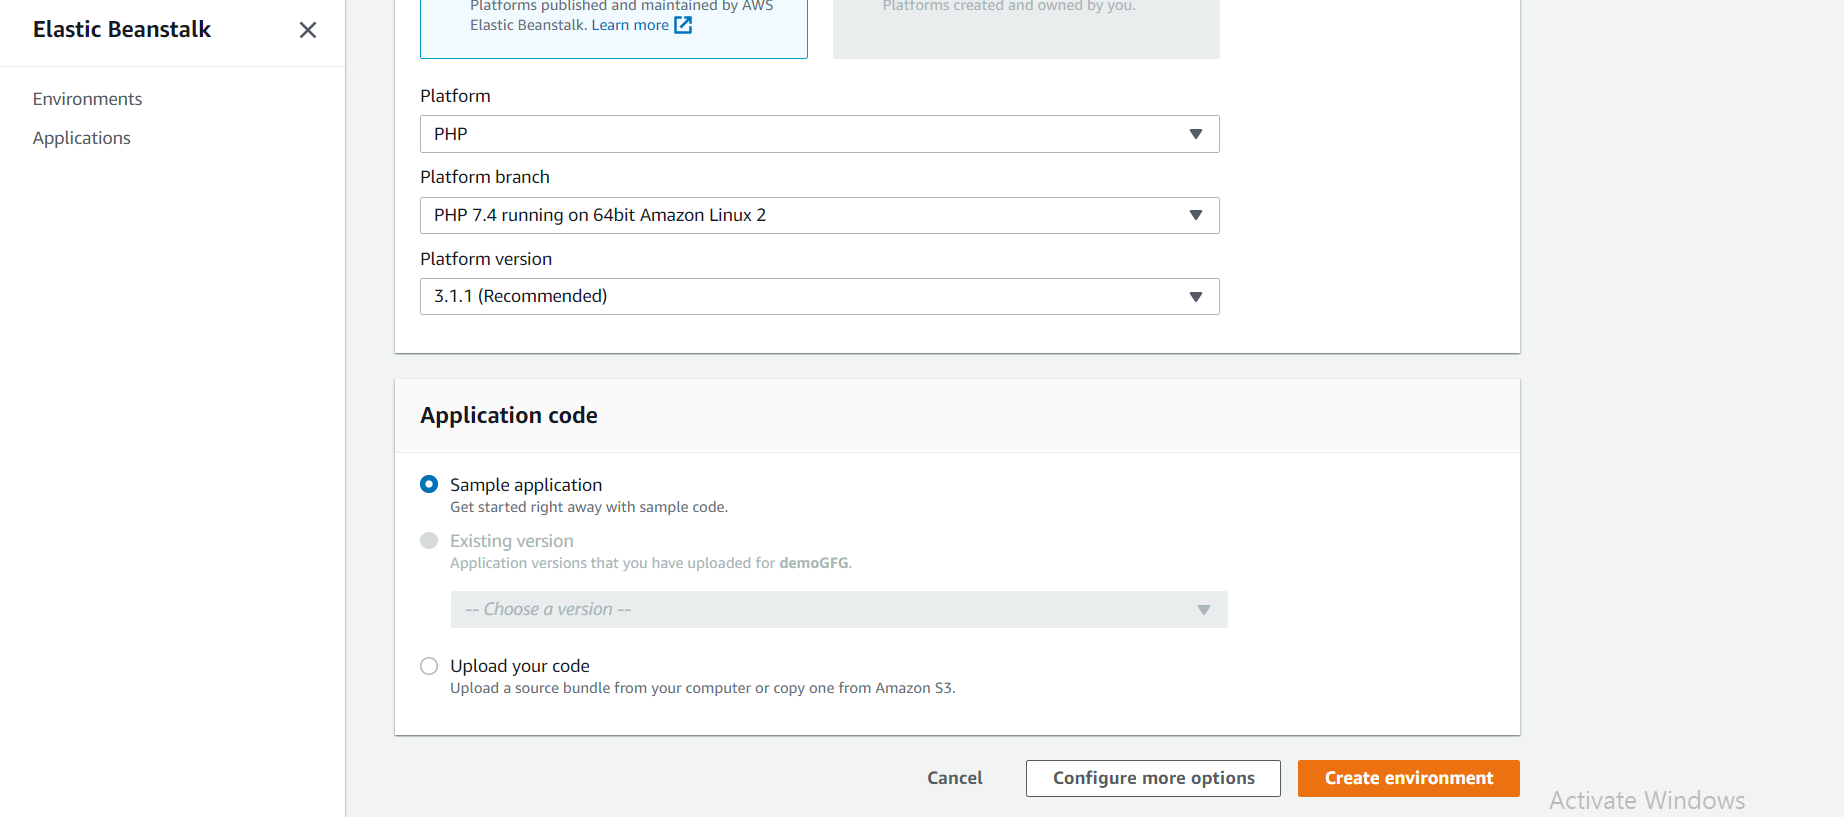
Under Platform, select your technology stack from the dropdown (e.g., Python). Elastic Beanstalk will pre-install the appropriate runtime and web server.
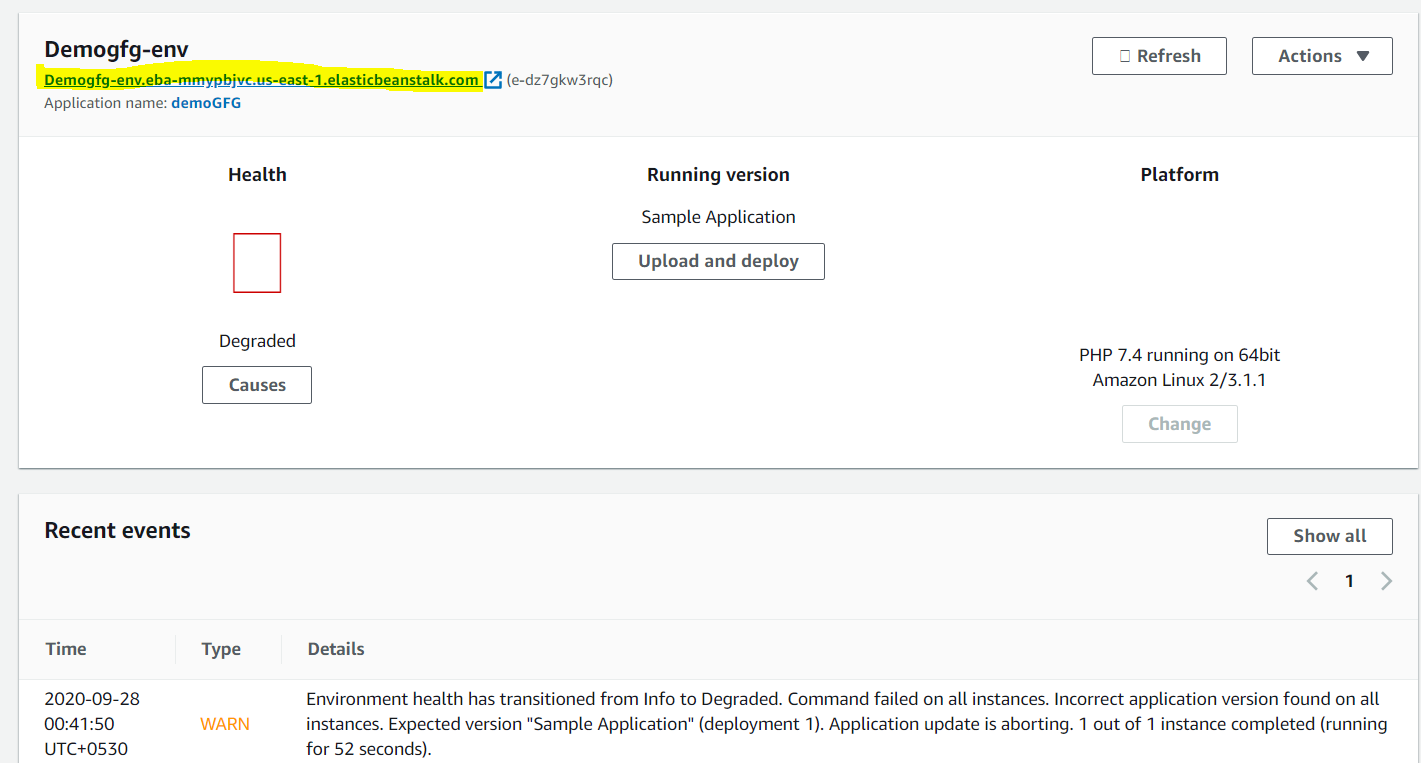
Step 4: Select Sample application to deploy a pre-built application provided by AWS. This is the recommended option for first-time setup, as it is guaranteed to work and confirms that your environment is configured correctly.
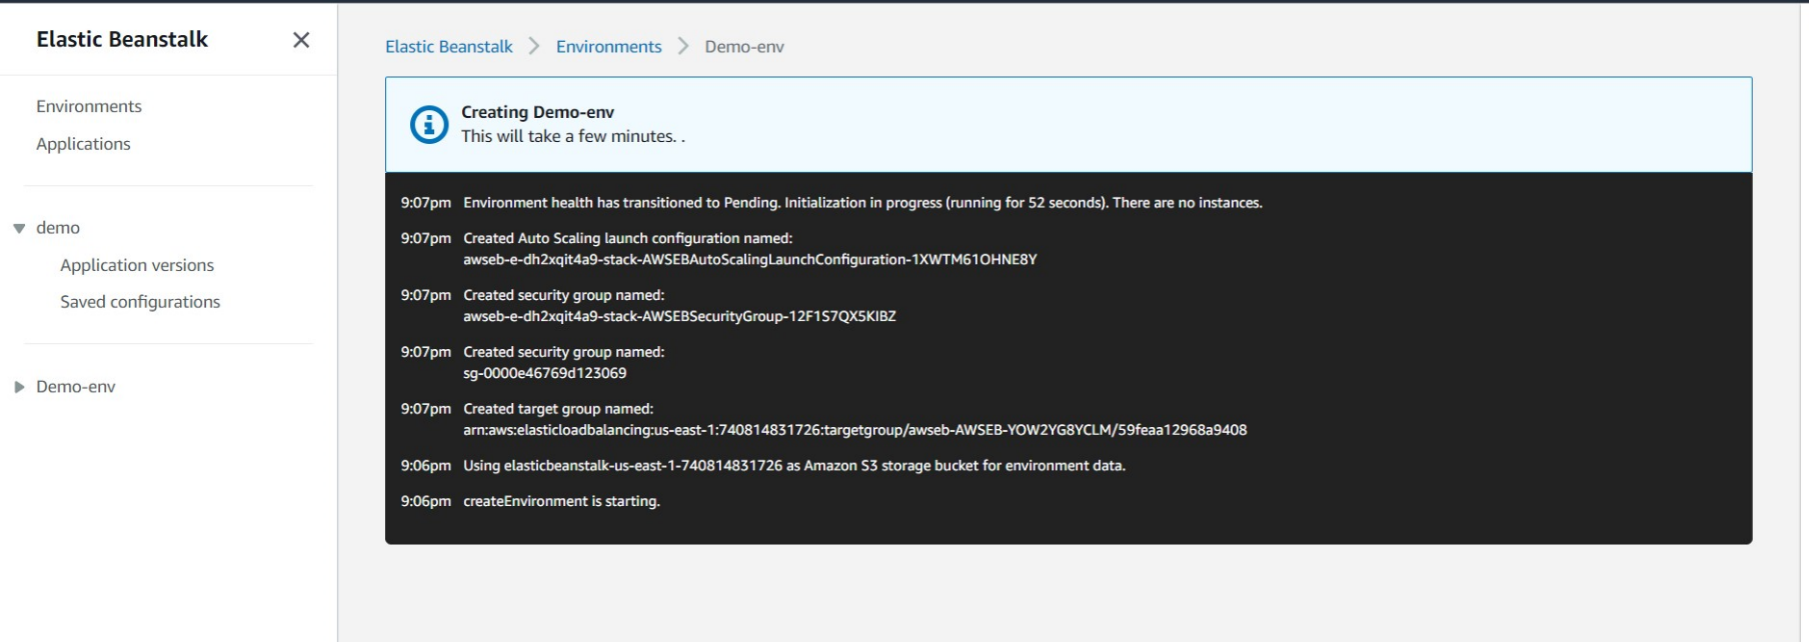
Step 6: You will be taken to the environment launch dashboard. Elastic Beanstalk provisions a complete infrastructure stack in the background. The event log will display each resource as it is created:
S3 Bucket: Stores your application versions.
Security Group: Acts as a firewall controlling instance traffic.
EC2 Instance: The virtual server running your application.
Auto Scaling Group: Manages instance count based on load.
Elastic Load Balancer: Distributes incoming traffic across instances.
CloudWatch Alarms: Monitors health and performance metrics.
Note: This process typically takes 5–10 minutes to complete.
Elastic Beanstalk is free, but the AWS resources it provisions (such as EC2 instances) incur charges. Always terminate your environment after practice.
Navigate to your environment's dashboard.
Click the Actions dropdown in the top-right corner.
Select Terminate environment.
Confirm by typing the environment name and clicking Terminate.
Note: Terminating the environment deletes all associated AWS resources that were provisioned during creation.
