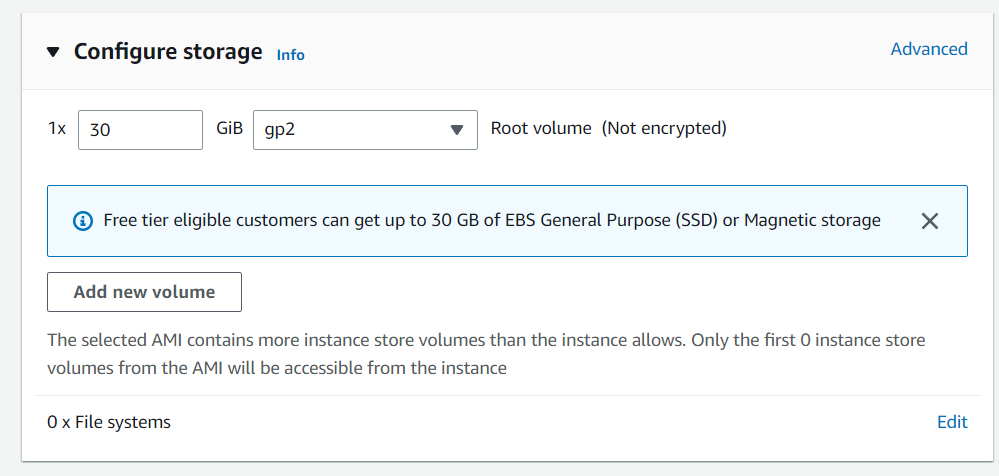
Launching an EC2 instance in AWS allows you to set up a virtual server in the cloud within minutes. This virtual server can host your web apps, run software, or perform automated tasks all without needing a physical machine.
Steps to Create EC2 Instance in AWS (Amazon)
Follow the below steps to create an EC2 instance in AWS (Amazon):
Step 1: Login and Navigate to EC2 Dashboard
Log in to your AWS Management Console.
From the Services menu, choose EC2 under the Compute section.
Under Resources, click Instances (Running) to view running instances (if any).
Once your instance is launched, secure access is essential. Follow the below steps to know how to connect using a terminal and your key pair.
Step 1: Locate Connection Details: Select the server to which you want to connect and click on the connect button at the top of that instance as shown in the image below.
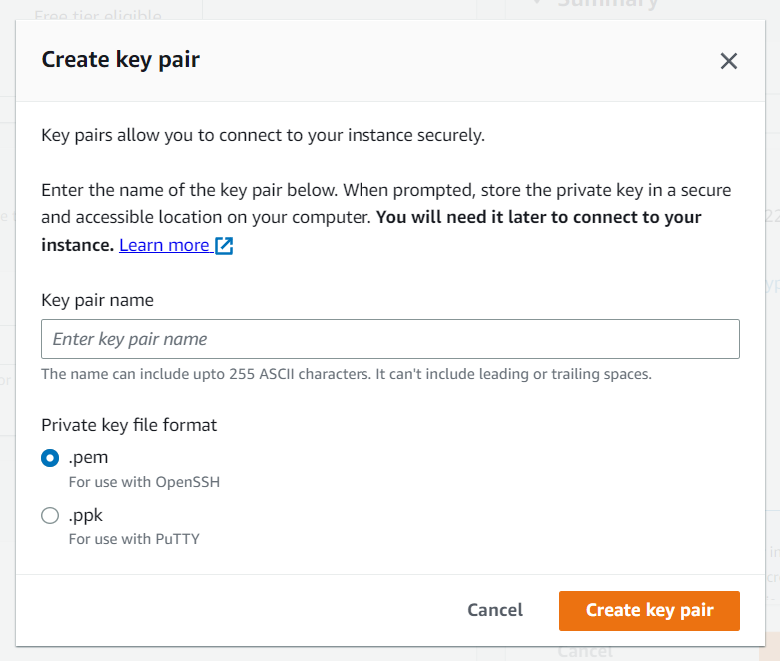
Step 3: Use Terminal: Open the terminal and go to the folder where your .pem file is located and paste the key that you have copied in AWS and paste it in the terminal. To know whether you connected to EC2-Instance perfectly or not you can check the IP-Address of the instance if the IP is displaying then you have connected successfully.
