 |
VOOZH | about |
|
VOOZH | about |
Elastic Beanstalk environment's Auto Scaling group uses the EC2 health check type, which only performs a basic status check on the instance itself. To automatically replace instances that fail Elastic Load Balancer (ELB) health checks, you must switch the Auto Scaling group health check type from EC2 to ELB using an .ebextensions configuration file.
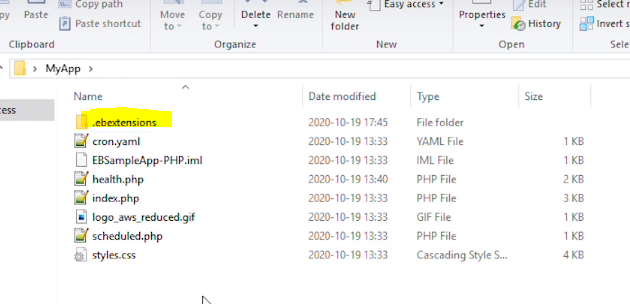
.ebextensions: A .config file placed in the .ebextensions folder lets you modify Auto Scaling group settings as part of your application source bundle.Step 1. Navigate to Your Working Directory: Open a terminal and navigate to your local project's working directory. Confirm that an .ebextensions folder exists, or create one if it does not.
👁 ImageStep 2. Create the Configuration File: Inside the .ebextensions folder, create a new configuration file named autoscaling.config.
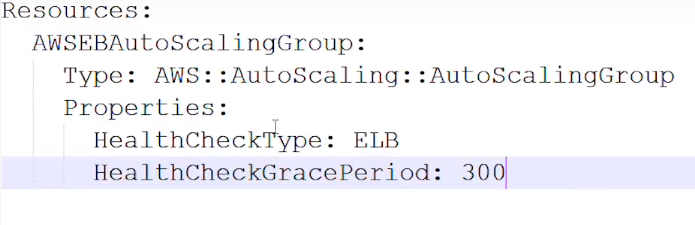
👁 ImageStep 3. Edit the Configuration File: Open autoscaling.config in a text editor and add the following configuration, then save the file. This instructs Elastic Beanstalk to set the Auto Scaling group health check type to ELB.
👁 ImageNote: HealthCheckGracePeriod defines how long (in seconds) Auto Scaling waits after an instance launches before checking its health. A value of 300 seconds is recommended to give the application time to start up before health checks begin.
Step 4. Create a New Application Source Bundle: Navigate back to the root of your working directory and package the project into a new ZIP file to create an updated source bundle.
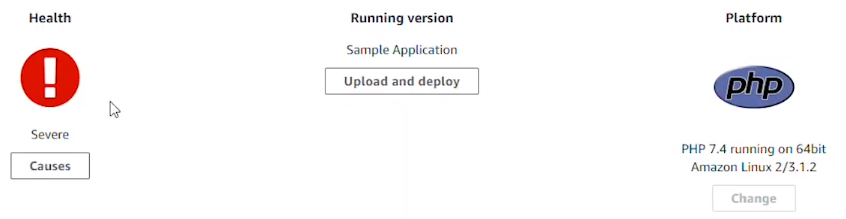
👁 ImageStep 5. Upload the Bundle in the Elastic Beanstalk Console
Step 6. Deploy the Updated Configuration
👁 ImageNote: Deployment time varies depending on your deployment strategy (e.g., rolling, immutable, all-at-once). Once complete, your Auto Scaling group will automatically replace any EC2 instance that fails ELB health checks.