 |
VOOZH | about |
|
VOOZH | about |
AWS CLI is a command-line tool that allows you to manage and interact with AWS services directly from your terminal. After configuring it with your AWS credentials, you can automate tasks and control cloud resources efficiently through scripts.
AWS CLI provides a unified command structure that facilitates efficient management of AWS resources. Key aspects include:
AWS CLI is available through native package managers on most operating systems. These installations are quick and straightforward, though version availability may depend on your distribution.
Linux (Debian-based)
sudo apt update
sudo apt install awscli
Linux (RHEL-Based)
sudo dnf install awsclior for older systems:
sudo yum install awsclimac OS (Homebrew)
brew install awscliWindows (Windows Package Manager)
winget install awscliVerify Installation
aws --versionNote: While package manager versions are convenient, AWS recommends installing from official AWS distribution points for guaranteed latest features and updates. If you require the latest version, use Method 2 below.
For the most up-to-date version, download directly from AWS.
Step 1: Download the Installer
# For macOS
curl "https://awscli.amazonaws.com/AWSCLIV2.pkg" -o "AWSCLIV2.pkg"

# For Linux
curl "https://awscli.amazonaws.com/awscli-exe-linux-x86_64.zip" -o "awscliv2.zip"
Step 2: Run the Installer
# For Linux
unzip awscliv2.zip
sudo ./aws/install

# For macOS
sudo installer -pkg AWSCLIV2.pkg -target /
Step 3: Verify Installation
aws --versionIf you have Python installed, you can use pip:
# For Python 3
pip3 install awscli --upgrade --user

# Verify installation
aws --version
Step 4: Configure AWS CLI
Configure with your AWS credentials (Access Key and Secret Key) by running:
aws configure👁 aws versionYou will be prompted to enter:
The following are the differences between AWS Console and AWS CLI:
Aspect | AWS Console | AWS CLI |
|---|---|---|
Interface Type | Graphical User Interface | command line interface |
Ease of Use | user-friendly with visual navigation | requires knowledge of command syntax |
Speed | slower due to manual interventions | faster for batch operations. |
Automation | It is limited, relies on manual interventions | Full support for scripting and automation |
Accessibility | accessible via a web browser | accessible via terminal or command prompt |
The following are the differences between AWS Shell and AWS CLI:
Aspect | AWS Shell | AWS CLI |
|---|---|---|
Interface Type | interactive shell with autocomplete features | command line interface |
Ease of Use | easier for beginners with suggestions | requires knowledge of command syntax |
Learning Curve | lower with a guided experience | Higher, relies on familiarity with commands |
Features | autocomplete and command documentation | comprehensive command set for the automation. |
Installation | requires additional installations | standard installation on various OS platforms. |
The following are the differences between AWS Console, AWS CLI, and AWS SDK:
| Aspect | AWS CLI | AWS SDK |
|---|---|---|
| Interface Type | Command Line Interface (CLI) | Software Development Kit (SDK) |
| Primary Use | Managing AWS services via terminal commands | Integrating AWS services into applications |
| Programming Required | No programming is needed | Requires programming knowledge |
| Supported Languages | language-agnostic, uses standard commands | Supports multiple languages ( Java, Python, etc) |
| Automation and Scripting | Ideal for scripting and automation tasks | Ideal for building and customizing applications |
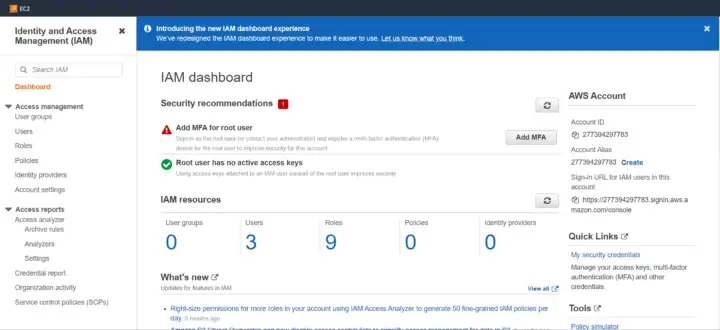
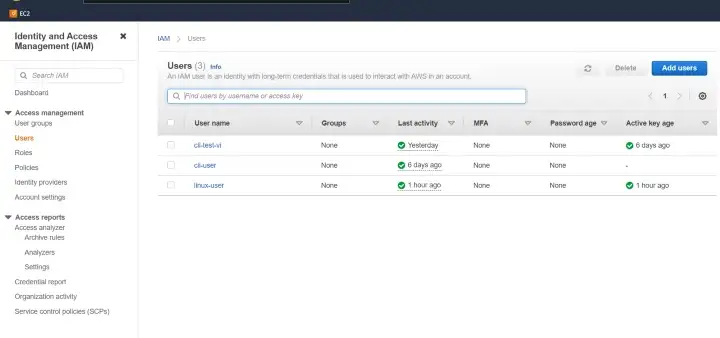
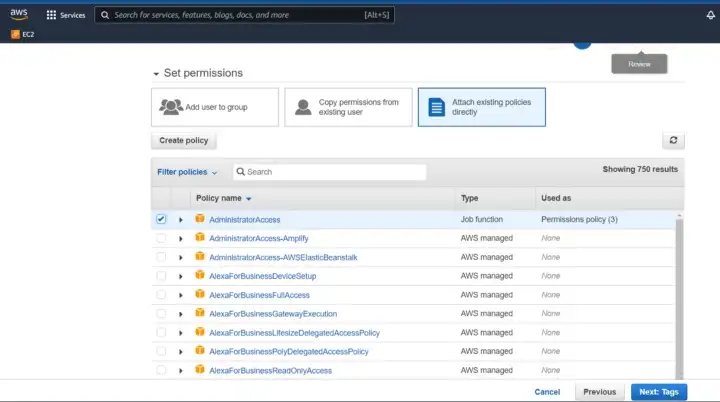
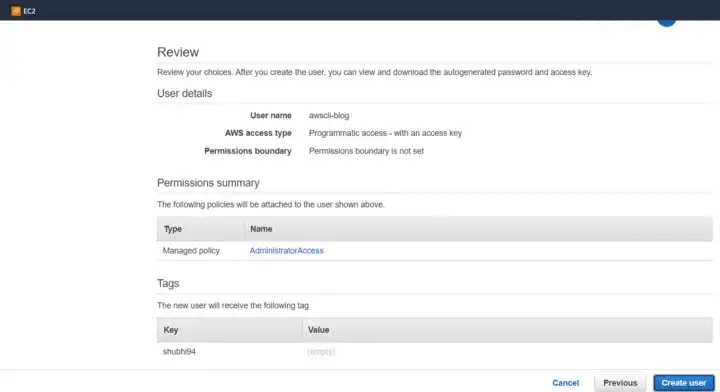
Log in to the AWS Console, search for IAM, and create a new IAM user with appropriate permissions:
Configure with your AWS credentials (Access Key and Secret Key) by running:
aws configureYou will be prompted to enter:
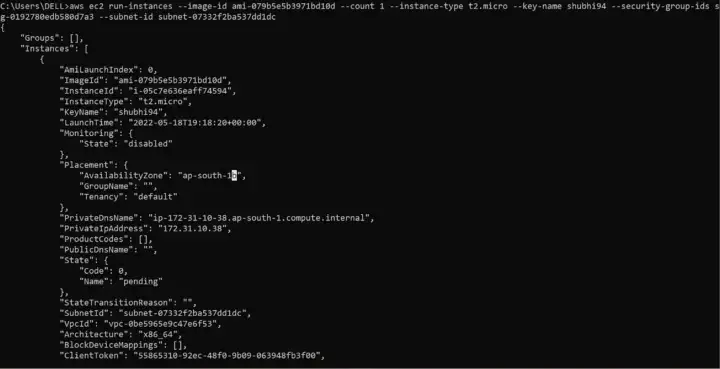
aws ec2 run-instances \
--image-id ami-xxxxxxxx \
--count 1 \
--instance-type t3.micro \
--key-name MyKeyPair \
--security-group-ids sg-xxxxx \
--subnet-id subnet-xxxxx
Note: Replace
ami-xxxxxxxxwith your AMI ID,sg-xxxxxwith your security group ID,MyKeyPairwith your key pair name, andsubnet-xxxxxwith your subnet ID.
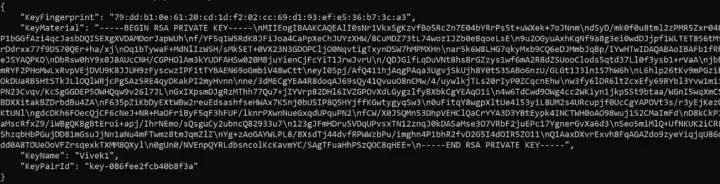
aws ec2 create-key-pair --key-name vivek1aws ec2 create-volume \
--volume-type gp2 \
--size 8 \
--availability-zone ap-south-1a
aws ec2 attach-volume
--volume-id vol-1234567890abcdef0
--instance-id i-01474ef662b89480
--device /dev/sdf
aws ec2 create-security-group \
--group-name my-sg \
--description "My security group" \
--vpc-id vpc-f0e73c9b
# Create bucket
aws s3 mb s3://mybucket

# Upload file
aws s3 cp localfile.txt s3://mybucket/

# Make object publicly readable
aws s3api put-object-acl \
--bucket mybucket \
--key localfile.txt \
--acl public-read

# List buckets
aws s3 ls
aws configure# List S3 buckets
aws s3 ls
# Copy file to S3
aws s3 cp localfile.txt s3://bucketname/
# Create S3 bucket
aws s3 mb s3://mybucket
# Delete S3 bucket
aws s3 rb s3://mybucket --force
# List EC2 instances
aws ec2 describe-instances

# Start EC2 instance
aws ec2 start-instances --instance-ids i-1234567890abcdef0

# Stop EC2 instance
aws ec2 stop-instances --instance-ids i-1234567890abcdef0
# List Lambda functions
aws lambda list-functions

# Invoke Lambda function
aws lambda invoke --function-name myfunction out.txt
# Create DynamoDB table

aws dynamodb create-table \
--table-name mytable \
--attribute-definitions AttributeName=Id,AttributeType=S \
--key-schema AttributeName=Id,KeyType=HASH \
--provisioned-throughput ReadCapacityUnits=1,WriteCapacityUnits=1
# List CloudFormation stacks
aws cloudformation list-stacks

# Deploy CloudFormation stack
aws cloudformation deploy \
--template-file template.yaml \
--stack-name my-stack \
--capabilities CAPABILITY_IAM
# List RDS instances
aws rds describe-db-instances
.png)