 |
VOOZH | about |
|
VOOZH | about |
Because it is very easy for a team to accidentally overwrite or disrupt another service without even realizing it and Kubernetes Namespaces allows us to share the cluster with multiple teams or projects without impacting others' work. They are logically separated from each other and within a namespace, you can't create any two resources of the same name but you can create the same resource in a different namespace. While most types of resources are namespace, a few aren't, for example, the Node resource which is global and not tied to a single namespace.
To follow this tutorial you need a working cluster it can be minikube, kind, or any other managed Kubernetes service like EKS, GKE, AKS, etc. For the sake of simplicity, I'm using a minikube cluster.
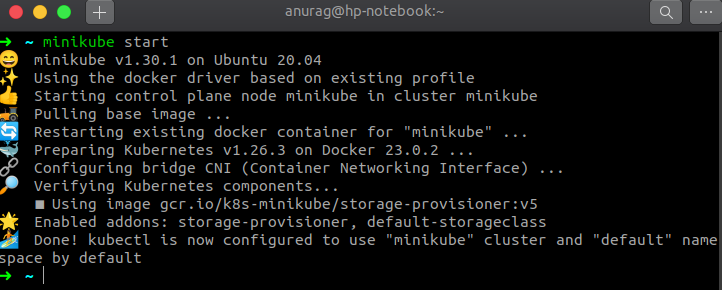
First of all, start the cluster (minikube)
$ minikube start
and set k as an alias to kubectl so that we've to type less.
$ alias k="kubectl"
Let's check all the namespaces the cluster has
$ k get ns
(ns is shorthand for namespace)
As we can see the cluster has 4 namespaces that come out of the box in a Kubernetes cluster.
A namespace is like any other Kubernetes resource, so we can create it either Imperatively or declaratively. We'll see both ways. Declarative means we describe the desired state of our cluster in the manifests file without specifying procedures for how that state will be achieved. We can create these manifests either in YAML or JSON format, since YAML is more human-readable we'll write our files in YAML. Imperative management means creating Kubernetes objects directly at the command line against a Kubernetes cluster. It is suitable for development projects but not recommended for Production projects.
Imperative way
$ k create ns test
Declarative way
Create a manifest file test-ns.yaml for our namespace
apiVersion: v1
kind: Namespace
metadata:
 name: dev
$ k create -f test-ns.yaml
and check that namespace
$ k get ns
As we can see we have successfully created the test namespace.
Till now we've learned both ways of creating a namespace.
To create a resource in a namespace we can either specify the namespace when creating the resource with the kubectl create command or by adding an entry in the metadata section, let's see both ways. For our demo purpose, I'll create a deployment resource you can create any other resource.
By specifying the --namespace or -n flag in the command
$ k create deploy webserver --image=nginx:1.23-alpine --namespace=test
or
By adding an entry in the metadata section of a resource (highlighted in bold)
apiVersion: apps/v1
kind: Deployment
metadata:
 labels:
 app: webserver
 name: webserver
 namespace: test
spec:
 replicas: 1
 selector:
 matchLabels:
 app: webserver
 template:
 metadata:
 labels:
 app: webserver
 spec:
 containers:
 - image: nginx:1.23-alpine
 name: nginx
now create the deployment
$ k create -f deploy.yaml
and check our deployment
$ k get deploy --namespace=test
To describe, modify, or delete a resource we've to specify the --namespace or -n flag in the same way as we've done while creating a new resource. If you don't specify the namespace kubectl will perform the requested action in the default namespace.
Let's delete our previous webserver deployment
$ k delete deploy webserver
we get an error which is expected because we haven't specified the namespace and we know that kubectl will perform the requested action in the default namespace, let's try again by specifying the namespace
$ k delete deploy webserver -n test
(n is a shorthand for namespace)
This time we've successfully deleted the deployment. Till now we've seen how to create and delete resources in a namespace but we haven't seen what will happen if we delete the namespace itself, let's see this in action.
When we delete a namespace all the resources under it will be deleted as well. Let's see:Quickly create a resource in a namespace
$ k create deploy webserver --image=nginx:1.23-alpine -n test
and check the deployment status
$ k get deploy --all-namespaces | grep webserver
we searched our deployment across all namespaces and found our deployment.
Now delete the test namespace
$ k delete ns test
as we can see above we've successfully deleted the test namespace.
again search our deployment
$ k get deploy --all-namespaces | grep webserver
This time we didn't get any output why? Because we deleted the namespace and deleting a namespace will delete all the resources deployed in that namespace.