 |
VOOZH | about |
|
VOOZH | about |
Spring Security JDBC Authentication is a mechanism in which user credentials (username and password) and roles/authorities are stored in a relational database. During login, Spring Security uses JDBC to query the database, validate user credentials, and determine user permissions.
JDBC Authentication is important because it stores user credentials and roles in a database instead of hardcoding them in the application. This makes user management easier, more secure, and suitable for real-world applications.
Create a Dynamic Web Project in STS and configure Apache Tomcat.
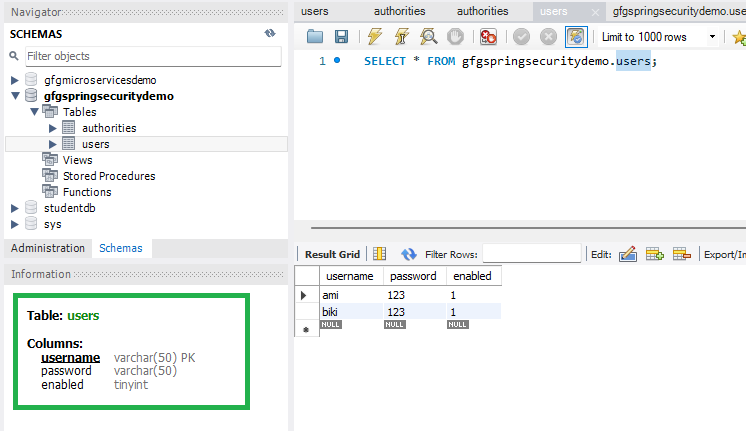
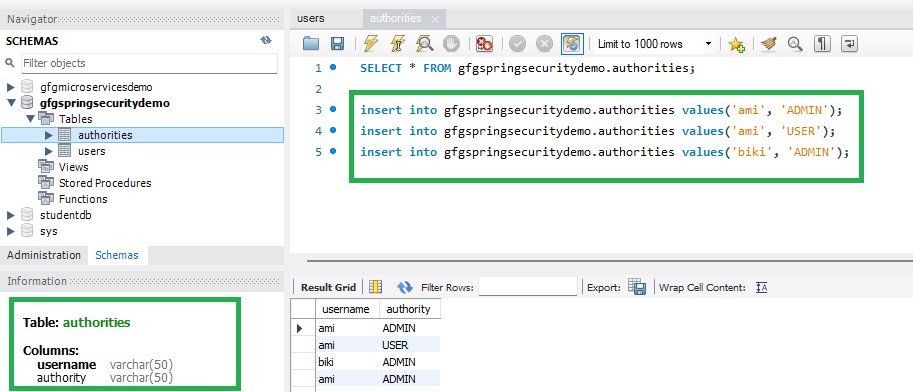
Create a database and tables in MySQL:
Insert some test users:
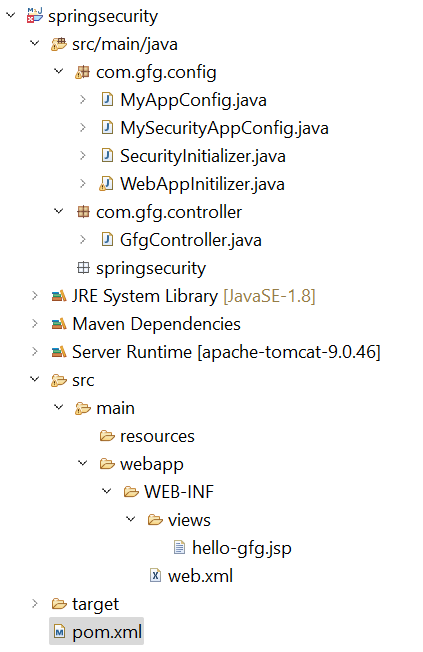
Your project structure should look like this:
👁 LightboxAdd the following dependencies to your pom.xml file
pom.xml:
Go to the src > main > java and create a class WebAppInitilizer. DispatcherServlet acts as the Front Controller and handles all incoming HTTP requests.
WebAppInitilizer.java
Create another class in the same location (src > main > java) and name it MyAppConfig.
MyAppConfig.java
Go to the src > main > java and create a class GfgController. This controller handles requests to /gfg.
GfgController.java
Go to the src > main > webapp > WEB-INF > right-click > New > Folder and name the folder as views. Then views > right-click > New > JSP File and name your first view.
hello-gfg.jsp
Go to the src > main > java and create a class MySecurityAppConfig and annotate the class with @EnableWebSecurity annotation. This class will help to create the spring security filter chain.
MySecurityAppConfig.java
Go to the src > main > java and create a class SecurityInitializer. This class will help to register the spring security filter chain with our application.
Update MyAppConfig.java to include a DataSource bean:
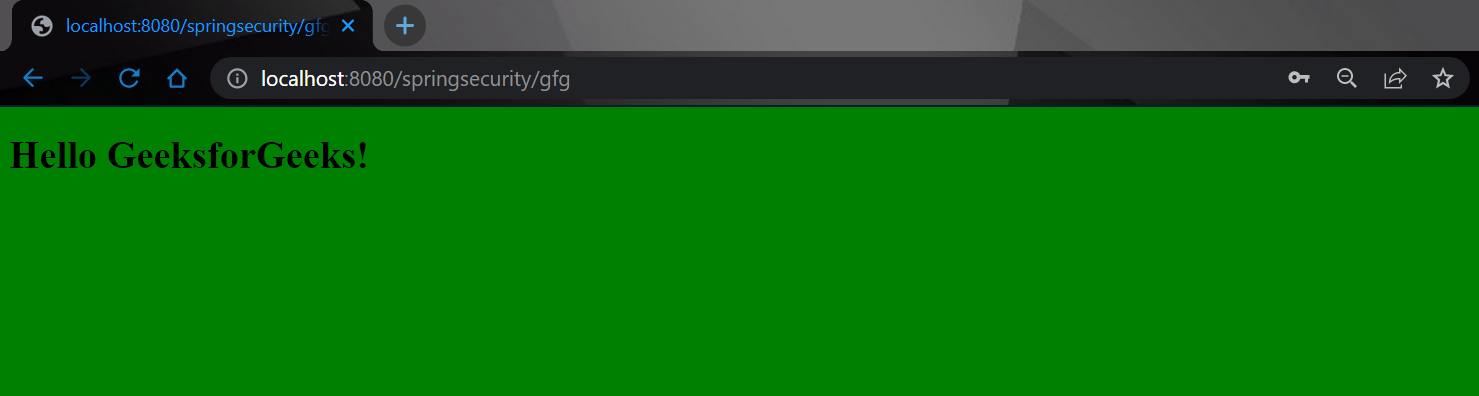
http://localhost:8080/springsecurity/gfg
And it will ask for authentication to use the endpoint and a pop-up screen will be shown like this.
Now sign in with your database credentials
Note: For learning purposes, plain-text passwords are used; in real applications, passwords must be encrypted using a PasswordEncoder.
And now you can access your endpoint.
👁 Image