 |
VOOZH | about |
|
VOOZH | about |
A component in Angular is the building block for making web pages. It is a reusable block of code that can be used anywhere in the app any number of times. It provides scalability, reusability, and readability. Each component does a specific job like showing a menu, a photo or a card, etc.
In this article, we will see how to create a new component in Angular.
Step 1: Download and install NodeJS from its official website, npm is included with that.
Step 2: To install angular CLI run the following command in the terminal.
npm install -g @angular/cliStep 3: After installing angular cli, set up a new project in angular using the below command:
ng new my-angular-appDependencies:
"dependencies": {
 "@angular/animations": "^17.1.0",
 "@angular/common": "^17.1.0",
 "@angular/compiler": "^17.1.0",
 "@angular/core": "^17.1.0",
 "@angular/forms": "^17.1.0",
 "@angular/platform-browser": "^17.1.0",
 "@angular/platform-browser-dynamic": "^17.1.0",
 "@angular/router": "^17.1.0",
 "rxjs": "~7.8.0",
 "tslib": "^2.3.0",
 "zone.js": "~0.14.3"
}
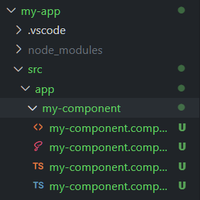
Step 3: Navigate to the project using cd your-project-name and open the terminal and write the command mentioned below to generate a new component in angular:
ng generate component component-name"OR"
You can use this shortcut
ng g c component-nameNote: After this command, it will ask you for styling so chose as per your needs( css for now) then it will ask for SSR, press n to skip it then the component will be generated in src folder of the project.
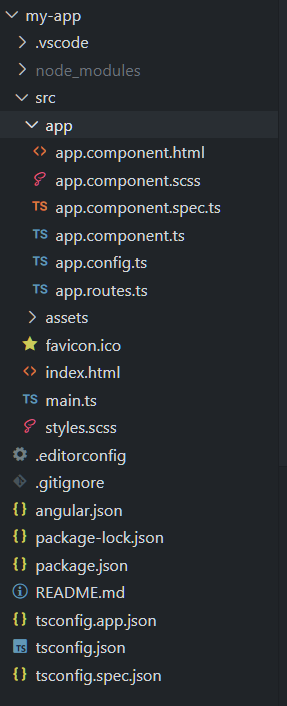
The component will look like this:
Code: Now add the following code in the required files.
Run the project using command given below:
ng serve