 |
VOOZH | about |
|
VOOZH | about |
In Angular, we have a styling component called ngx-toastr, widely used for displaying non-blocking notifications to the user. This component helps enhance the user experience by providing feedback for various actions like success, error, info, and warning messages. By integrating ngx-toastr with Angular, you can create reusable and maintainable notification systems within your application.
In this article, we will see the proper use ngx-toastr in Angular. We have added the example that represents the use of ngx-toastr in Angular.
If you haven’t installed Angular CLI yet, install it using the following command
npm install -g @angular/cling new toastrApp --standalone
cd toastrApp
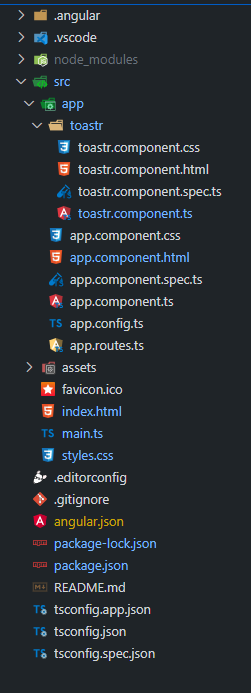
Create a standalone component to use ngx-toastr. You can generate a standalone component using the Angular CLI:
ng generate component Toastr --standaloneInstall ngx-toastr and its dependencies:
npm install ngx-toastr @angular/animations"dependencies": {
"@angular/animations": "^17.3.12",
"@angular/common": "^17.3.12",
"@angular/compiler": "^17.3.12",
"@angular/core": "^17.3.12",
"@angular/forms": "^17.3.12",
"@angular/platform-browser": "^17.3.12",
"@angular/platform-browser-dynamic": "^17.3.12",
"@angular/router": "^17.3.12",
"ngx-toastr": "^19.0.0",
"rxjs": "~7.8.0",
"tslib": "^2.3.0",
"zone.js": "~0.14.8"
}
Steps to run this Project
ng serve