 |
VOOZH | about |
|
VOOZH | about |
Image recognition is one of the techniques which is widely used in today's modern world. The rise of various technologies made this process much simpler. In this article, let us understand and demonstrate the image recognition process using Azure Cognitive Services and Azure Machine Learning. Before that, let us understand the following terms.
Step 1: Log in to your Azure portal with an active subscription.
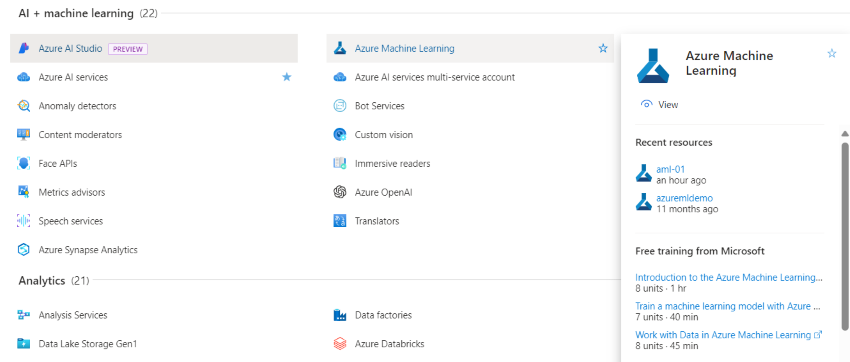
Step 2: Create Navigate to the services and click Azure Machine Learning.
Now, click Create to create your Machine learning instance. Follow the below instructions to create your instance.
Resource details:
Workspace details:
👁 Azure Machine Learing Resources
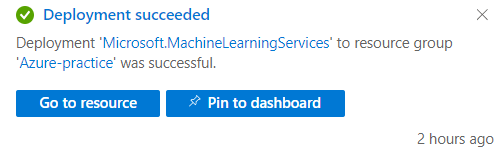
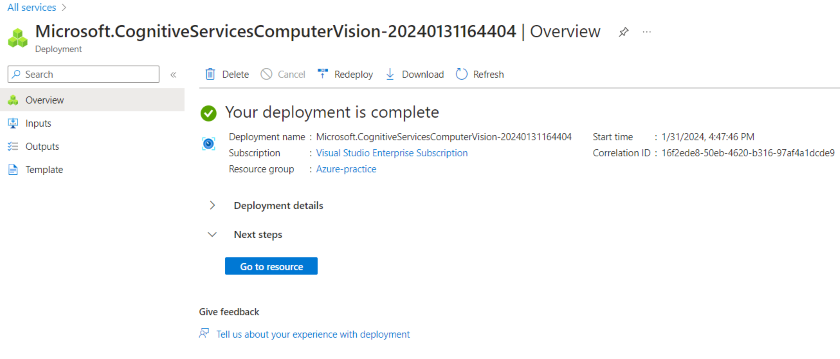
Now click Review + Create to deploy your resource.
Once your resource is deployed. Navigate to the Go to resource button.
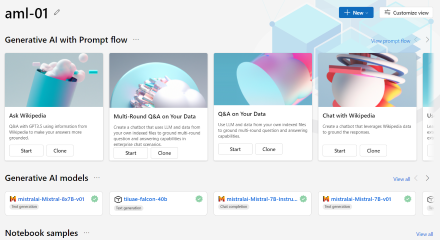
Click Launch Studio. We will be redirected to our workspace after some Authentication process.
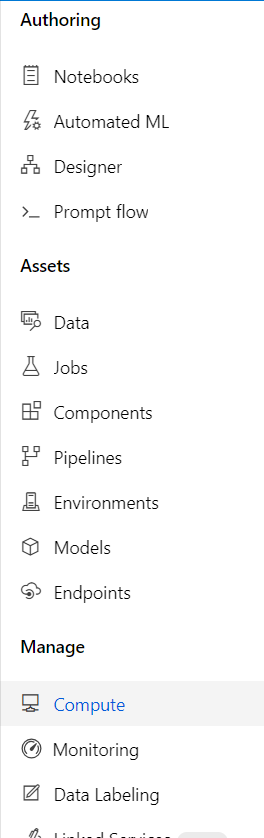
Navigate to the compute option under the category of Manage.
Now create a new compute instance by clicking New.
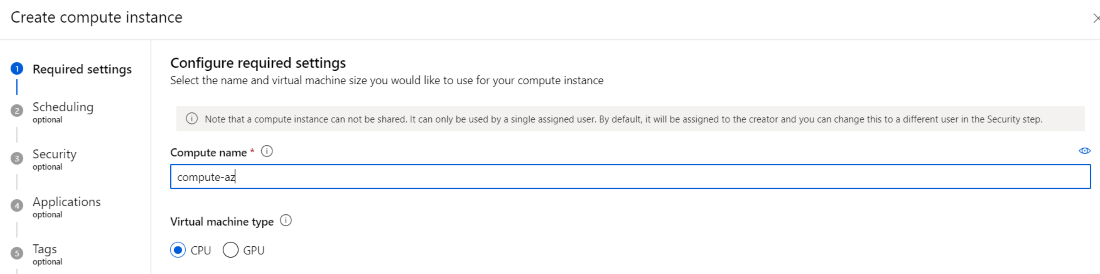
Configure the properties of your computing instance. Mention the name and Virtual machine type.
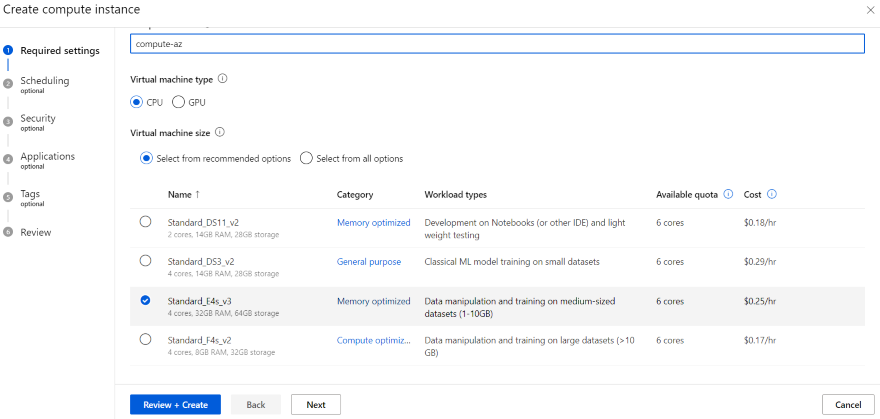
Also, choose the size of your Virtual machine and click Review + Create.
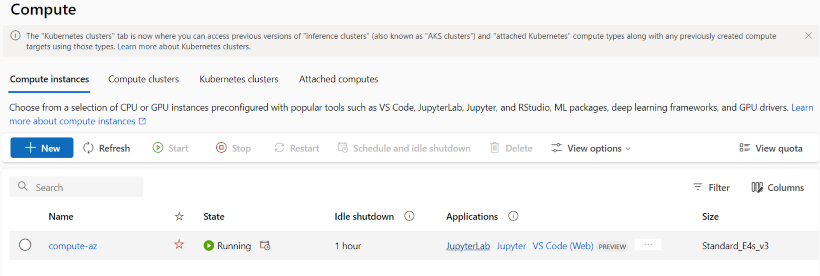
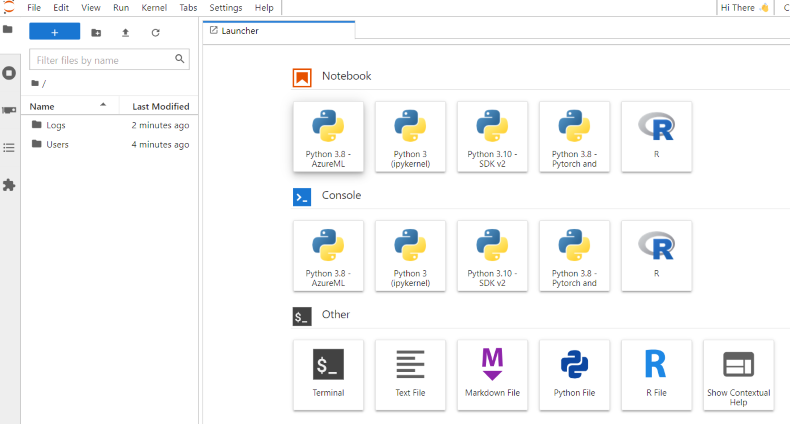
Once your instance is created and starts running, open the JupyterLab.
Step 1: Navigate to the Home page and click resources. Under the category of AI + Machine Learning, click Computer Vision.
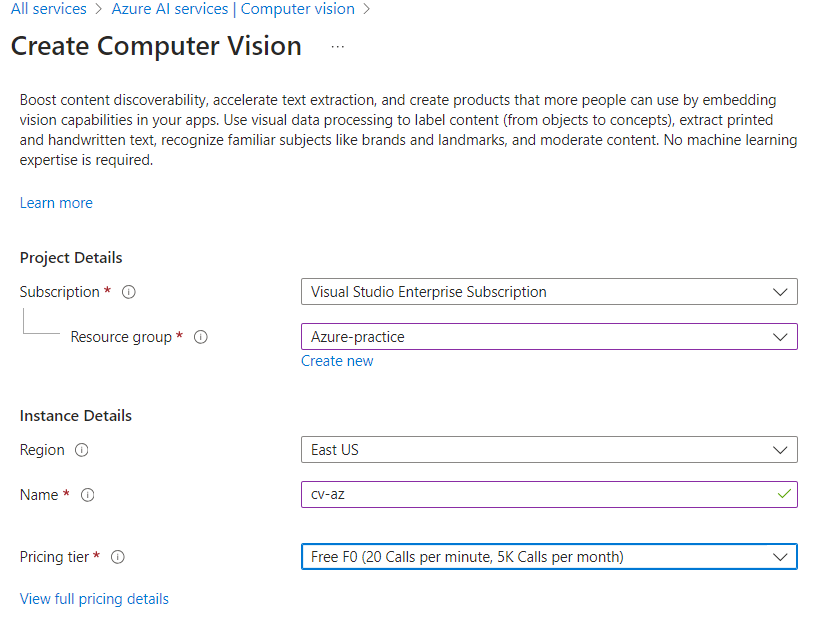
Click Create and follow the below instructions to create your resource.under the project details, choose your subscription type and resource group.
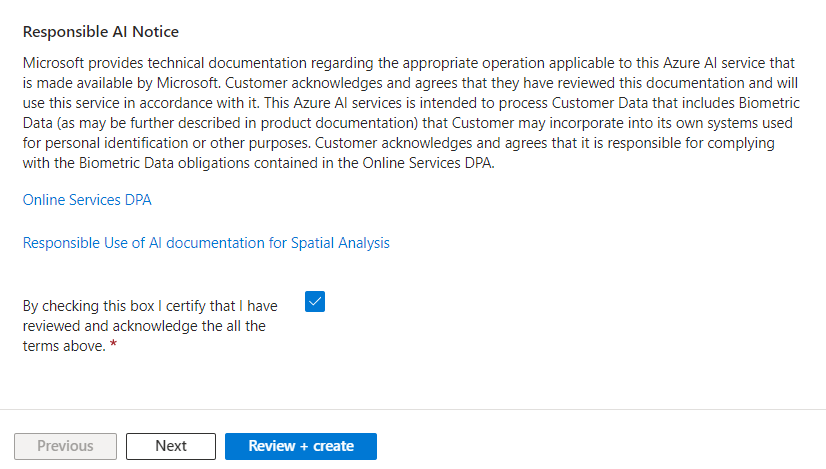
Specify the instance details, Name, and pricing tier. There are three types of tiers and one is the Free tier. Choose according to your project requirements.
Also, make sure you acknowledge the terms of AI.
click Review + Create. Now to resource will start deploying.
Navigate to your JupyterLab workspace. Choose the Python version and start coding.
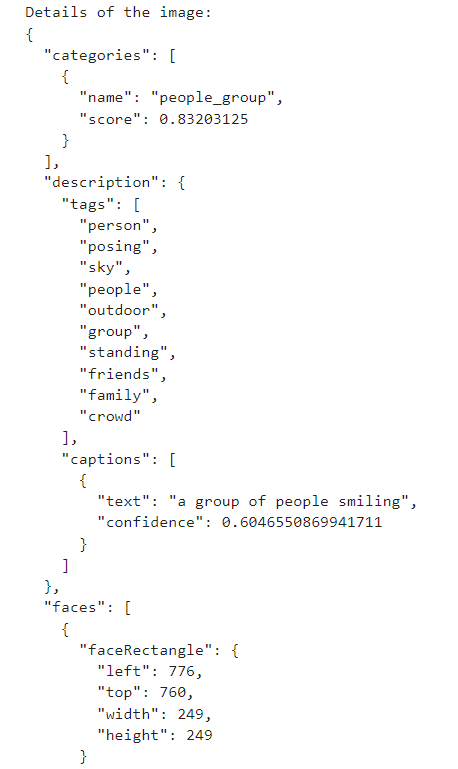
Output: Let's see the output of each print statement.