 |
VOOZH | about |
|
VOOZH | about |
Visual Studio Code (VS Code) is a powerful, lightweight, and extensible code editor that is widely used for data science and AI projects due to its ability to handle Python, Jupyter notebooks, and more within a single environment. When combined with Anaconda, it becomes an even more robust tool for managing environments, dependencies, and workflows. In this ultimate guide, we’ll walk through the process for setting up VS code via : primary method using Anaconda Navigator and an alternative approach.
Prerequisites: Before diving into configuration, the first step is to download and install VS Code and anaconda.
This method uses Anaconda Navigator to create a virtual environment and launch VS Code.
Step 1: Create a New Folder in your file manager ( local )
For eg, name it testing
We will use this folder later for navigating.
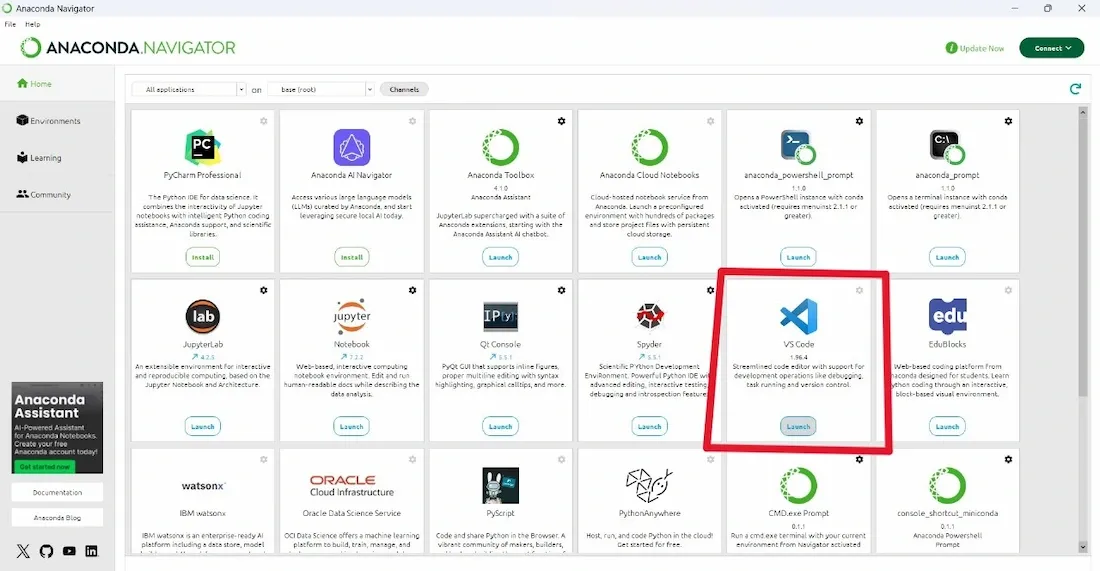
Step 2: Open Anaconda Navigator
Step 3: Launch VS Code
Step 3: Open the folder, that you created in Step 1
Go to file > Click on Open a folder
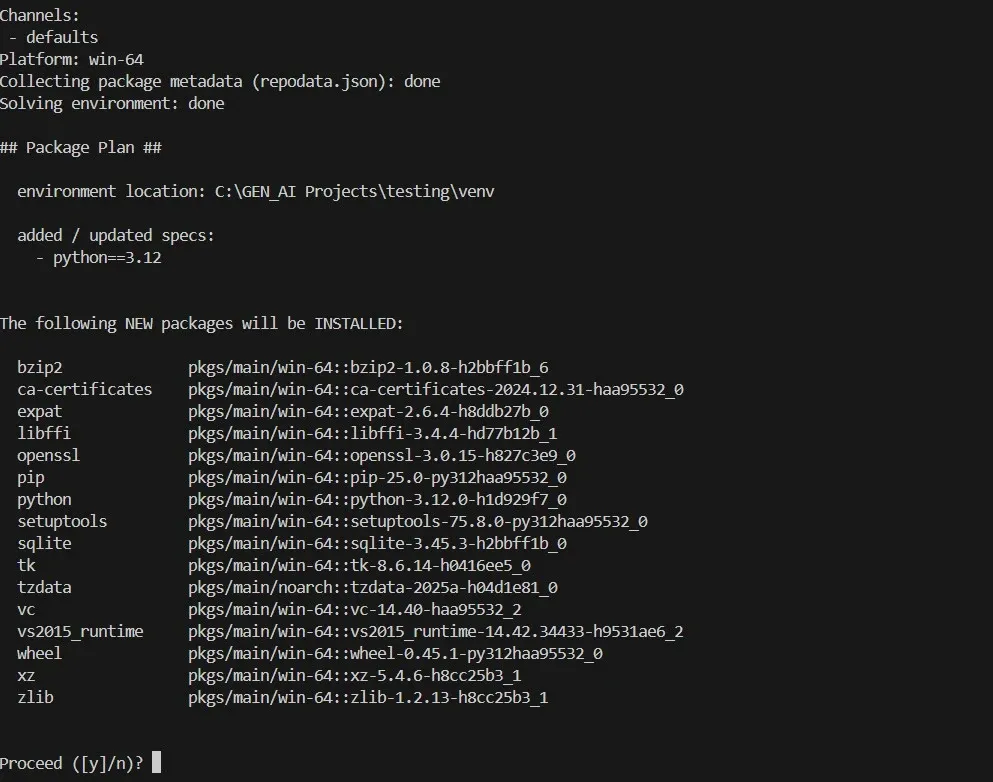
Ctrl + or go to Terminal > New Terminal).conda create -p venv python==3.12
Here, -p venv specifies the environment name and location, and python==3.12 sets the Python version.
Step 4: Confirm Environment Creation
y and press Enter to confirm the creation of the environment.Step 5: Activate the Environment
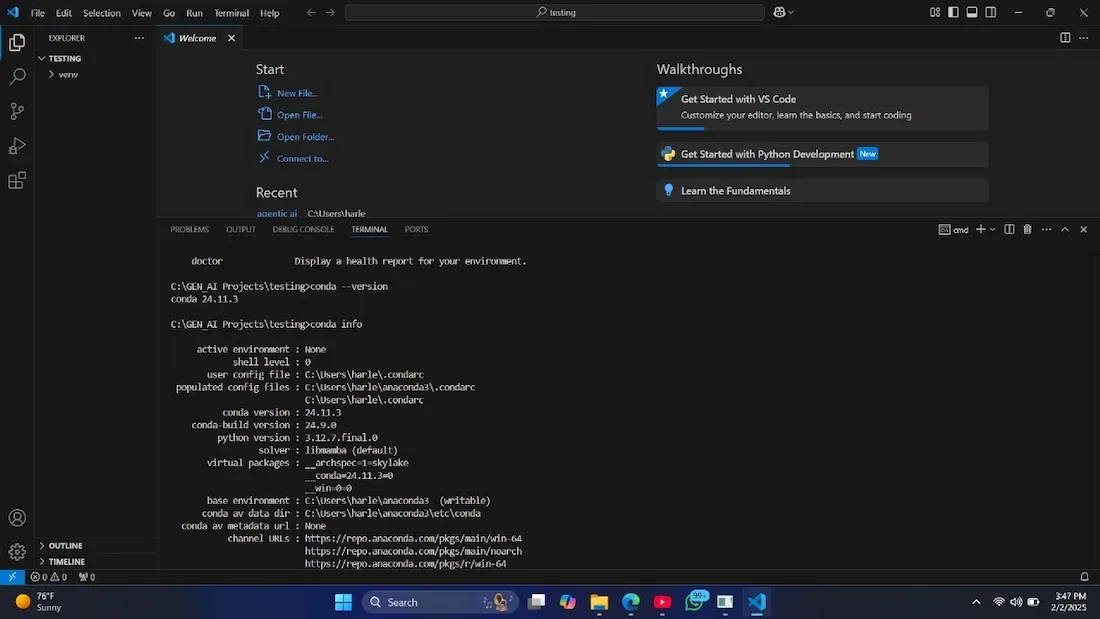
conda activate
Step 6: Check for conda version or type conda info
Step 7: Install Python Extension
Ctrl + Shift + X).This method involves creating a virtual environment directly in VS Code without using Anaconda Navigator.
Step 1: Create a New Folder
Step 2: Setting Up Your Workspace in VS Code
File > Open Folder to open the folder you just created.File > Save Workspace As). This creates a .code-workspace file for the project.Step 3: Create a Virtual Environment
Ctrl + Shift + P) and search for Python: Create Environment.Step 4: Install Python Extension