 |
VOOZH | about |
|
VOOZH | about |
Microsoft Azure (commonly known as Azure) is a robust cloud platform by Microsoft, which is similar to Google Cloud by Google and Amazon web services(AWS) by Amazon. This platform relieves us from concerns about hardware requirements or server maintenance, as everything can be managed in the cloud. We would just need to focus on building solutions, deploying applications, etc., on Azure.
This platform gives us access to the various Microsoft tools and services with which we can host simple websites to even run complex applications. It offers more than 200 cloud services and counting which are used by developers and businesses across the world.
In comparison to other cloud technologies, Azure gives us the upper hand because of its user-friendly nature. However, it depends entirely on the user's requirements and purpose to choose a specific cloud platform. Each cloud platform has its own perks. Here are a few reasons why you might use Azure services:
Azure offers free tier services which are absolutely free for 12 months. After the term, you would be charged by the flexible payment option called "pay-as-you-go" model, which means we need to pay only for the resources we use. Hence, the process would require credit/debit card details furthur.
Note: If you are a student and don’t have a credit card, then you can register using your student email ID.
Step 1: Go the the official of Microsoft Azure website- https://azure.microsoft.com/en-in/free, click on 'Start Free'.
Step 2: Sign-in/Sign-up for a Microsoft account using an email address and password.
Step 3: You’ll be redirected to the Azure Sign-up page. Enter the necessary details like name, email, phone number and verify your phone number by clicking Text Me/ Call Me option and enter the verification code received.
Note: You should use the same email address for Azure sign-up and for the Microsoft account.
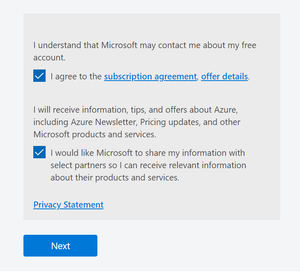
Step 4: Enter your address, state and postal code. Now, check the terms and conditions and click on 'Next'.
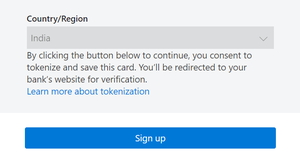
Step 5: Fill the credit/debit card details for identity verification where you would be charged Rs 2 for verification.
Step 6: Check the Terms and Conditions, now click 'Sign Up'.
Step 7: You are now done with creating account. Now, click on 'Go to the portal'.
Congratulations, your free Azure account has been successfully created. If you have exhausted your free credit then you have to move to the 'Pay as you go' subscription policy, where you would be charged according to the resources used.
-300.png)
-300.png)