In this article, we will build the footer for our website. The footer will contain information like contact details, links to social media, and additional navigation links.
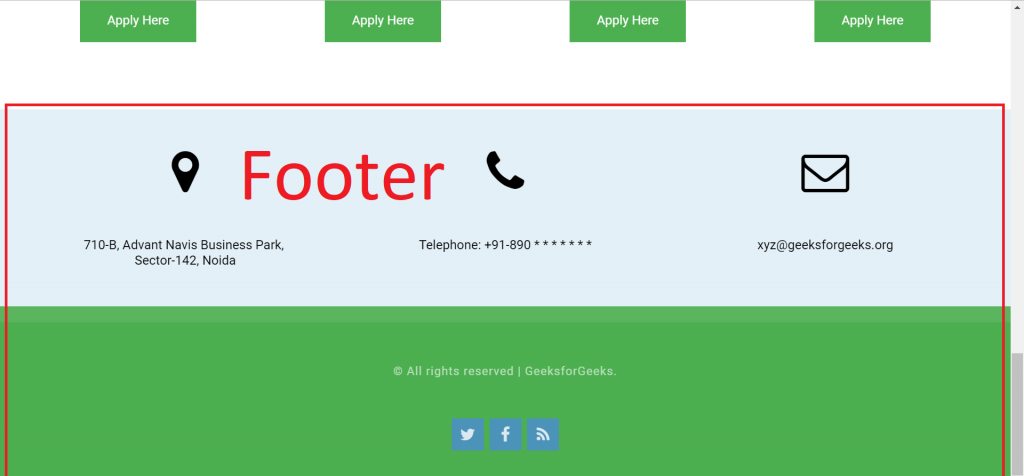
Company Details: This contains of three columns with address details, phone details and Email details.
Copyright Information: This contains information about the Copyright and links to social media handles.
Before we start building the Footer. It is recommended to go to this link once: Font Awesome Icons. We will be using font awesome icons at different places in the footer.
Steps To Create Footer Sections
Step 1: Add fontawesome icons in the project.
Paste the below code in between your head tags present at the top of index.html file.
The above footer looks good, the only difference is in the display of the social icons of facebook, twitter etc. Let's fix this. The last thing left is to add styles to the social media icons.
Step 4: Adding styles to the Social Icons
Remove the margin from the ul or class named "contact", add padding and set the list-style to none:
Set the list items to display as inline-block so that the icons can be displayed horizontally instead of vertically. Also add padding and font-size to the list items.
After adding the above two styles, the icons will now be arranged horizontally and at the center of the copyright div. Refresh and see the result in your browser after making the above changes.
The last thing is to add background for the social icons. To do so, add the below style for the anchor tags of each list item:
The complete CSS code for the footer of the Website is as below
Now you have successfully made a single-page website from scratch without having any prior knowledge of web development. To further enhance your knowledge you can learn more about by following these tutorials.
