 |
VOOZH | about |
|
VOOZH | about |
Spring Framework is a widely used, open-source Java framework that makes building scalable and reliable enterprise applications easier. It simplifies development compared to traditional Java technologies like JDBC, JSP, and Servlets.
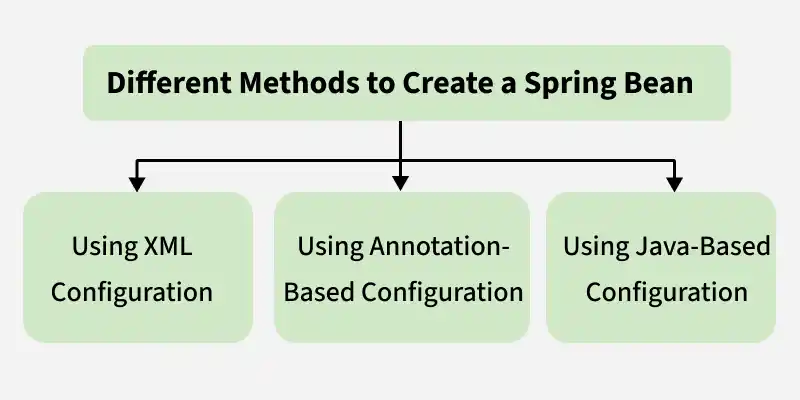
The following diagram illustrates the different approaches used to create and configure Spring beans.
XML-Based Configuration is the traditional way of defining Spring beans. In this approach, you create an XML file (commonly beans.xml) where all your beans and their dependencies are declared. The Spring IoC container reads this file at runtime, instantiates the beans, injects dependencies, and manages their lifecycle.
Follow these steps to configure and manage Spring beans using XML-based configuration.
Step 1 : Create the Bean Class
Create a simple Java class that you want to manage by Spring as a bean.
Step 2: Create the Spring XML Configuration File
Define the bean in an XML file (beans.xml) and provide its class and ID.
Step 3: Create Main Class
Load the Spring IoC Container and Get the Bean use ApplicationContext to load the XML configuration and retrieve the bean.
Output:
Hello from UserService!
Annotation-Based Configuration allows Spring to automatically detect and manage beans using annotations like @Component and inject dependencies without XML configuration.
Follow these steps to configure and manage Spring beans using Annotation-Based Configuration
Step 1: Create the Bean Class
Use @Component annotation to tell Spring that this class is a bean.
Step 2: Create a Configuration Class
Use @Configuration to mark it is a configuration class and @ComponentScan to tell Spring where to look for beans.
Step 3: Create the Main Class to Load Spring Context
Use AnnotationConfigApplicationContext to load the configuration and retrieve the bean.
Output:
Hello from UserService using Annotation-Based Configuration!
Java-Based Configuration allows you to configure Spring beans using Java classes .You define a configuration class using @Configuration and create beans using the @Bean annotation.
Follow these steps to configure and manage Spring beans using Java-Based Configuration
Step 1: Create Bean Class
Create normal Java class that contain business logic. These classes will be managed by Spring Container.
Step 2: Create a Configuration Class
In the Spring Framework, a Configuration Class is a Java class used to define and manage Spring beans without using XML.
Step 3: Create Main Class.
The Spring IoC container is started by creating an AnnotationConfigApplicationContext and passing the configuration class. The container reads the configuration, creates and initializes all defined beans, and manages them throughout their lifecycle.
Output:
Hello from UserService!