 |
VOOZH | about |
|
VOOZH | about |
To create an Angular project from scratch, we'll need Node.js and npm installed on our computer. Once installed, we can use Angular CLI, a command-line tool, to quickly set up a new Angular project with a basic structure. After creating the project, we can start coding our application using TypeScript, HTML, and CSS files located in the project directory. Angular CLI simplifies tasks like serving the application locally for development, generating components, and managing dependencies, making it easy to get started with Angular development even for beginners.
Step 1: Install Angular CLI:
Angular CLI (Command Line Interface) is a powerful tool for creating and managing Angular projects. You can install it globally using npm by running the following command in your terminal or command prompt:
npm install -g @angular/cliStep 2: Create a New Angular Project:
Once Angular CLI is installed, you can use it to create a new Angular project. Navigate to the directory where you want to create your project and run the following command:
ng new my-angular-appStep 3: Serve Your Angular Application:
After the project is created, navigate into the project directory then use an Angular CLI to serve your application locally by running:
ng serveStep 4: Create a Component:
Use Angular CLI to generate a new component. Open your terminal or command prompt, navigate to your project directory, and run the following command:
ng generate component my-componentStep 5: Configure Routes:
Define the routes for your application in the app-routing.module.ts file. You can use Angular's RouterModule to configure routes and associate components with specific URLs.
import { NgModule } from '@angular/core';
import { Routes, RouterModule } from '@angular/router';
import { HomeComponent } from './home/home.component';
import { AboutComponent } from './about/about.component';

const routes: Routes = [
 { path: '', component: HomeComponent },
 { path: 'about', component: AboutComponent },
];

@NgModule({
 imports: [RouterModule.forRoot(routes)],
 exports: [RouterModule]
})
export class AppRoutingModule { }
Step 6: Add Content to Components:
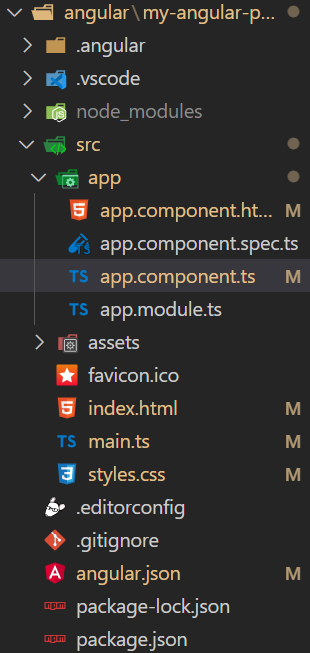
Open the HTML file of your component (component-name.component.ts, component-name.component.html, and component-name.component.css) and add the desired content.
👁 Screenshot-2024-03-20-164603
The updated dependencies in package.json file will look like:
"dependencies": {
 "@angular/animations": "^16.0.0",
 "@angular/common": "^16.0.0",
 "@angular/compiler": "^16.0.0",
 "@angular/core": "^16.0.0",
 "@angular/forms": "^16.0.0",
 "@angular/platform-browser": "^16.0.0",
 "@angular/platform-browser-dynamic": "^16.0.0",
 "@angular/router": "^16.0.0",
 "rxjs": "~7.8.0",
 "tslib": "^2.3.0",
 "zone.js": "~0.13.0"
}
Example: In this example we'll create a simple GFG AboutUs page using Angular
To start the application run the following command.
ng serve