 |
VOOZH | about |
|
VOOZH | about |
CodeRabbit is an AI-powered code reviewer that delivers context-aware feedback on pull requests within minutes, reducing the time and effort needed for manual code reviews. It complements manual reviews by providing a fresh perspective and catching issues that manual reviews often miss, enhancing the overall review quality.
Developers can interact directly with the CodeRabbit bot within their existing Git platform's pull request interface to add context, ask questions, or even have the bot generate code. Over time, CodeRabbit learns from user input and improves its suggestions.
CodeRabbit offers a range of features that make it ideal for students:
These features make CodeRabbit like having a mentor who’s always available, helping you write cleaner code and learn faster.
CodeRabbit integrates in just a few clicks with many popular Git platforms:
Here’s how students can set up CodeRabbit in just a few minutes. You’ll need a GitHub account (free to create) and a project to test it with.
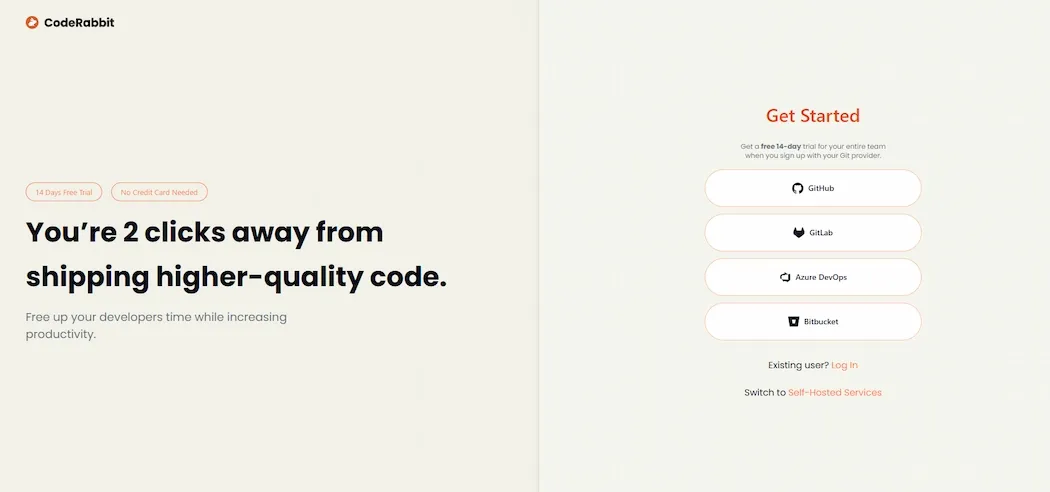
Lets see the steps to sign up on CodeRabbit website,
Step 1: Visit the official website and sign up with GitHub.
Step 2: Authorize CodeRabbit on the GitHub authentication page.
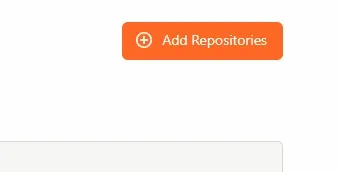
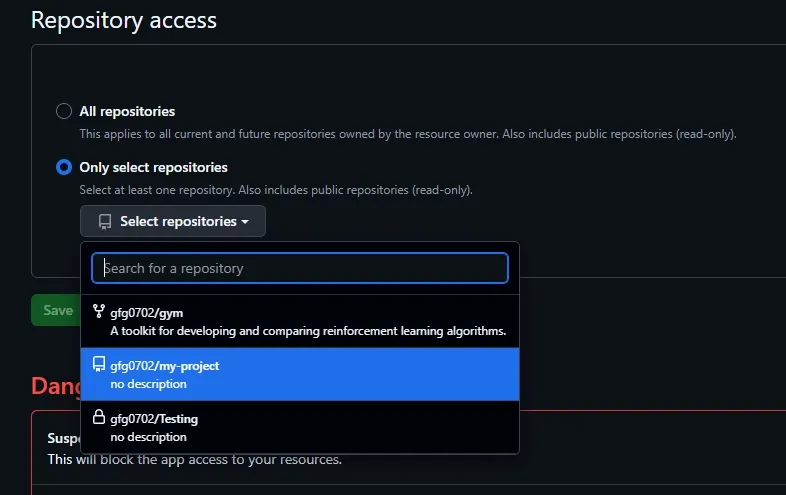
Step 3: In the dashboard, find "Add Repositories" or "Connect Repository".
Select the repository we want from the list.
Step 4: Confirm, now every time we make a pull request(PR) in the selected repository, CodeRabbit will review it automatically.
Tip for Beginners: If you’re new to Git, think of it as a way to save and share your code versions. You can learn basic Git commands at GitHub’s guide. Alternatively, use CodeRabbit’s VS Code extension to review code locally without Git.
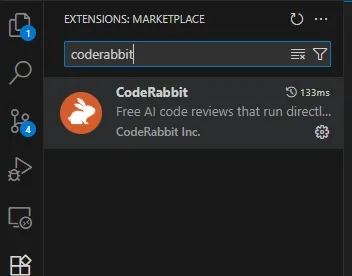
Lets see the steps needed to use code rabbit in our ide.
Step 1: Open the editor and load the folder.
Step 2: In the extension tab, search for CodeRabbit and add the CodeRabbit Extension.
Install the CodeRabbit extension.
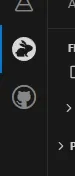
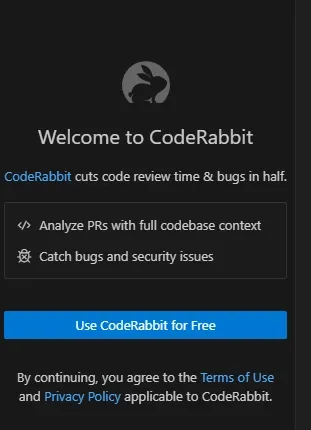
Step 3: After successful installation, find and select the CodeRabbit logo on the dashboard.
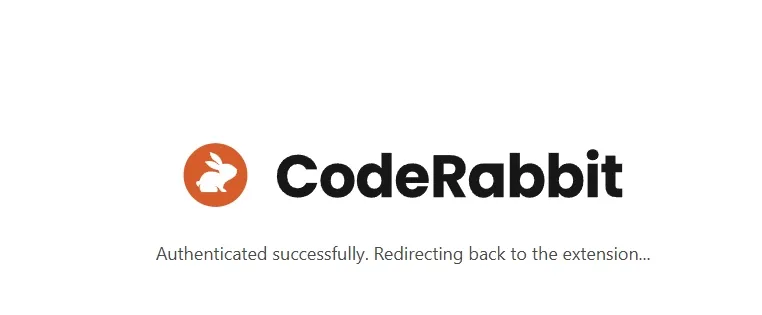
Click on "Use CodeRabbit for Free".
We will be redirected to GitHub authorization page, after successful authentication we will get a confirmation and then we will be redirected back to our IDE.
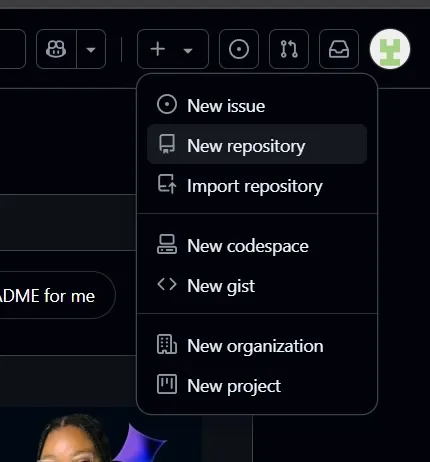
Step 4: Attach the repository.
git init
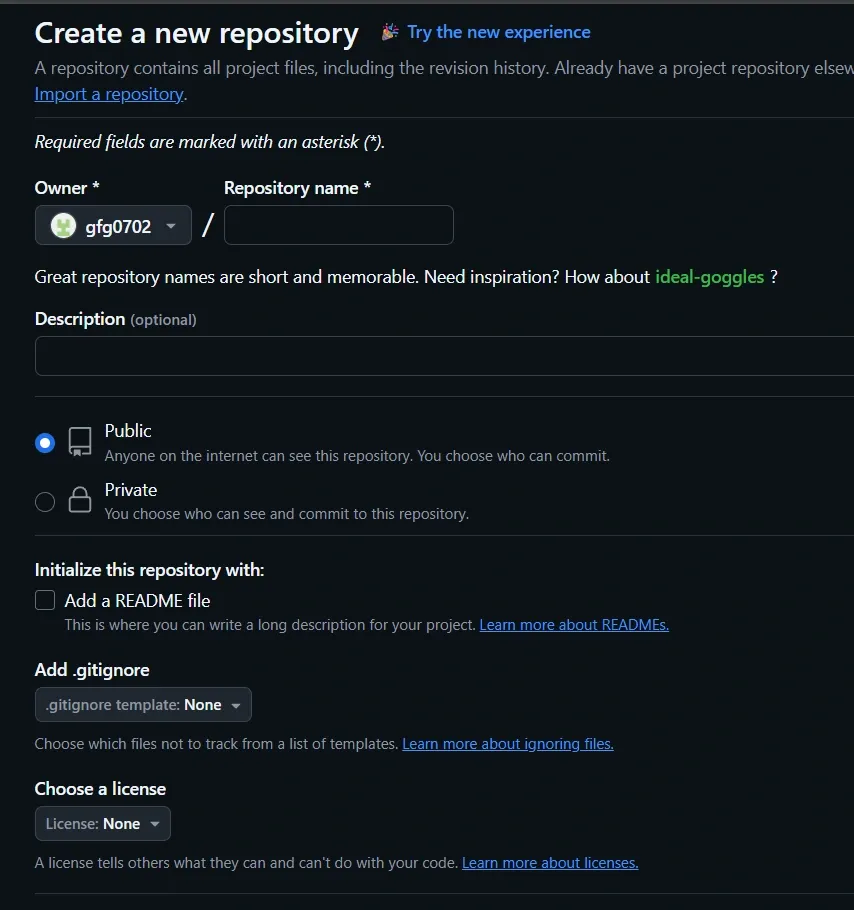
Give a name to repository, choose whether we want to have a public or private repository and also Add a README file.
Copy the Repository URL and connect the folder to GitHub repository. In the terminal type the command
git remote add origin "ADD THE URL"
Check for the connection.
git remote -v
Push the files to GitHub
git push -u origin main
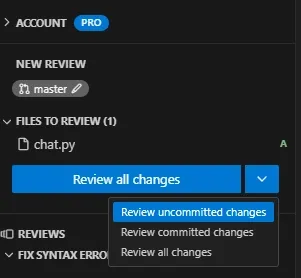
Step 5: Select the CodeRabbit panel, we can see Review changes tab, and we can select the type of changes we want to review.
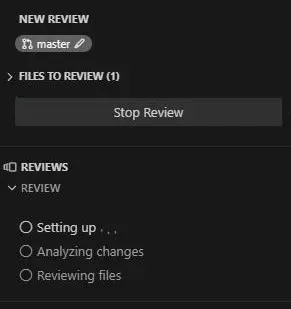
Step 6: After selection, review starts.
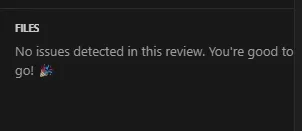
Step 7: After the review is done and if no issues are found it will notify.
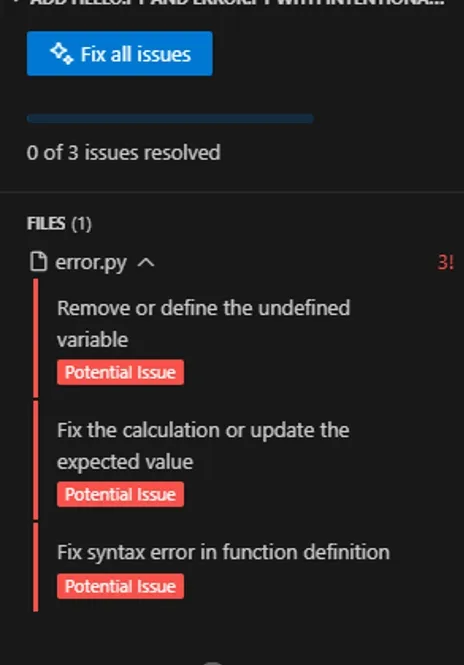
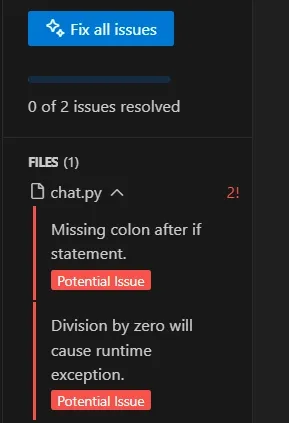
If there are issues then the issues are listed.
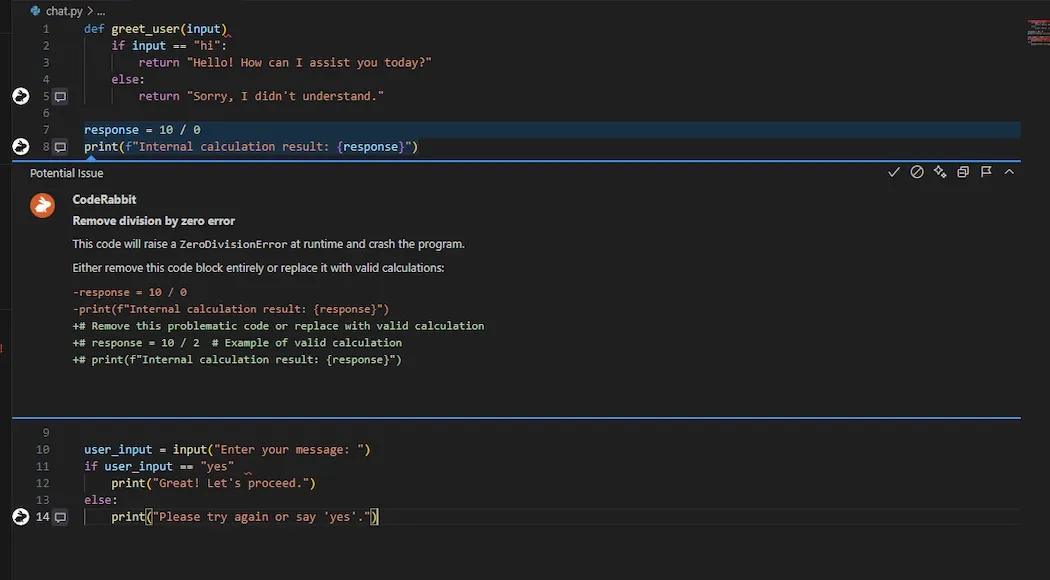
CodeRabbit provide inline suggestions to improve the program and remove the issue.
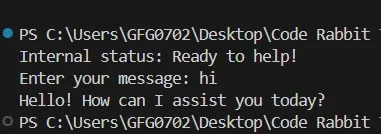
Step 8: After changes are done, try running the program. If all the issues are correctly solved then it will run successfully.
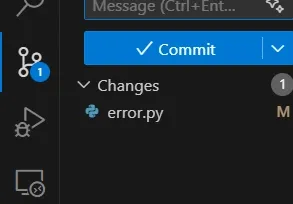
Step 9: Locate Source Control icon and open that.
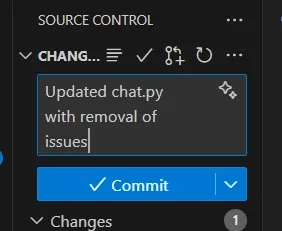
Step 10: Commit the changes with a message.
Lets see an example,
Open the file which we want to check.
This code has few issues. After review errors are enlisted.
Inline suggestions can be seen provided by CodeRabbit.
Code after solving the issue
Output: