Windsurf is an innovative AI-powered coding IDE that revolutionizes software development by making it faster, more intuitive,and efficient. Acting as an intelligent assistant within your code editor, Windsurf automates repetitive tasks, generates code, identifies bugs, and suggests optimizations to enhance code quality. It allows precise edits to specific code sections without affecting the rest of the project, making it ideal for beginners learning to code and experienced developers building complex applications.
Key Features of Windsurf
Here are the key features that make Windsurf AI a powerful tool:
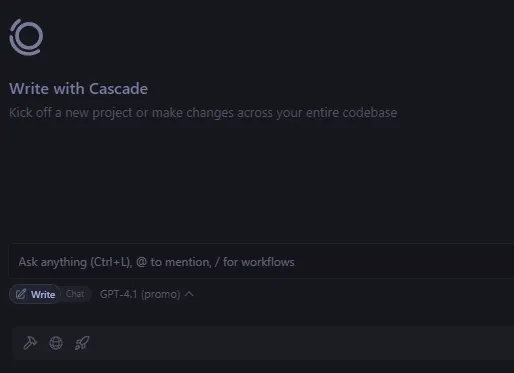
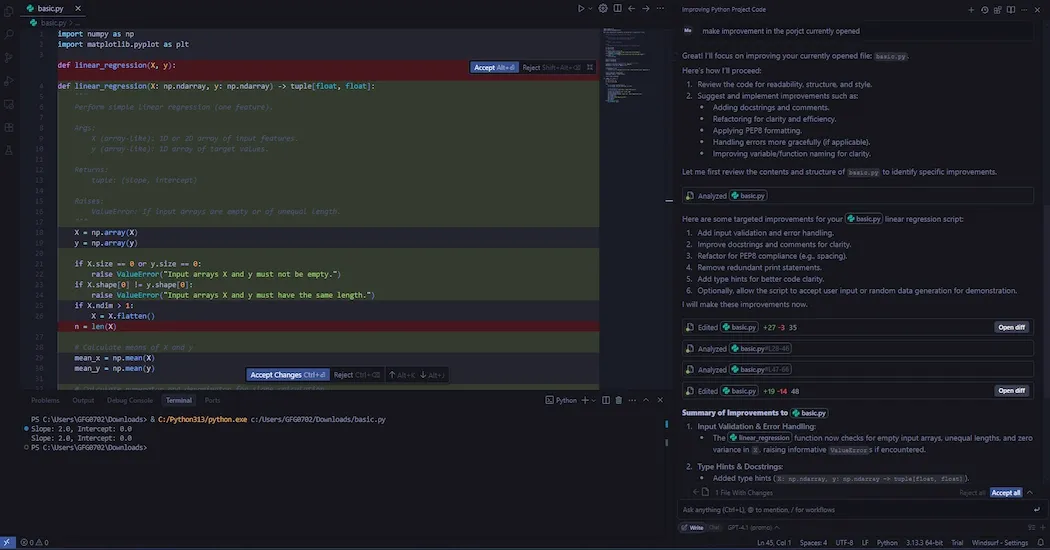
Cascade Write Mode: It automatically creates multiple files, runs scripts, tests them and debugs them for us. All we need to do is approve the checks and wait for the script to execute in the terminal. This mode automates around 90% of the code generation and debugging process.
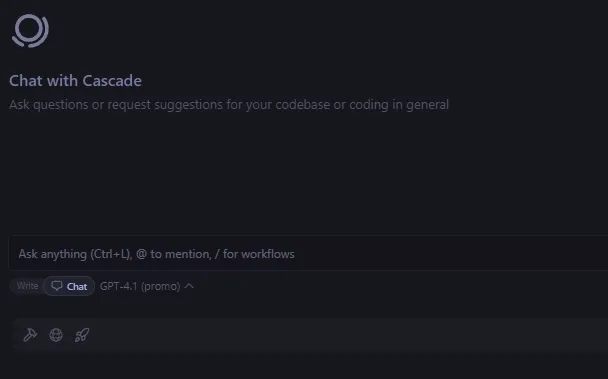
Cascade Chat Mode: It checks the context and generates the code along with instructions on how to use it. This mode is 50% automated, so we will need to make edits to the code or request specific code snippets. Additionally, we will have to run the code manually and provide logs if an issue arises.
Image Upload: We can upload an image of a website we like and Windsurf will generate the necessary CSS, HTML and JavaScript files for us. It can create all the required files and help you run the website locally within seconds.
Here we can see the cascade write gave us a basic HTML code which could run live.
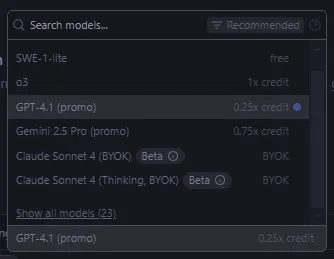
Wide Range of AI Models: Windsurf gives you access to a variety of AI models from Deepseek R1 to the latest Gemini 2.0 Flash.
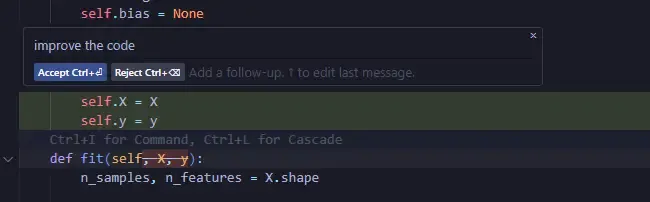
Inline Edits: Instead of generating a chat, we can click on a specific part of the code and press Ctrl + I to access inline edits. This allows us to modify just the selected section of code making it more intuitive to resolve issues than asking Cascade for help.
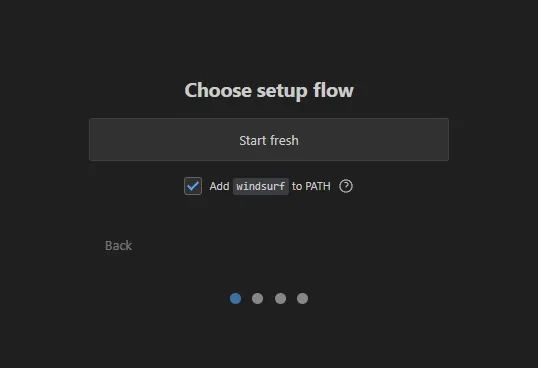
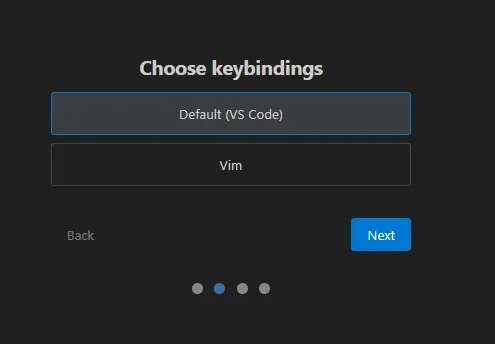
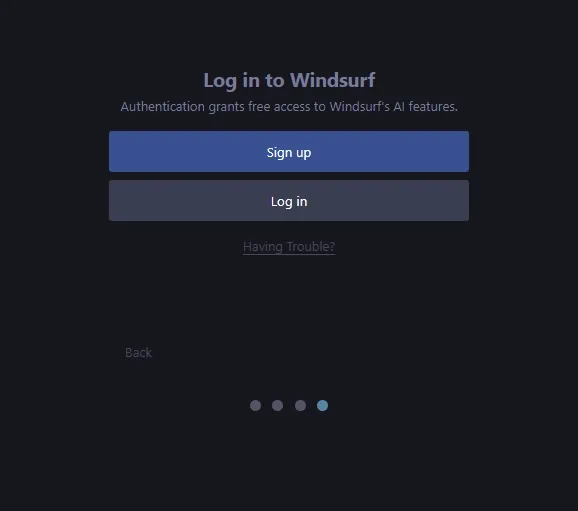
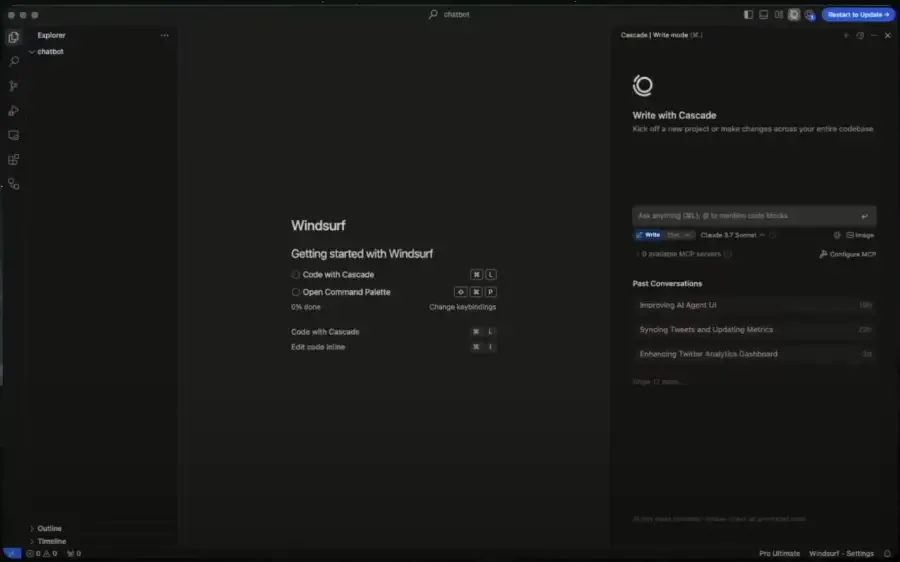
Download Windsurf from windsurf.com/editor and install it using the free tier. Open Windsurf, create a new folder, and open it in the IDE to start your project.
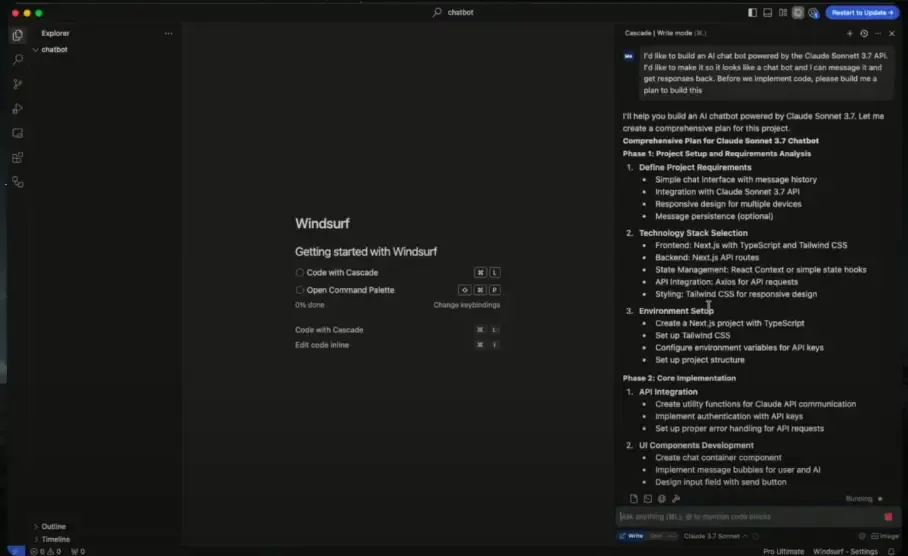
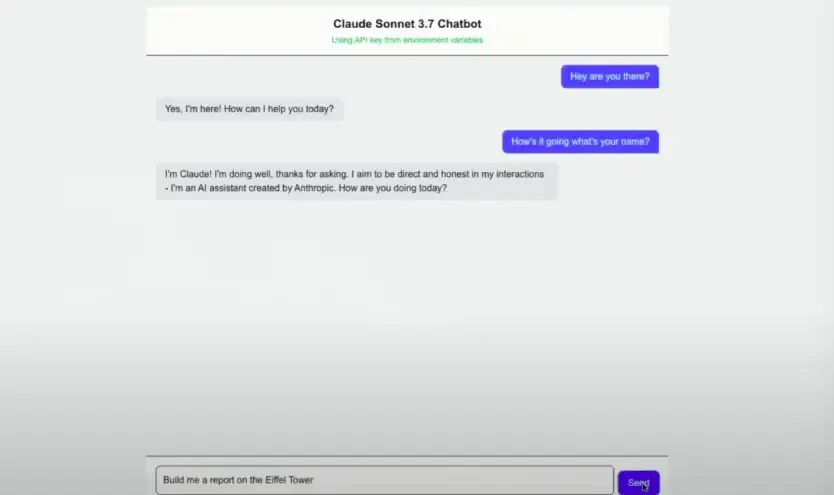
Open the Cascade panel (right side of Windsurf) and enter the prompt: "I'd like to build an AI chatbot powered by Claude Sonnet 3.7, which looks like a chatbot where I can send messages and get responses back. Before implementing the code, please build me a plan to build this." Review the plan (e.g., project setup with Next.js, API integration, UI components) and approve it to proceed.
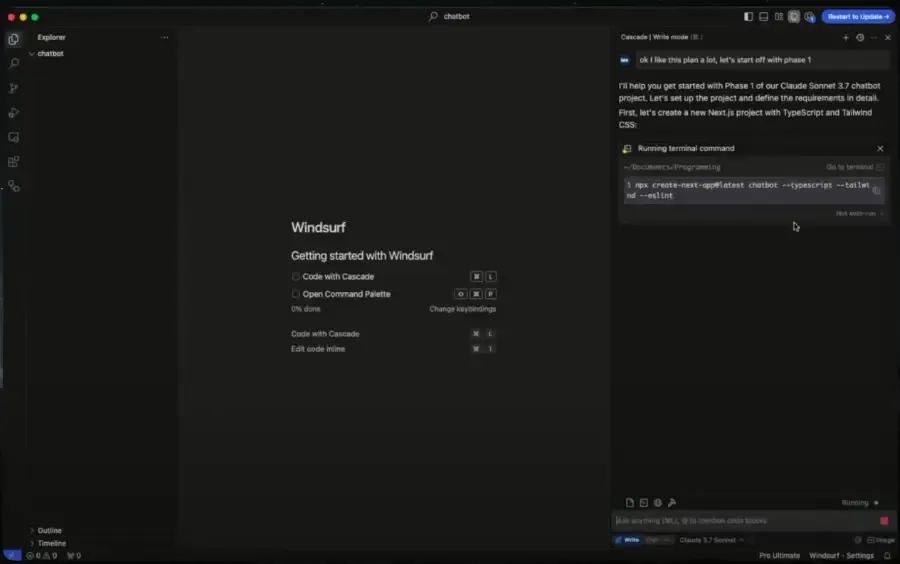
In Cascade, send the prompt: "Let's start with phase one of the plan." Accept the generated commands (e.g., setting up a Next.js project and installing Claude Sonnet 3.7 API). Open the terminal (Ctrl + T on Mac) and hit Enter to resolve any prompts, allowing Windsurf to build the project structure and API connection.
Create a .env file in Windsurf, then prompt Cascade: "I created a .env file. Can we use that for the Claude API? Take the API key variable and put it in the .env file." Obtain an API key from console.anthropic.com/dashboard, paste it into the .env file, and run npm run dev in the terminal. Open the app (e.g., on port 3000) to test the UI and ensure the API key is recognized.
Use Cascade to enhance the chatbot: Prompt "I want to make this chatbot look really cool. Can we give it a sick background with forest-like colors and enhance message bubbles with animations?" Accept the generated CSS and animation code. Test the updated UI, then deploy by clicking "Deploy" in Windsurf and selecting a deployment type (e.g., web app) to share your live chatbot.
