 |
VOOZH | about |
|
VOOZH | about |
Applying two CSS classes to a single element means adding both class names in the element’s class attribute, so it gets styles from both classes. In this article, we will stick to only two classes. However, the concepts used in assigning two classes can also be extended to multiple classes.
To assign classes to an HTML element, you use the class attribute. You can list multiple classes by separating their names with spaces.
Note: The names of the classes must be space-separated.
Syntax
<tag_name class="class_1 class_2">Styling Classes Individually: When you style classes individually, each class gets its own set of CSS rules, and these styles are applied wherever those classes are used.
Syntax
<style>
 .class_1{
 /* some styles */
 }
 .class_2{
 /* some styles */
 }
</style>
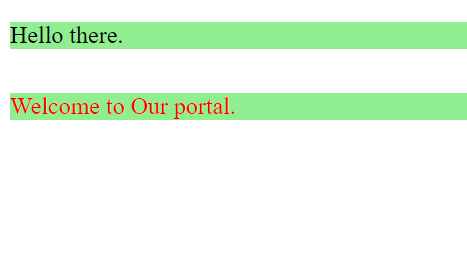
Example: In this example, we will apply two CSS classes to a single element in HTML. Style of class "para" is applied to both of the paragraphs while the style of the class "second_class" is only applied to the second paragraph.
Output
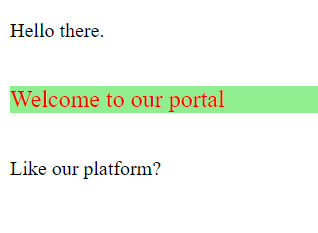
If you want to style an element that has both classes, you can combine the class selectors without spaces. This style will only apply to elements that have both classes.
Note: In the CSS selector, there is no space between the class names.
Syntax
<style>
 .class_1.class_2{
 /* some styles */
 }
</style>
Output
You can add or remove classes using JavaScript with the classList property. In this example, we add the classes "para" and "second" to the paragraph with the ID "to_be_styled" using the add() method.
Output