 |
VOOZH | about |
|
VOOZH | about |
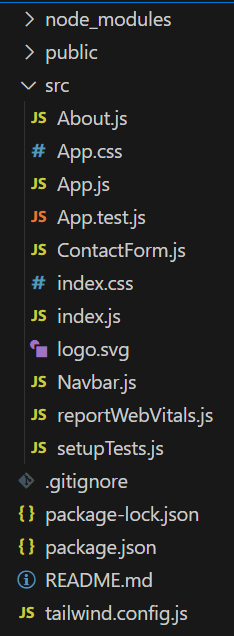
A UI plays an important role because a clean, well-designed interface creates a positive first impression and if the UI is good then users can stay on our website some more time and if the UI is bad then they can not stay on our site for more time. we will see how to Create Navbars UI using React and Tailwind CSS.
Step 1: Create the React application using the following command.
npx create-react-app navbar-ui
cd navbar-ui
Step 2: Install the Tailwind CSS using the following command.
npm install -D tailwindcss postcss autoprefixer
npx tailwindcss init
Step 3: Configure the tailwind paths in your tailwind.config.js file.
module.exports = {
 content: [
 "./src/**/*.{js,jsx,ts,tsx}",
 ],
 theme: {
 extend: {},
 },
 plugins: [],
}
Step 4: Add Tailwind's directives to your CSS file (e.g., src/index.css)
@tailwind base;
@tailwind components;
@tailwind utilities;
"dependencies": {
 "@testing-library/jest-dom": "^5.17.0",
 "@testing-library/react": "^13.4.0",
 "@testing-library/user-event": "^13.5.0",
 "react": "^18.3.1",
 "react-dom": "^18.3.1",
 "react-scripts": "5.0.1",
 "web-vitals": "^2.1.4"
 },
Example: Create the required files and add the given codes.
To start the Application run the following command.
npm startOutput: