 |
VOOZH | about |
|
VOOZH | about |
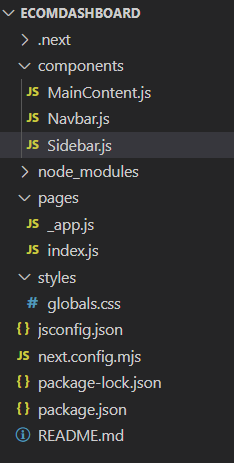
This project is an E-commerce Dashboard built with Next.js, providing features such as a dynamic sidebar, responsive navigation, order analytics, and most sold items of the week. It shows various features such as product analytics, order management, and user interaction.
Output Preview:
👁 Screenshot-2024-05-03-132708
Step 1: Create a nextJS application by using this command
npx create-next-app my-ecommerce-dashboard
Step 2: Navigate to project directory
cd my-ecommerce-dashboardStep 3: Install the necessary packages/libraries in your project using the following commands.
npm install boxicons
npm install react-icons
The updated dependencies in package.json file will look like:
"dependencies": {
 "boxicons": "^2.1.4",
 "next": "14.1.3",
 "react": "^18",
 "react-dom": "^18",
 "react-icons": "^5.2.0"
 }
Example: Implementation to design a e-commerce dashboard with NextJS.
Step to Run Application: Run the application using the following command from the root directory of the project
npm run devOutput: Your project will be shown in the URL http://localhost:3000/
👁 aa