 |
VOOZH | about |
|
VOOZH | about |
Creating swipe-enabled buttons in React applications can greatly improve user experience, especially on mobile devices, these buttons are typically used for actions like deleting, sharing, and liking items, in this article we'll show you how to create a swipe-enabled button using Tailwind CSS for styling and React for functionality.
In this approach, we first create a React project and set up Tailwind CSS for styling. Framer Motion is used to detect swipe gestures, allowing us to add interactive animations for a swipe-enabled button. The button responds to a swipe gesture by moving and revealing additional actions like "Delete." We also handle the swipe state in the component using React's useState hook, ensuring the button's behavior and appearance change based on user interaction. This combination of tools makes it easy to create responsive, mobile-friendly UI elements.
Firstly we have to run the given command to create a new React project.
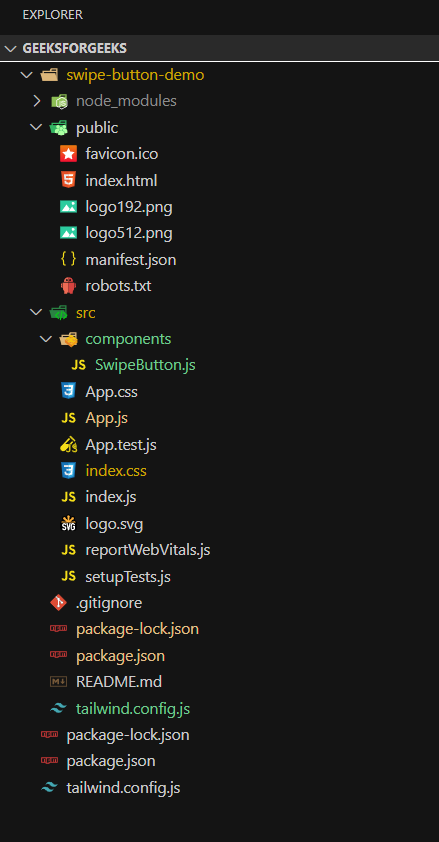
npx create-react-app swipe-button-demo
cd swipe-button-demo
When we create a new project We will need to install Tailwind CSS and create a configuration file named tailwind.config.js, we can do this by running following command.
npm install tailwindcss postcss autoprefixer
npx tailwindcss init
dependencies: {
 "@testing-library/jest-dom": "^5.17.0",
 "@testing-library/react": "^13.4.0",
 "@testing-library/user-event": "^13.5.0",
 "autoprefixer": "^10.4.20",
 "framer-motion": "^11.9.0",
 "postcss": "^8.4.47",
 "react": "^18.3.1",
 "react-dom": "^18.3.1",
 "react-scripts": "5.0.1",
 "tailwindcss": "^3.4.13",
 "web-vitals": "^2.1.4"
 }
Edit tailwind.config.js file to add content paths for your React files.
In src/index.css file, add base, components and utilities layers of Tailwind:
@tailwind base;
@tailwind components;
@tailwind utilities;
We will use Framer Motion for detecting swipe gestures and animating button.
npm install framer-motionNow create a new file SwipeButton.js in src directory and add following code.
Open src/App.js and import SwipeButton component.
Now you can start your development server.
npm startOutput: Open your browser and navigate to http://localhost:3000.