 |
VOOZH | about |
|
VOOZH | about |
Migrating an existing Redux application to Redux Toolkit (RTK) can streamline your Redux code, reduce boilerplate, and improve maintainability. Here's a step-by-step guide to help you through the migration process.
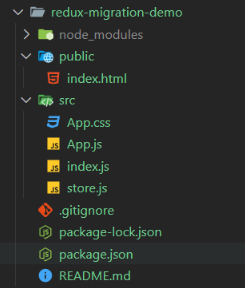
Step 1: Create a React Application named 'redux-migration-demo' and navigate to it using this command.
npx create-react-app redux-migration-demo
cd redux-migration-demo
Step 2: Install required packages and dependencies.
npm install react-redux redux The updated dependencies in package.json file will look like:
 "dependencies": {
 "react": "^18.3.1",
 "react-dom": "^18.3.1",
 "react-redux": "^9.1.2",
 "redux": "^5.0.1",
 },
Example:
Step to Run Application: Run the application using the following command from the root directory of the project
npm startOutput: Your project will be shown in the URL http://localhost:3000/
Step 1: Install required packages and dependencies.
npm install @reduxjs/toolkit react-reduxStep 2 : Replace existing reducers with createSlice to automatically generate action creators and types.
Step 3 : Use configureStore from Redux Toolkit to set up the store.
Step 4 : Use useDispatch and useSelector hooks from react-redux to dispatch actions and access state in the components.
The updated dependencies in package.json file will look like:
"dependencies": {
 "@reduxjs/toolkit": "^2.2.5",
 "react": "^18.3.1",
 "react-dom": "^18.3.1",
 "react-redux": "^9.1.2",
 },
Example:
Step to Run Application: Run the application using the following command from the root directory of the project
npm startOutput: Your project will be shown in the URL http://localhost:3000/