 |
VOOZH | about |
|
VOOZH | about |
MDX is a lightweight markup language used to format text. It allows you to write using plain text syntax and convert it to structurally valid HTML. It's commonly used for writing content on websites and blogs.
In this article we will see more about MDX in Next JS
MDX stands for Multidimensional Expressions. It is a markup language that allows you to write programs and information in the same file. It is a superset of markdown and is used to add React Components. It is commonly used to create blogs, documentation, and portfolio websites. Metadata in an MDX increases the discoverability and performance of the application. Next.js supports local and remote MDX files and automatically processes them. We need to install the required dependencies that support MDX and configure them in the application.
# Heading1
## Heading2
### Heading3
** Bold**> BlockquoteItalics
_Element_Step 1: To create your app, run the following npx command in your terminal to start the creation process:
npx create-next-app@latest mdx-next
cd mdx-next
Step 2: Provide the necessary details to create your app as shown in the image below.
The updated dependencies in package.json file will look like:
"dependencies": {
 "@mdx-js/loader": "^3.0.1",
 "@mdx-js/react": "^3.0.1",
 "@next/mdx": "^14.1.0",
 "@types/mdx": "^2.0.11",
 "next": "14.1.0",
 "react": "^18",
 "react-dom": "^18"
},
"devDependencies": {
 "autoprefixer": "^10.0.1",
 "eslint": "^8",
 "eslint-config-next": "14.1.0",
 "postcss": "^8",
 "tailwindcss": "^3.3.0"
}
Step 3: To start the application run the following command.
npm run devStep 4: Configure the next.config.js file to support the various types of extension.
//next.config.js

import mdx from "@next/mdx";

const withMDX = mdx();

const nextConfig = {
 // Configure `pageExtensions` to include MDX files
 pageExtensions: ["js", "jsx", "mdx", "ts", "tsx"],

};

export default withMDX(nextConfig);
Example 1: Illustration of the local MDX file.
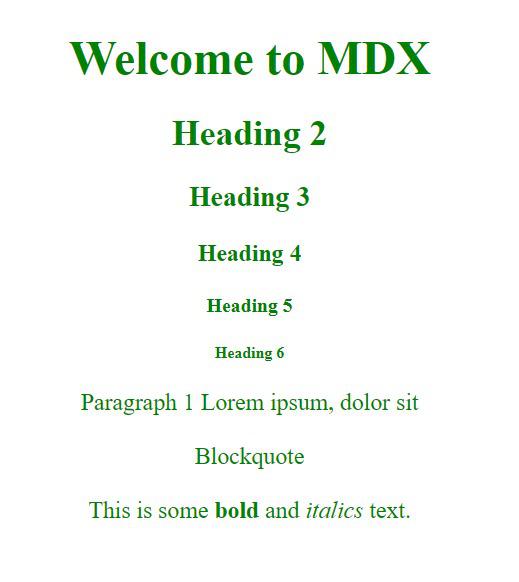
Output:
Explanation of output:
Example 2: Illustration of the JSX components in the MDX file
Create a project using the above steps and create a new folder named as components. In component folder add new file named as MyComponent.js
Output: