 |
VOOZH | about |
|
VOOZH | about |
Metadata helps search engines index the content of a web page and helps users to find what they are looking for. Next.js 13 introduced new APIs which help developers to improve SEO in very simple ways. In this article, we are going to learn to define metadata in Next.js applications using meta files.
Metadata provides information about web pages. It is not visible to the user but works behind the scenes, embedded in HTML usually within element. This hidden information is crucial for search engines to index the content of the web page. Proper metadata increases the chances of higher ranking.
Some common metadata types include
<title>Title</title><meta name="description" content="This is a brief description of my webpage."><meta name="author" content="Sarthak Roy"><meta name="date" content="2024-11-05T14:30:00+02:00"><meta name="keywords" content="Next.js, React, GeeksforGeeks">Next.js 13 introduced new metadata APIs that makes it really easy and intuitive to add metadata to webpages. There are two ways to add metadata:
We are only going to discuss about file based method in this article.
Next.js offers special files to define metadata for webpage:
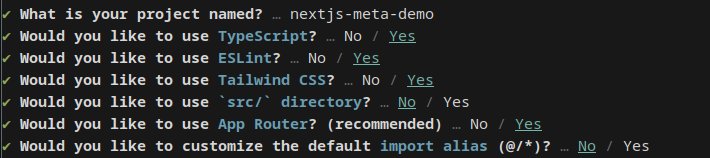
Now its time to get started with coding. I am going to use pnpm and TypeScript for this demo but it is completely optional. Use the following command to initialise a new Next.js project in you desired directory.
pnpm create next-app@latest
Start the dev server:
pnpm devNow we are going to use metadata files to define metadata for our websites.
Import your desired image inside app directory and rename it to favicon.ico. This should be enough to change the favicon of the webpage.
You can also define apple-icon.(jpg | jgeg | png) and icon.(jpg | jpeg | png | svg | ico) in the same way.
Add an opengraph-image.(jpg|jpeg|png|gif) and twitter-image.(jpg|jpeg|png|gif) image file to any route segment.
Add (opengraph-image | twitter-image).alt.txt to display text content when image can not be loaded.
It is a text file that provides instructions to web crawlers, on how to crawl and index a website.
Add robot.(js | ts) in app directory. Next.js will generate robot.txt from it.
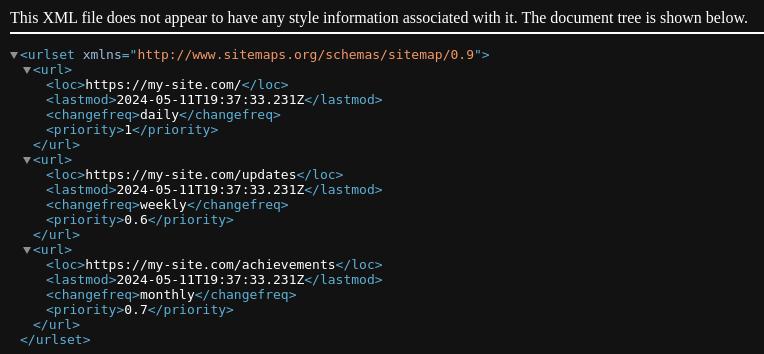
In Next.js sitemap.(xml | js | ts) is special file that is used to generate sitemap for the web application.
We can going to generate sitemap using sitmap.(js | ts).
We can view the generated sitemap in /sitemap.xml route.
We can use function for generating multiple sitemaps for the application. Let us see an example from Next.js docs
We can export metadata function from layout.tsx or page.tsx to set static metadata.
We can export special generateMetadata function which fetches dynamic metadata.