 |
VOOZH | about |
|
VOOZH | about |
Next.js is a framework dependent on React, designed for building server-rendered and statically generated web applications. One of its powerful features is useSelectedLayoutSegments, a client-side hook that allows developers to access and manage the active route segments within their application layouts.
useSelectedLayoutSegments is a client-side hook in Next.js that retrieves the active route segments relative to the layout it is used in. This hook is useful for rendering dynamic UI elements, such as breadcrumbs, that reflect the current route path. It returns an array of strings representing the active segments, allowing for context-aware component updates based on the route hierarchy.
const segments = useSelectedLayoutSegments(parallelRoutesKey);Step 1: Create a Next.js application using the following command.
npx create-next-app@latest gfgStep 2: It will ask you some questions, so choose the following.
√ Would you like to use TypeScript? ... No
√ Would you like to use ESLint? ... Yes
√ Would you like to use Tailwind CSS? ... No
√ Would you like to use `src/` directory? ... Yes
√ Would you like to use App Router? (recommended) ... Yes
√ Would you like to customize the default import alias (@/*)? ... Yes
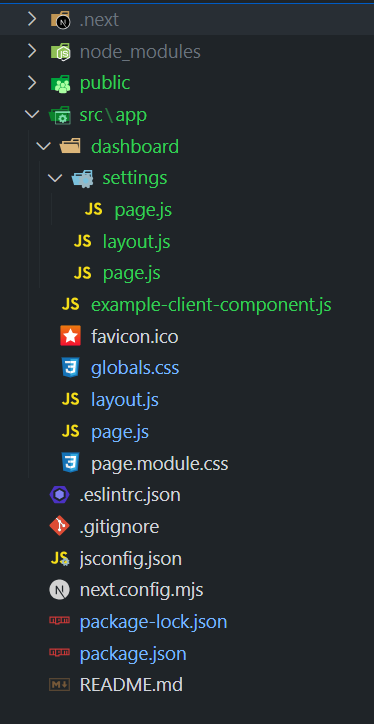
Step 3: After creating your project folder i.e. gfg, move to it using the following command.
cd gfg"dependencies": {
"react": "^18",
"react-dom": "^18",
"next": "14.2.5"
},
Example: The below example demonstrates the use of useSelectedLayoutSegments function.
To run the Application open the terminal in the project folder and enter the following command:
npm run devOutput: