 |
VOOZH | about |
|
VOOZH | about |
React Suite is a popular front-end library with a set of React components that are designed for the middle platform and back-end products. It is a set of react component libraries for enterprise system products. It is a well-thought-out and developer-friendly UI framework.
The DatePicker Component is used to choose a time or date from the picker. To add a specific DatePicker label or value we can add that by using ts:Ranges prop. It actually sets predefined date ranges that users can select from.
ts:Ranges Props:
Syntax:
<DatePicker
 ranges={[
 {
 label: 'Content',
 value: addDays(new Date(), -1),
 }
 ...
 ]}
/>
Setting up React.js application:
Step 1: Create a React.js application using the following command:
npx create-react-app foldername
Step 2: After creating your project folder i.e foldername, move into that directory using the following command:
cd foldername
Step 3: After creating the ReactJS application, Install the required module using the following command:
npm install rsuite
npm install date-fns
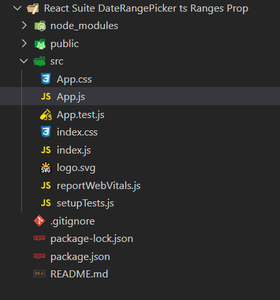
Project Structure: The project structure will look like this:
Example 1: In this example, we will use DateRangePicker component with ranges prop, where we will see how can we customize it based on our requirements like - labeling and value properties to select next week, next quarter date, and next month date.
Functions provided by the date-fns module:
App.js: Write down the below code in App.js file, where App is our default component provided by React in which code is being written.
Steps to run the program: To run the application execute the below command from the root directory of the project:
npm start
Output: Your web application will be live on “http://localhost:3000”.Now, you will see the following output:
Example 2: In this example we will use DateRangePicker component with ranges prop, where we will see "closeOverlay" property in the range prop objects. With the help of this property we will be able to see the selected dates in highlighted color when we click on labels.
App.js: Write down the below code in App.js file, where App is our default component provided by React in which code is being written.
Steps to run the program: To run the application execute the below command from the root directory of the project:
npm start
Output: Your web application will be live on “http://localhost:3000”.Now, you will see the following output:
Reference: https://rsuitejs.com/components/date-range-picker/