 |
VOOZH | about |
|
VOOZH | about |
This article was published as a part of the Data Science Blogathon
This article will seek to explain and explore an introduction to Machine Learning, specifically focusing on the area of Computer Vision. Computer Vision is that part of Machine Learning, in which computers are given the ability to see their surroundings and possess the advanced intelligence of distinguishing one physical object from another. In this article, we will explore the following topics:
Source: GeeksCoders.
Machine Learning is a trending field of Information Technology in present times. As can be inferred from the name, Machine Learning is a field in which Machines are trained and taught, exactly how to identify, detect, and recognize patterns in data- both structured and unstructured. Machine Learning lends itself to the modern-day in several aspects- from Medicine to Augmented Reality, to Artificial Intelligence, and more. There are different types or categories of Machine Learning, the most dominant types are:
Source: TowardsDataScience.
The key aspect of each type is as follows:
OpenCV is a programming library/package that has been created especially for allowing programmers to enter the world of Computer Vision. The primary developer of the OpenCV package is Intel Corporation, and the package was released to the public during the year 1999-2000.
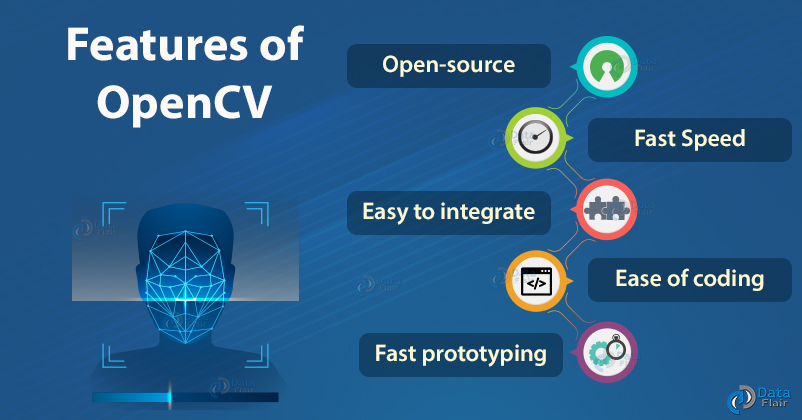
OpenCV stands for Open-Source Computer Vision (Library). It is the most commonly used, popular, and well-documented Computer Vision library. It is open-source, which means that one does not require a license to utilize the software.
As one may know, most Machine Learning Algorithms require inputs to be quantitative in nature, i.e., numerical. OpenCV allows us to apply Machine Learning techniques to images, however, oftentimes we are required to preprocess and prepare the raw images for them to be transformed into features (columns of data) that are useful and usable by our Machine Learning Algorithms.
Source: DataFlair.
We will now how to process an image with the OpenCV package in Python Programming Language. For this learning experience, we will use the OpenCV Logo.png. You may navigate to, and download the image at this link, or you may save the image found below.
Source: Wikipedia.
To load an image into our system RAM (Random Access Memory), we are required to make use of the imread() method provided by OpenCV. We are aware that images are a source of data- images are sources of data, from which we can acquire information and infer patterns. The crucial point to note about the imread() method is that when we utilize it in our program, fundamentally our raw image is transformed into a data/object type that we are familiar with- i.e., it becomes a NumPy Array. First, let us load our image in GRAYSCALE colour mode, and explore from there.
import cv2
# load it in GRAYSCALE color mode...
image = cv2.imread("""C:/Users/Shivek/Pictures/487px-OpenCV_Logo_with_text_svg_version.svg.png""", 0)
cv2.imshow('Analytics Vidhya Computer Vision', image)
cv2.waitKey(0)
cv2.destroyAllWindows()
import cv2
If one is familiar with the Python Programming Language, one will understand that this is the standard syntax used to import dependencies/libraries/packages into the current script. In this line of code, we import all methods, operations, and functions that are offered by the Computer Vision library.
# load it in GRAYSCALE color mode...
image = cv2.imread("""C:/Users/Shivek/Pictures/487px-OpenCV_Logo_with_text_svg_version.svg.png""", 0)
We thereafter load the image in grayscale color mode, and we do this using the imread() method. The imread() method takes in two primary arguments, viz., filename (of string datatype), and flag (of integer datatype). Please Note: you will be required to replace
C:/Users/Shivek/Pictures/487px-OpenCV_Logo_with_text_svg_version.svg.png
-with the location in which the image is stored on your computer. As one can see, I have passed in the filename and location of the image on my pc, and thereafter used a flag of 0. Flags are essentially predefined arguments that do not change, and are used as required- The flag 0 will load your image in the GRAYSCALE format- meaning black and white. Taken from the OpenCV Documentation, here are two flags you are most likely to use in your experience with OpenCV:
cv::IMREAD_GRAYSCALE = 0,
cv::IMREAD_COLOR = 1,
Hence, in our example, since we would like to obtain our image in GRAYSCALE format, we have used a value of 0, which corresponds to the predefined flag for IMREAD_GRAYSCALE.
cv2.imshow('Analytics Vidhya Computer Vision', image)
We make use of the imshow() method to display the image that has been loaded into memory, onto the digital display (screen). We need to understand that the imshow() is a very powerful OpenCV method because it creates a display for us- it will return a GUI Window to us, which contains our image that has been loaded into memory. This method requires two arguments- A title for the window to be displayed (containing the image); and the image itself- remember that an image may be stored in a variable- Hence, we are able to pass in the variable name containing our image- in our case the variable image.
The GRAYSCALE image output will be as follows:
cv2.waitKey(0)
You see, when the imshow() function displays the image output on our screen, the window that pops up with our image tends to disappear as soon as it shows up; this is because there is no signal or flag to prompt the window to be visible until or unless a specific action or event has occurred or passed. In situations like these, if you wish for the window to remain on the screen you will specify a parameter to the waitKey() function. This function will accept an integer value representing the number of milliseconds you would like the window to remain on your screen before the window is destroyed/terminated. The question you are likely to have in mind is: What should I do to make the window display on my screen for an infinite duration of time?
:
cv2.waitKey(0)
Pass a value of 0 to the waitKey() function. Zero is the predefined flag that will specify to the GUI system, to display the window for an infinite duration of time- to be precise- waitKey(0) will wait infinitely for terminating the image window. Termination is prompted when the user presses any character or directional key on the keyboard.
cv2.waitKey()
The default behaviour for the waitKey() function is to wait infinitely, i.e., display the window for an unlimited period of time. The name of the argument to which we are passing a value is delay. And the default line of syntax for the waitKey() function is as follows:
cv2.waitKey(delay=None)
And delay=None provides us with the same output as delay=0.
cv2.destroyAllWindows()
The above line of code will do as specified in the syntax- i.e., it will destroy all windows that have been created during our OpenCV session. If you would like to destroy/close a single, specific window- you may pass the name of the window as a string.
Source: DataDrivenInvestor.
This concludes my article on . I do hope that you have new OpenCV takeaways from this article.
Feel free to connect with me on LinkedIn.
Thank you for your time.
The media shown in this article are not owned by Analytics Vidhya and are used at the Author’s discretion.
GPT-4 vs. Llama 3.1 – Which Model is Better?
Llama-3.1-Storm-8B: The 8B LLM Powerhouse Surpa...
A Comprehensive Guide to Building Agentic RAG S...
Top 10 Machine Learning Algorithms in 2026
45 Questions to Test a Data Scientist on Basics...
90+ Python Interview Questions and Answers (202...
8 Easy Ways to Access ChatGPT for Free
Prompt Engineering: Definition, Examples, Tips ...
What is LangChain?
What is Retrieval-Augmented Generation (RAG)?
Edit
Resend OTP
Resend OTP in 45s