 |
VOOZH | about |
|
VOOZH | about |
This article was published as a part of the Data Science Blogathon
As one may already know, OpenCV is a Python Package that enables software developers to gain direct experience in the field of Computer Vision. Computer Vision allows computers to gain a high level of insight and understanding from digital image and video data. If you have not read my previous articles on Computer Vision in Python, please navigate to the following hyperlinks:
This article will introduce us to a few more of the many operations that may be applied to image data using the OpenCV library in Python Programming Language.
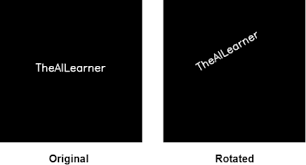
Source: TheAILearner.
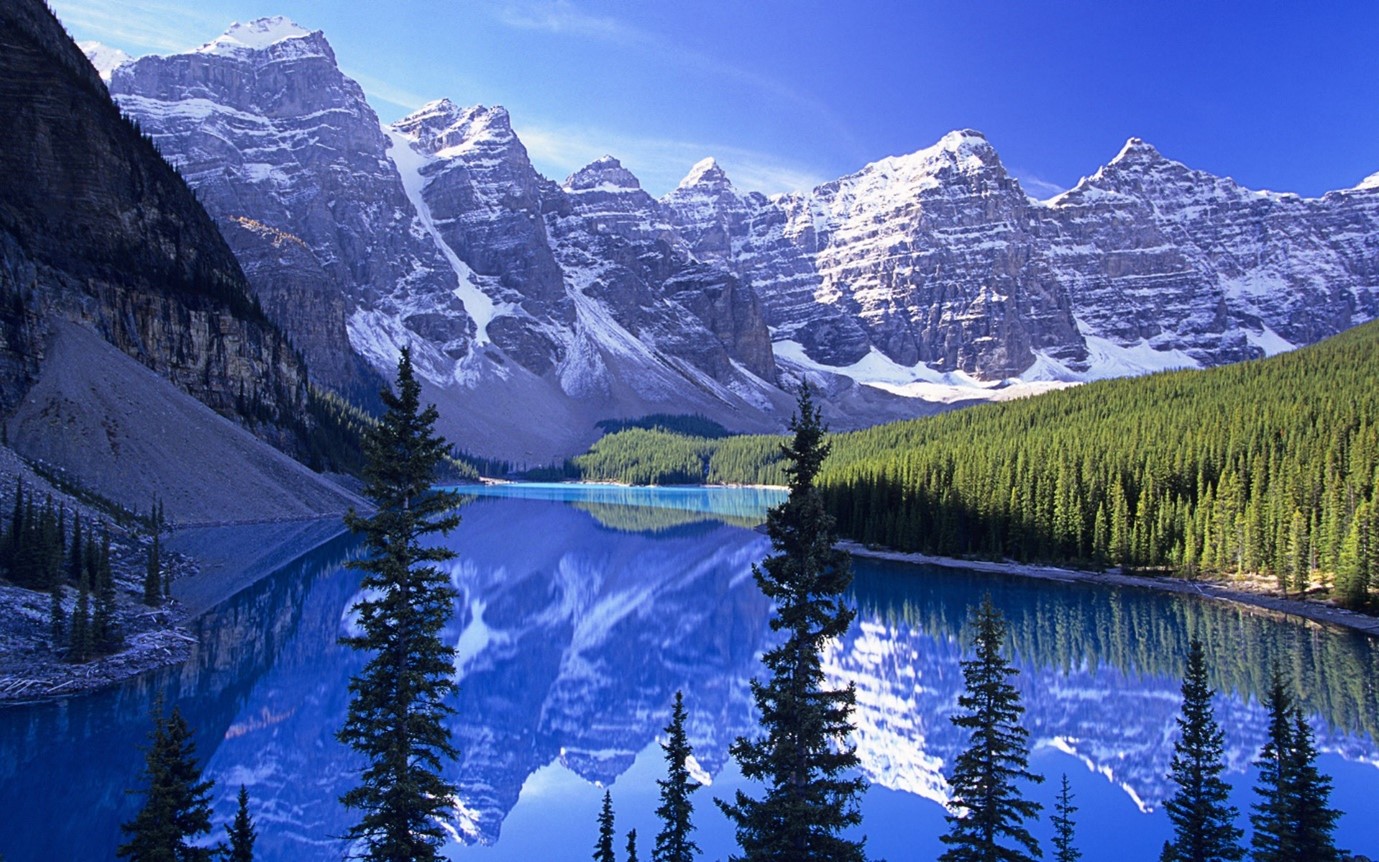
In order for us to have the most takeaways from this example of OpenCV, it is recommended that you follow along in an IDE coding environment of your choice. To facilitate this particular learning experience we shall make use of an image that may be downloaded from this link. Alternatively, you may save the image found below.
Source: Eskipaper.com.
As usual, the first task to complete successfully would be the loading of the image into our system memory.
image = cv2.imread("C:/Users/Shivek/Pictures/nature-wallpapers-hd-17.jpg", cv2.IMREAD_COLOR)
cv2.imshow('Analytics Vidhya Computer Vision- Mountain View', image)
cv2.waitKey()
cv2.destroyAllWindows()
Please Note: I have omitted an explanation of the above code, as it has been covered in previous articles.
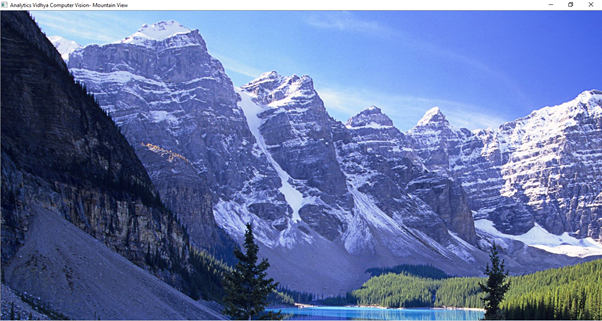
Output to the above code block will be seen as follows:
As one may see, the image output is a bit too large. So large that is it not able to fit on my computer screen. And to confirm this, let us view the shape of our image.
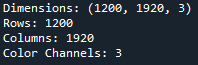
print("Dimensions:", image.shape)
print("Rows: %d"%(image.shape[0]))
print("Columns: %d"%(image.shape[1]))
print("Color Channels: %d"%(image.shape[2]))
Output to the above code will be seen as follows:
Hence, we can confirm that the image has a width of 1200 pixels and a height of 1920 pixels. To allow for an easier, more convenient visual, we will
proceed to resize our image- we will reduce the size.
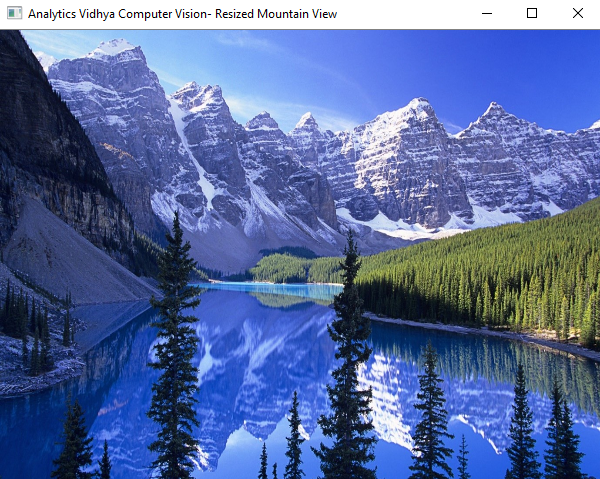
# resize the image to be pixel dimensions 600 by 450
resized_image = cv2.resize(src=image, dsize=(600, 450))
cv2.imshow('Analytics Vidhya Computer Vision- Resized Mountain View', resized_image)
cv2.waitKey()
cv2.destroyAllWindows()
Output to the above code, shows as follows:
We have reduced the image to have dimensions 600×450. As one will now see, the complete image is able to display on the screen, while appearing sharper.
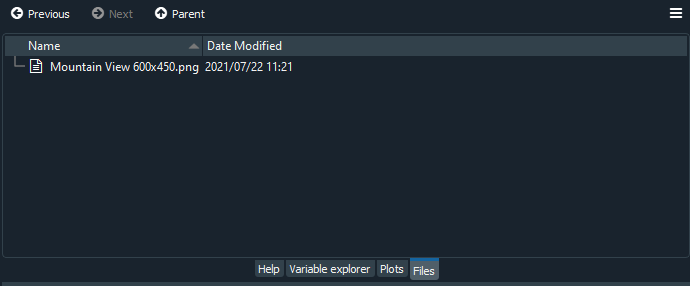
We thereafter proceed to save the resized image as follows:
cv2.imwrite('Mountain View 600x450.png', resized_image)
The output will be seen in your respective file explorer- I use the Spyder IDE, and my output is as follows:
When we perform the action of rotating an object, essentially what we are doing is applying a circular motion to the object, and in this case, an image. The objective is to move the object in a clockwise, or anti-clockwise direction, around a fixed pivot point.
With regards to OpenCV and Python, we can achieve this action by making use of the rotate() method. The rotate() method requires two important parameters to be specified:
There are three arguments to choose from, for the rotateCode parameter:
To begin the process of rotating the image, we will first load the resized image into our system memory as follows:
image = cv2.imread('C:/Users/Shivek/Desktop/Experimenting/Analytics Vidhya Blogathon/Mountain View 600x450.png', flags=cv2.IMREAD_COLOR)
cv2.imshow('Analytics Vidhya Computer Vision- Mountain View ORIGINAL (600x450)', image)
cv2.waitKey()
cv2.destroyAllWindows()
Output to the above code block will be seen as follows:
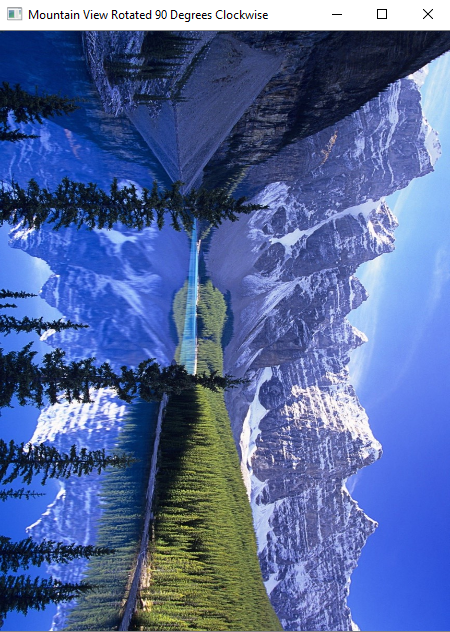
Next, we will attempt to perform an image rotation. Specifically, we will rotate the image by 90 degrees in the clockwise direction.
image_rotated_90_DEG_clockwise = cv2.rotate(src=image, rotateCode=cv2.ROTATE_90_CLOCKWISE)
cv2.imshow('Mountain View Rotated 90 Degrees Clockwise', image_rotated_90_DEG_clockwise)
cv2.waitKey()
cv2.destroyAllWindows()
cv2.imwrite('Mountain View Rotated 90 Degrees Clockwise.png', image_rotated_90_DEG_clockwise)
As one may see in the above code block, the lines of code are relatively similar to what we have covered up to this point. I would like to discuss one particular line of code- i.e., the first line.
image_rotated_90_DEG_clockwise = cv2.rotate(src=image, rotateCode=cv2.ROTATE_90_CLOCKWISE)
As can be seen in the above line of code, we have created a new variable, which we are attempting to use to store the contents of the rotated image. We have made use of the rotate() method offered by the OpenCV package in Python, and have passed in the source image (src), i.e., the image to be rotated, and the appropriate rotateCode. Since we would like to rotate the image by 90 degrees in the clockwise direction, we specify rotateCode = cv2.ROTATE_90_CLOCKWISE.
Output to the above code block will be seen as follows:
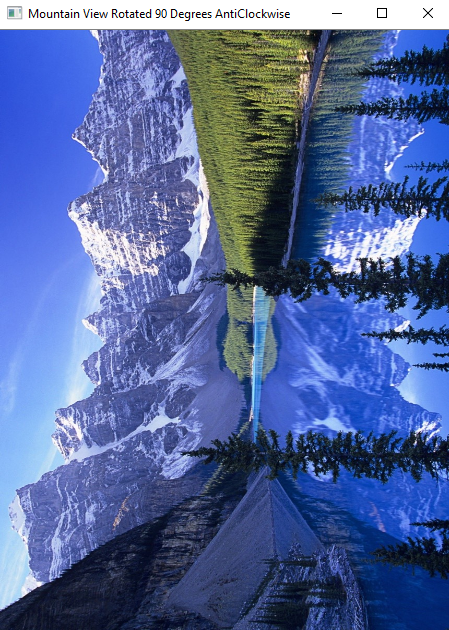
We will proceed to rotate the image by 90 degrees in an anticlockwise direction.
image_rotated_90_DEG_anticlockwise = cv2.rotate(src=image, rotateCode=cv2.ROTATE_90_COUNTERCLOCKWISE)
cv2.imshow('Mountain View Rotated 90 Degrees AntiClockwise', image_rotated_90_DEG_anticlockwise)
cv2.waitKey()
cv2.destroyAllWindows()
cv2.imwrite('Mountain View Rotated 90 Degrees AntiClockwise.png', image_rotated_90_DEG_anticlockwise)
Output to the above code block will be seen as below:
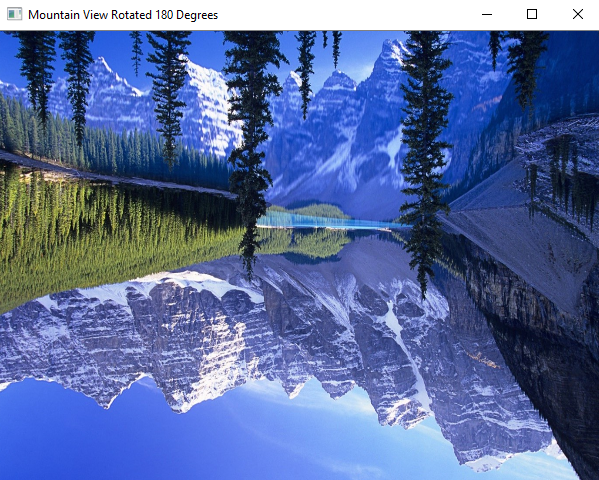
Finally, we will attempt to rotate the image by 180 Degrees:
image_rotated_180_DEG = cv2.rotate(image, rotateCode=cv2.ROTATE_180)
cv2.imshow('Mountain View Rotated 180 Degrees', image_rotated_180_DEG)
cv2.waitKey()
cv2.destroyAllWindows()
cv2.imwrite('Mountain View Rotated 180 Degrees.png', image_rotated_180_DEG)
Output to the above code block will be seen as follows:
And we have successfully implemented advanced OpenCV Operations on image data in the Python Programming Language.
This concludes my article on OpenCV. I do hope that you have learned new features and topics of OpenCV.
Please feel free to connect with me on LinkedIn.
Thank you for your time.
GPT-4 vs. Llama 3.1 – Which Model is Better?
Llama-3.1-Storm-8B: The 8B LLM Powerhouse Surpa...
A Comprehensive Guide to Building Agentic RAG S...
Top 10 Machine Learning Algorithms in 2026
45 Questions to Test a Data Scientist on Basics...
90+ Python Interview Questions and Answers (202...
8 Easy Ways to Access ChatGPT for Free
Prompt Engineering: Definition, Examples, Tips ...
What is LangChain?
What is Retrieval-Augmented Generation (RAG)?
Edit
Resend OTP
Resend OTP in 45s